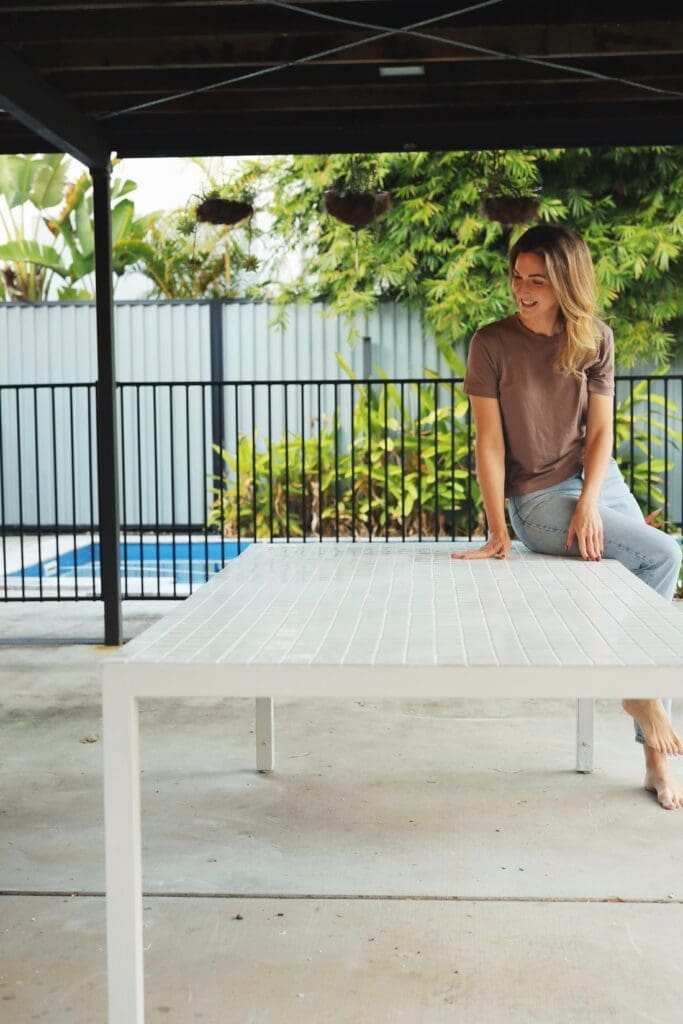
Dreaming of a stylish outdoor table without the designer price tag? This DIY tiled outdoor table project is the perfect way to refresh your outdoor space — and give an old piece of furniture a new lease on life! With a little DIY know-how, I turned a kerbside find into a sleek, contemporary white outdoor table. Costing around $250 all up, it’s a cheap furniture flip and easy enough that anyone can do it.
Whether you’ve got a tired old table sitting in your backyard or you love hunting for bargains, I’ll take you through all the steps in this guide so you can do it too.
Related article: DIY outdoor dining table with tiled pillar legs
Related article: 7 ways to design an outdoor space that exudes resort-level luxury
Why DIY a tiled table?
Outdoor furniture can cost a small fortune so when shopping on a budget you typically have to sacrifice either size, quality or style. By tiling over an old table, you can create a custom piece you’ll love, all while saving money and reducing waste.
You can have lots of fun choosing your own colours and design, like stripe, checker or a random mix of colours. Or you can use coloured grout to give your table an unexpected pop of colour.
Tiled tables are also durable, easy to clean and won’t get as hot as aluminium tables.
Materials you’ll need:
- Old metal frame and glass top outdoor table (mine was salvaged from the side of the road)
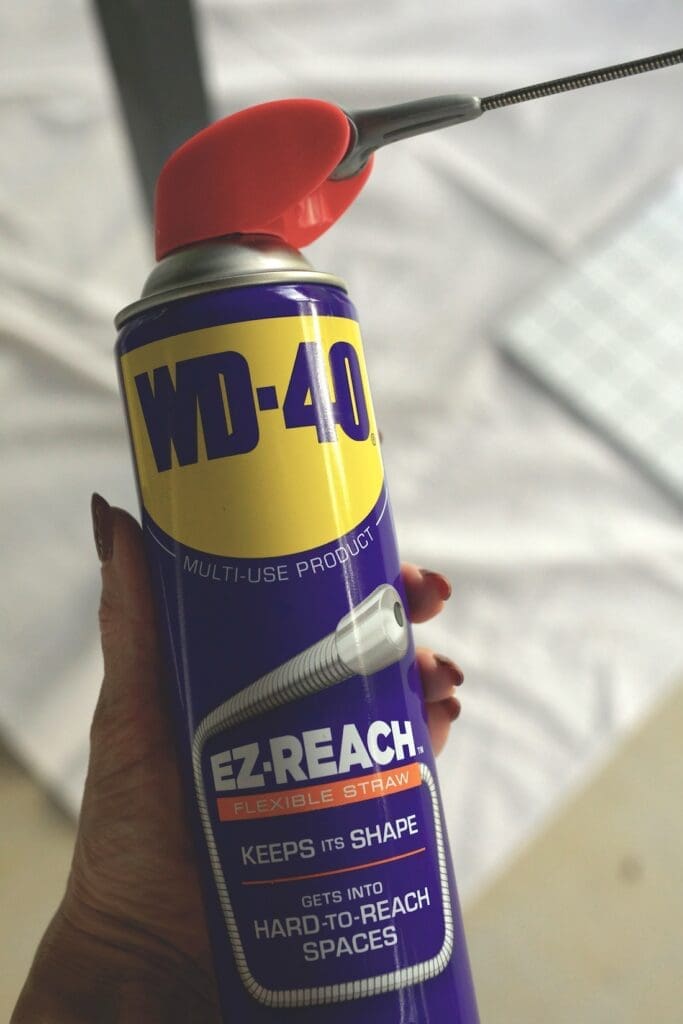
- WD-40 EZ-Reach (to clean and remove rust)
- Metal bristle brush
- Eco Prim Grip (primer to help tiles stick to glass)
- White spray paint (all-in-one, no primer needed)
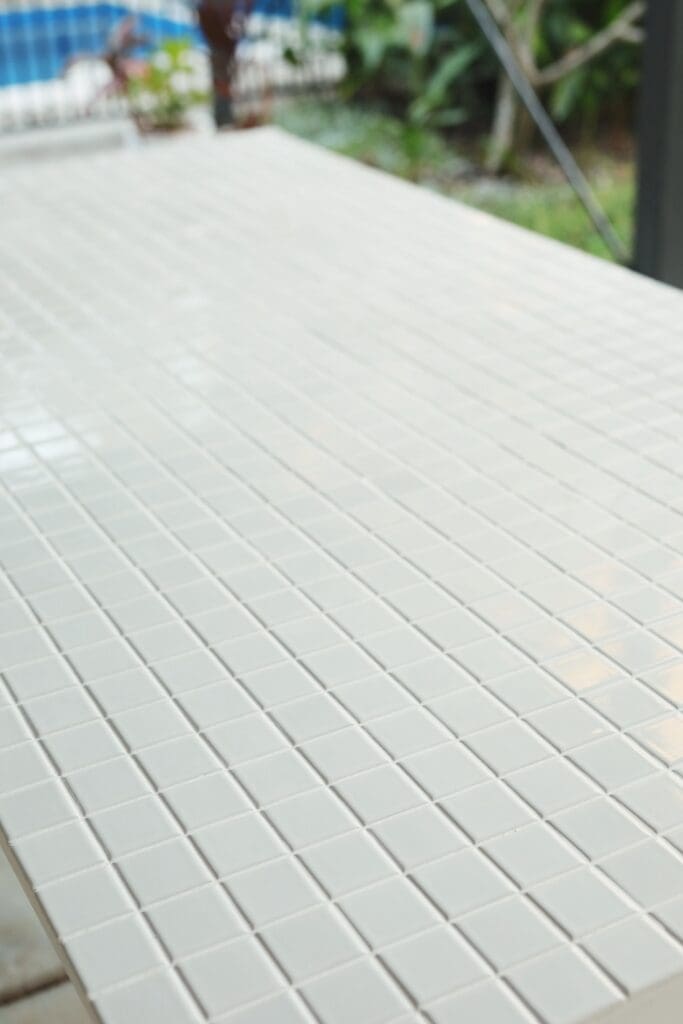
- White square mosaic tiles (I bought these from Bunnings. Tip: calculate the surface area of your table to work out how many sheets you’ll need and allow for 5-10% wastage. I used 24 sheets.)
- Tile glue
- White grout
- White silicone
- Notched trowel (for tile glue)
- Tile float (to spread grout)
- Bucket, sponge, wooden spoon, paint brush
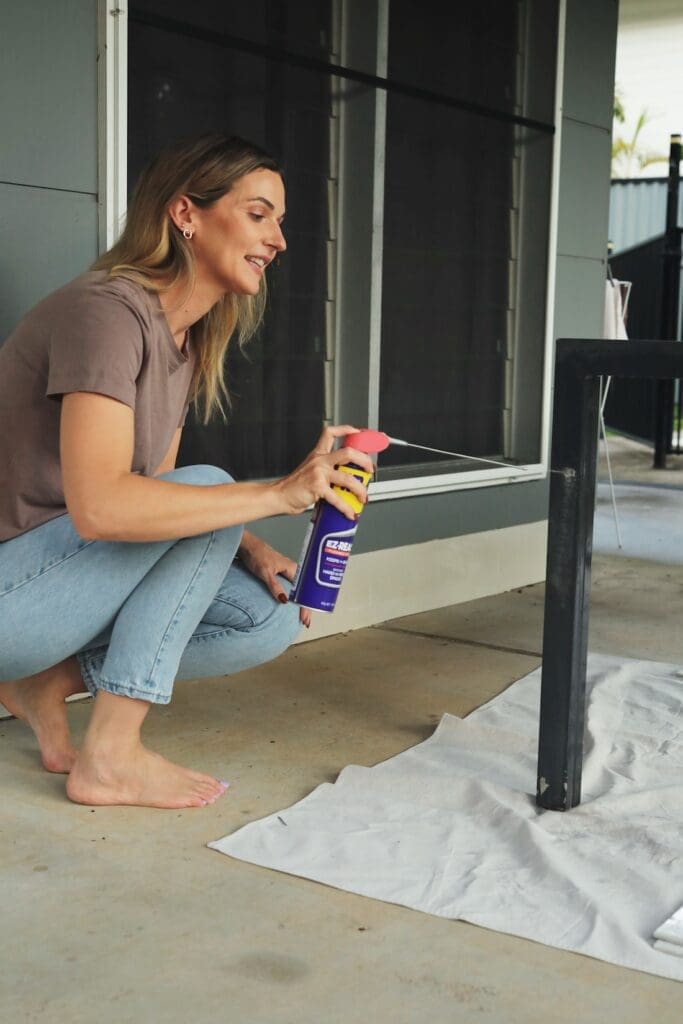
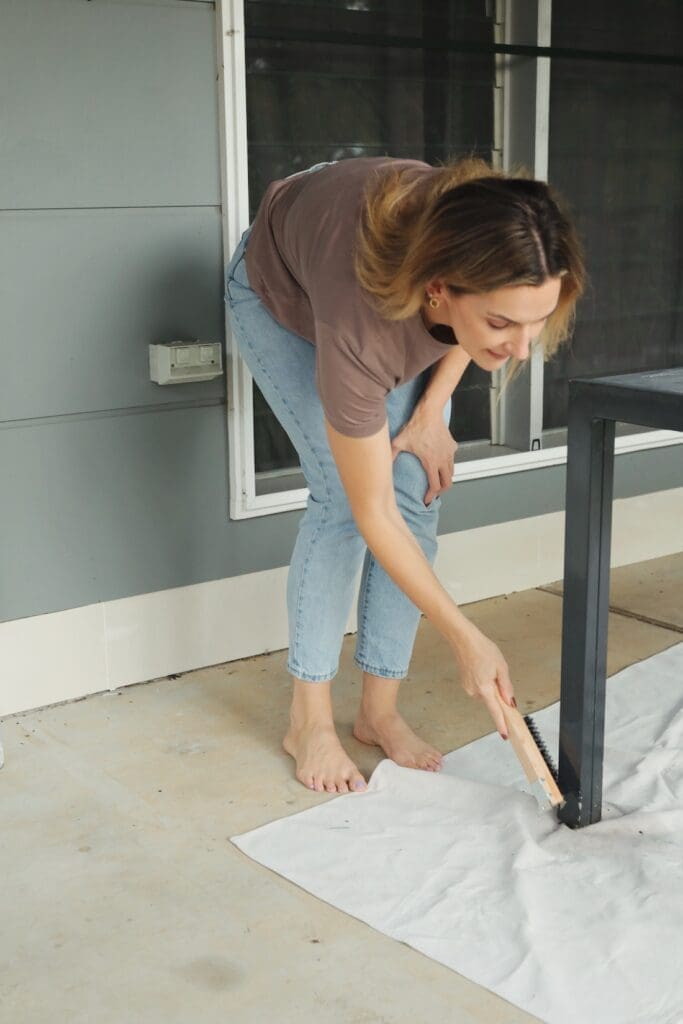
Step 1: Prep your table
Start by giving your old table a thorough clean. For rust and hard-to-reach spots on the metal frame, spray WD-40 EZ-Reach, wait 5 minutes, then scrub with a metal bristle brush. This removes grime and protects against future rust.
Step 2: Paint the frame
Once clean, spray paint the frame with two coats of all-in-one spray paint. This instantly refreshes the look and protects the metal from weather damage.

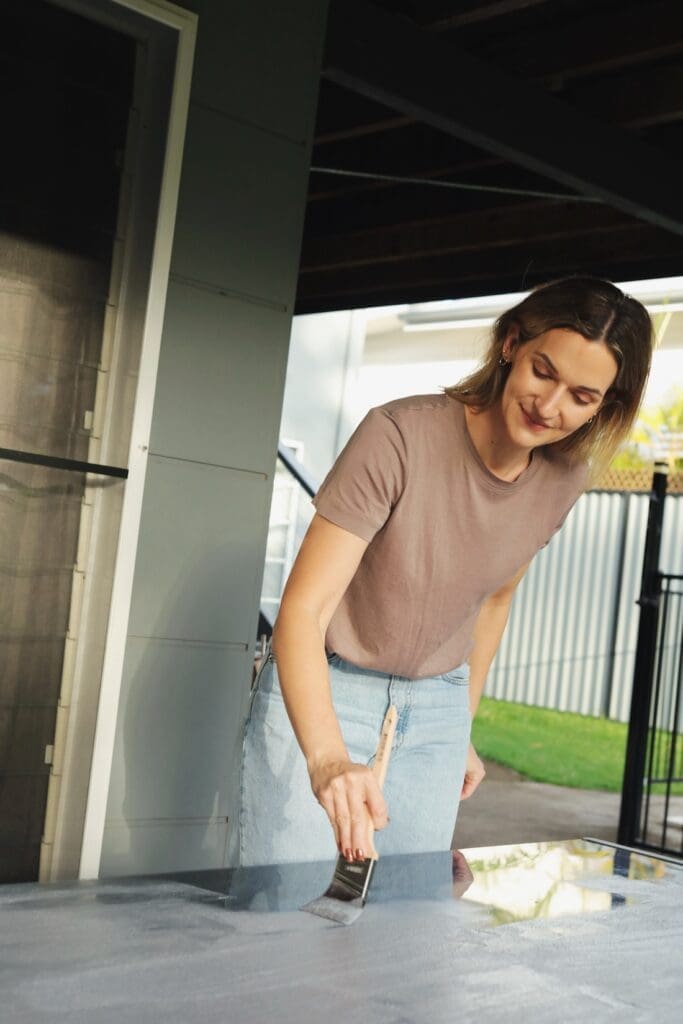
Step 3: Prime the glass top
Before tiling, apply Eco Prim Grip to the glass top. This gives the surface a gritty texture so the tile glue can adhere properly. Let it dry completely before laying your tiles.
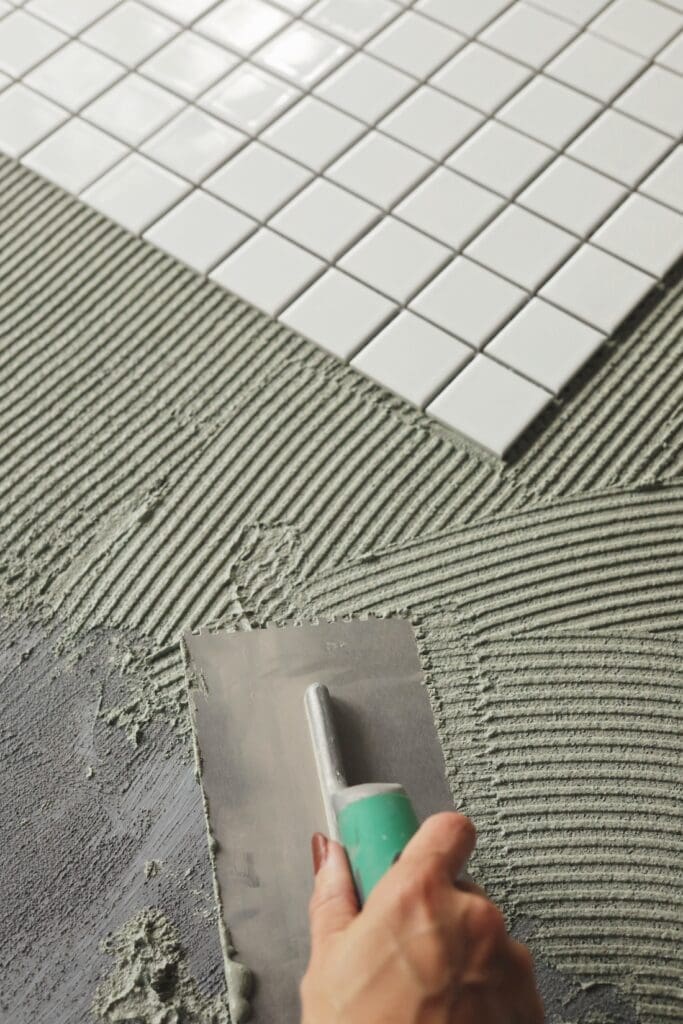
Step 4: Lay your tiles
Spread a layer of tile glue using a notched trowel, then press the mosaic tile sheets into place. If you don’t have tile spacers, you can improvise — I used paddle pop sticks and they worked fine!
Tip: If your table is an odd size, you might need to cut tiles. I avoided this by allowing a 3–5mm overhang, which achieved a neat look and saved so much time.
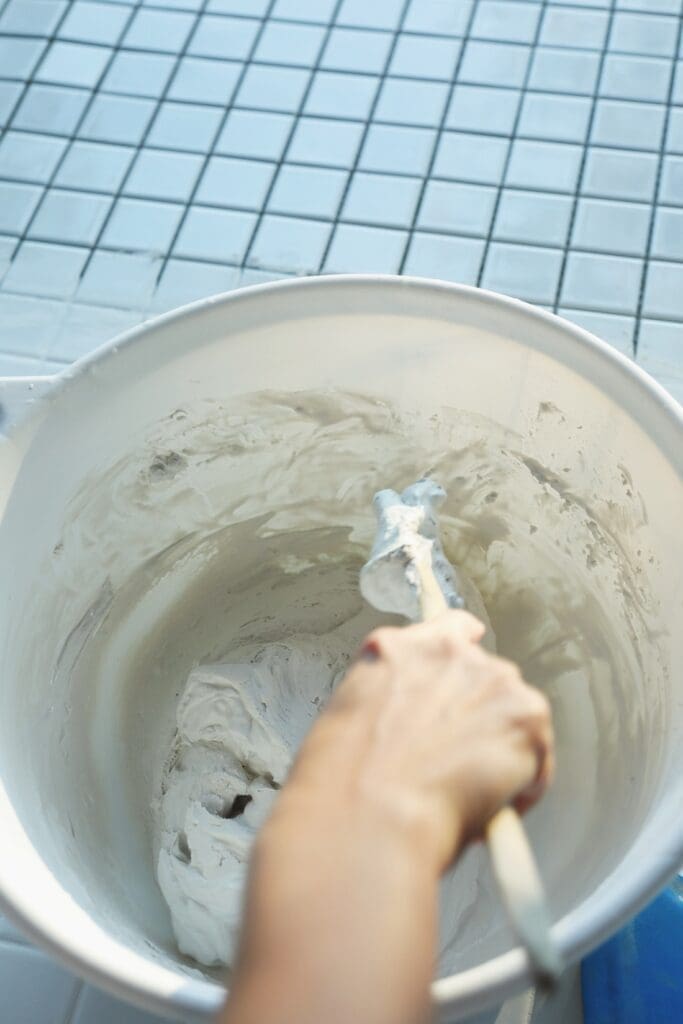
Step 5: Grout your tiles
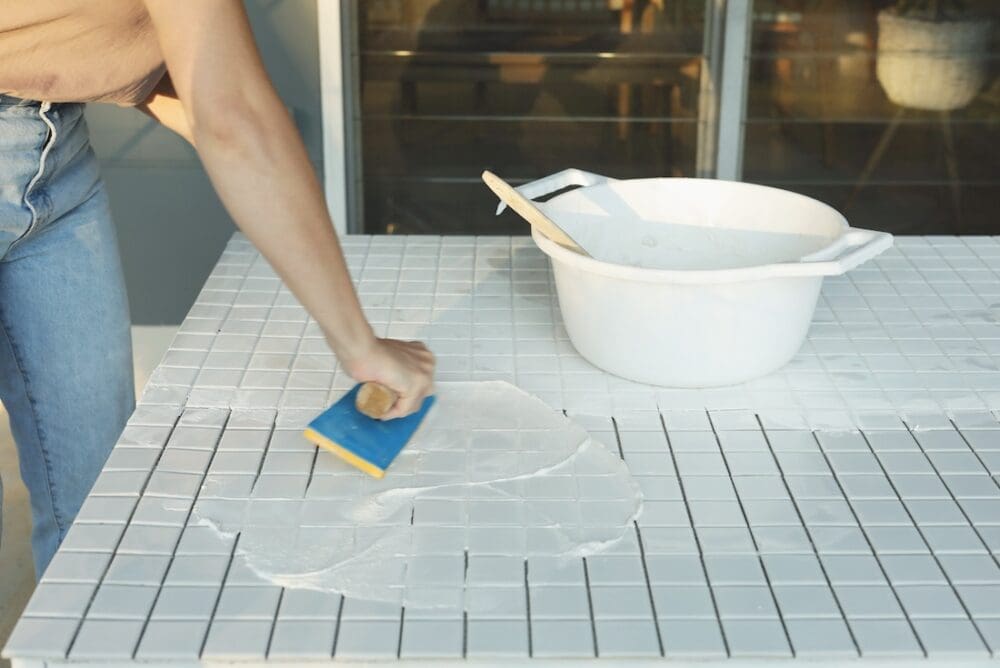
After the glue dries (24 hours), mix your white grout according to the instructions — it’s important to follow the exact water ratio to avoid cracks later. Work quickly to press grout into the joints, then wipe away the excess with a damp sponge before it sets.
Tip: It’s best to use 2 buckets when wiping away grout — use one with clean water to refresh your sponge and use the second bucket to squeeze out the dirty water. This will save you so much time and minimise grout haze.
Step 6: Finish with silicone
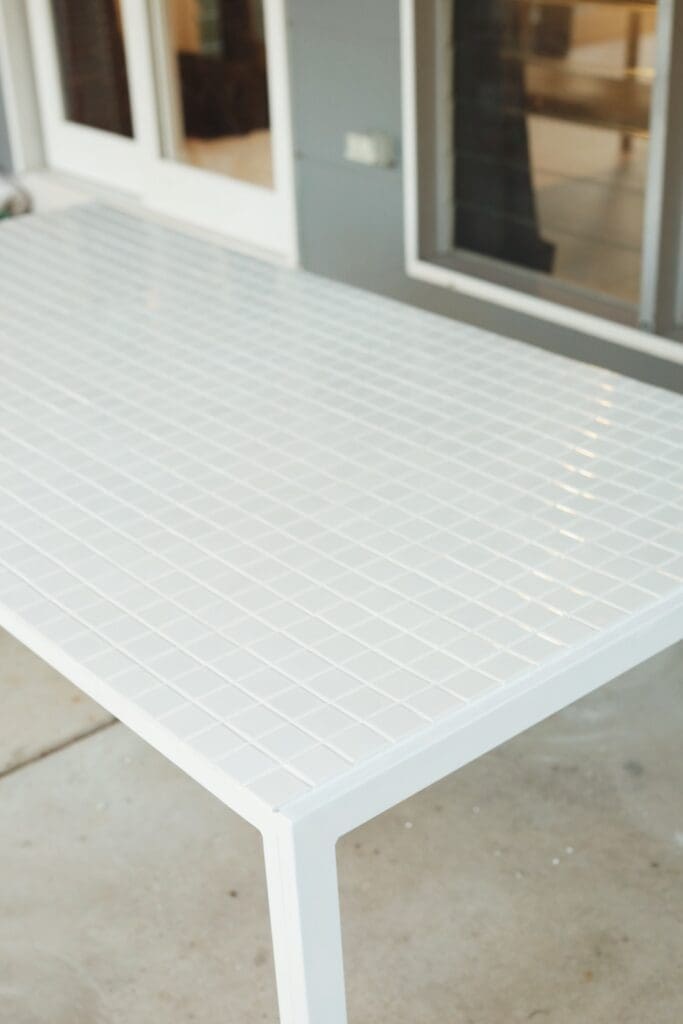
For a clean edge, apply white silicone around the perimeter of the table. This seals any gaps and gives the table a polished finish.
Design ideas
I went all-white for a fresh, minimalist look, but you could get as creative as you like.
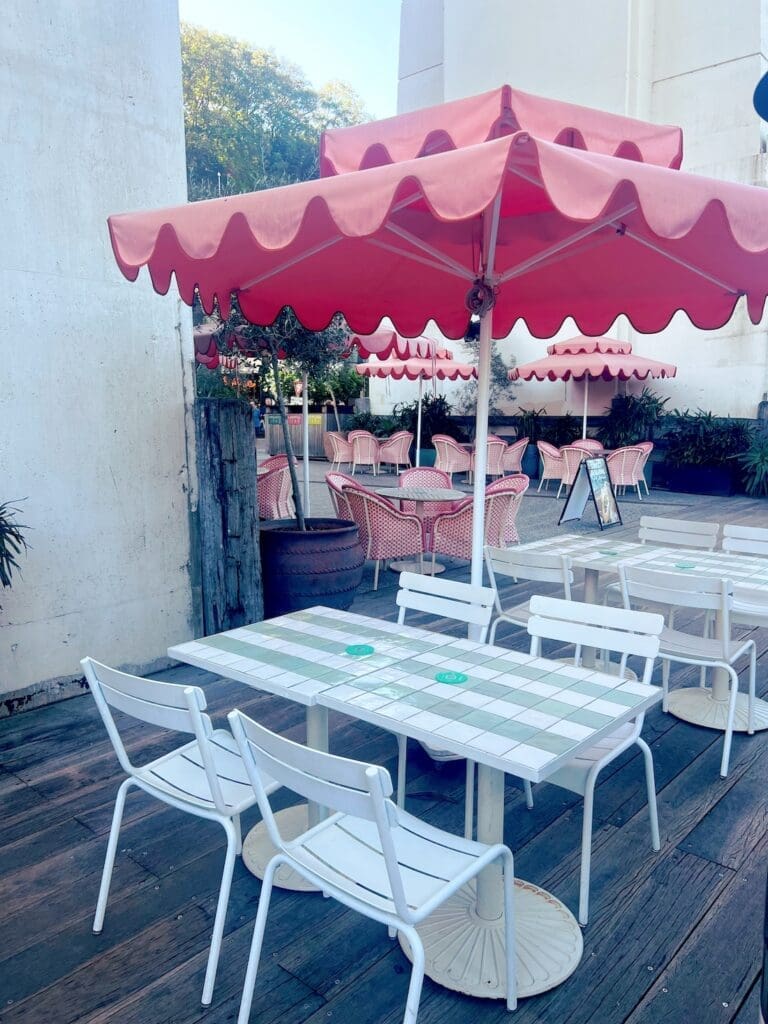
Creative tiled table ideas:
- mix two tile colours for a checkerboard or stripe tile effect
- create patterns with contrasting mosaics
- use bold or pastel hues for a playful touch
- use handmade Moroccan tiles for an earthy, luxe aesthetic.
Cost and time
This project cost me around $250 (noting I already had tools like buckets and trowels). Considering new tiled tables can cost upwards of $1,000, I was thrilled with that! Plus, I saved this piece from landfill — a win for the environment and my wallet.
I completed the project over a weekend as I needed to allow drying time. All up, it probably took about 2-3 hours.
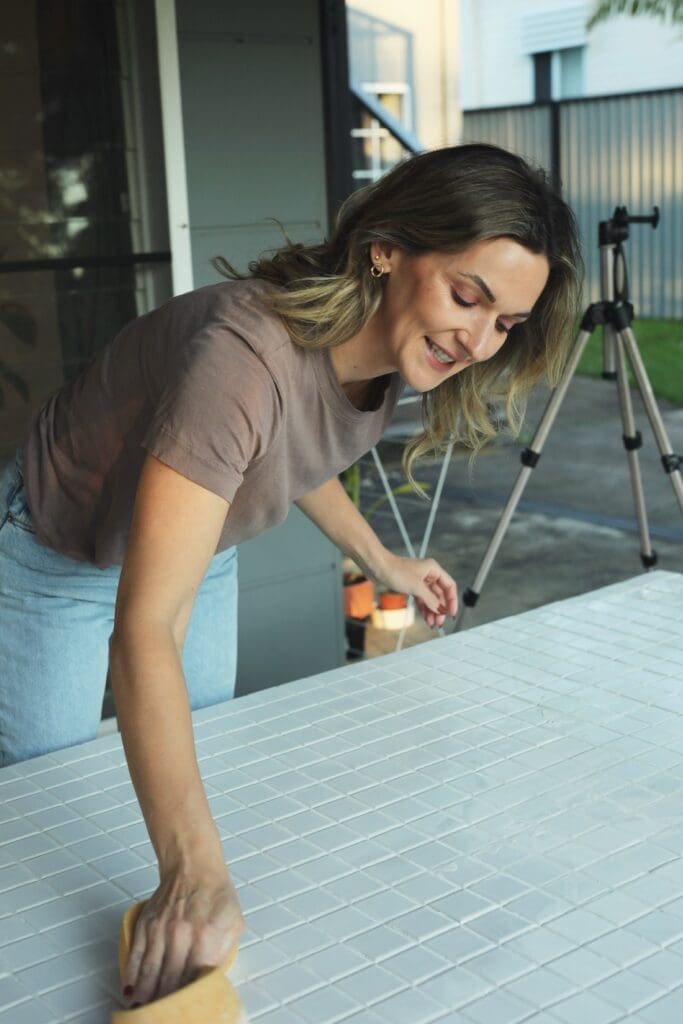
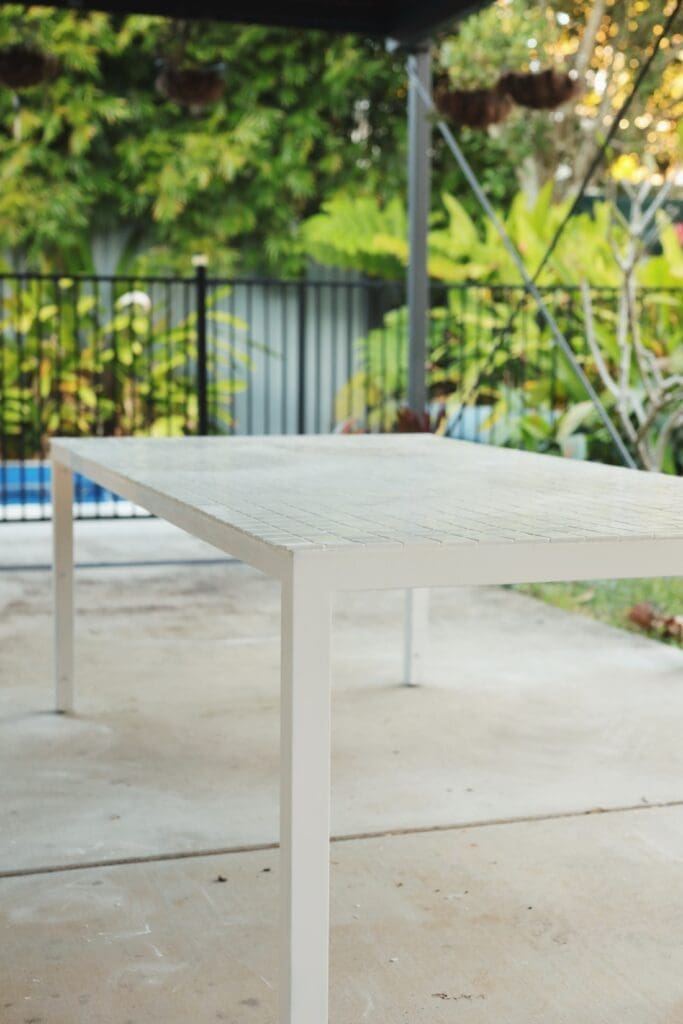
I couldn’t be happier with how this DIY outdoor tiled table turned out. It’s such a large and sturdy outdoor table, ready for summer barbecues and family gatherings. Plus I love the contemporary look!
Are you inspired to tackle your own tiled table project? Drop your thoughts or questions in the comments below!
More DIY ideas