
Supported by Ted’s Cameras
With so many SC readers being small business owners, artists, interior designers or otherwise in a profession that would benefit from being able to take great photos, we’re sharing all the tips on how to improve your product styling and interior photography.
It wasn’t that long ago that I took most of my photos on my phone or an old digital camera. Since investing in new equipment and getting training on how to take better photos and edit them, I’ve seen a massive improvement… and I’m guessing you have too!
Sharing their expert advice on this piece is the team at Ted’s Cameras (which also happens to be where I bought all of my new camera gear).
Related article: Colour and emotion: How to select colour for the mood you want to achieve in your home
Related article: Styling basics: What to consider when picking colours, shapes and furniture?
Getting the right composition
Photography can seem like one of those things that’s so simple — just point and shoot — but for me, it certainly wasn’t!
Good photography takes thought into what you want to capture. What’s the subject and how can you position it in the frame for maximum interest or impact? One of the biggest mistakes in product photography is not taking the time to plan your image.
This is where composition comes in. Composition is the placement of objects or elements in a frame and there are a few rules you can use to help.
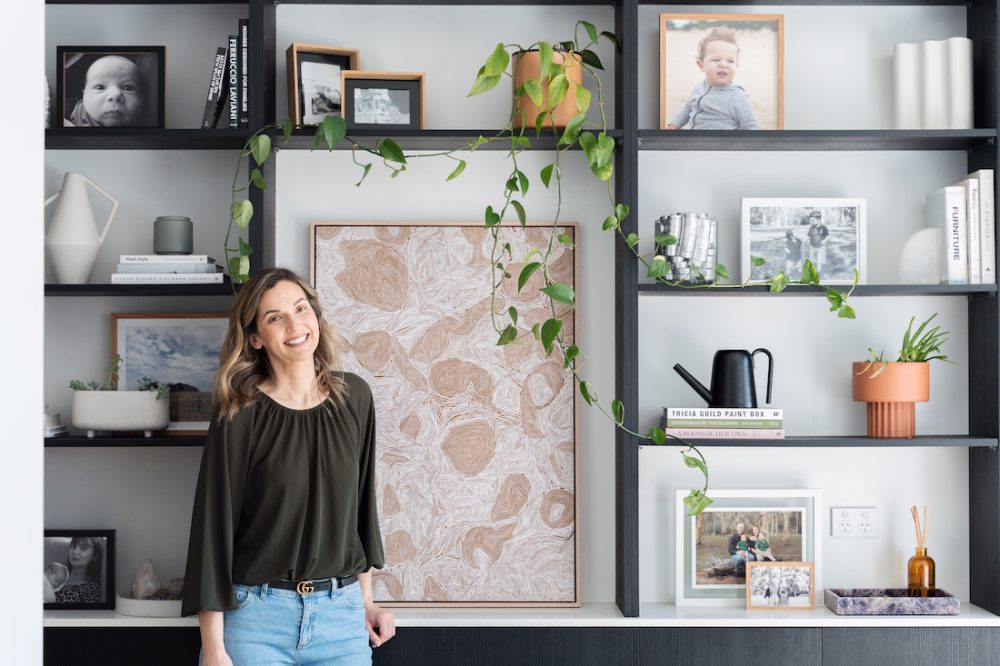
The rule of thirds
One of the most well-known, is the rule of thirds and it was the first one the team at Ted’s Cameras recommended.
“Spend some time learning the basics of composition. A common and easy to master compositional technique is called the rule-of-thirds, which involves positioning your subject at intersecting thirds of your frame — this results in a naturally impactful image.”
This can take a little practice as by nature, many of us will centre objects in the frame.
Here is an example of a photo I took that follows the rule of thirds.
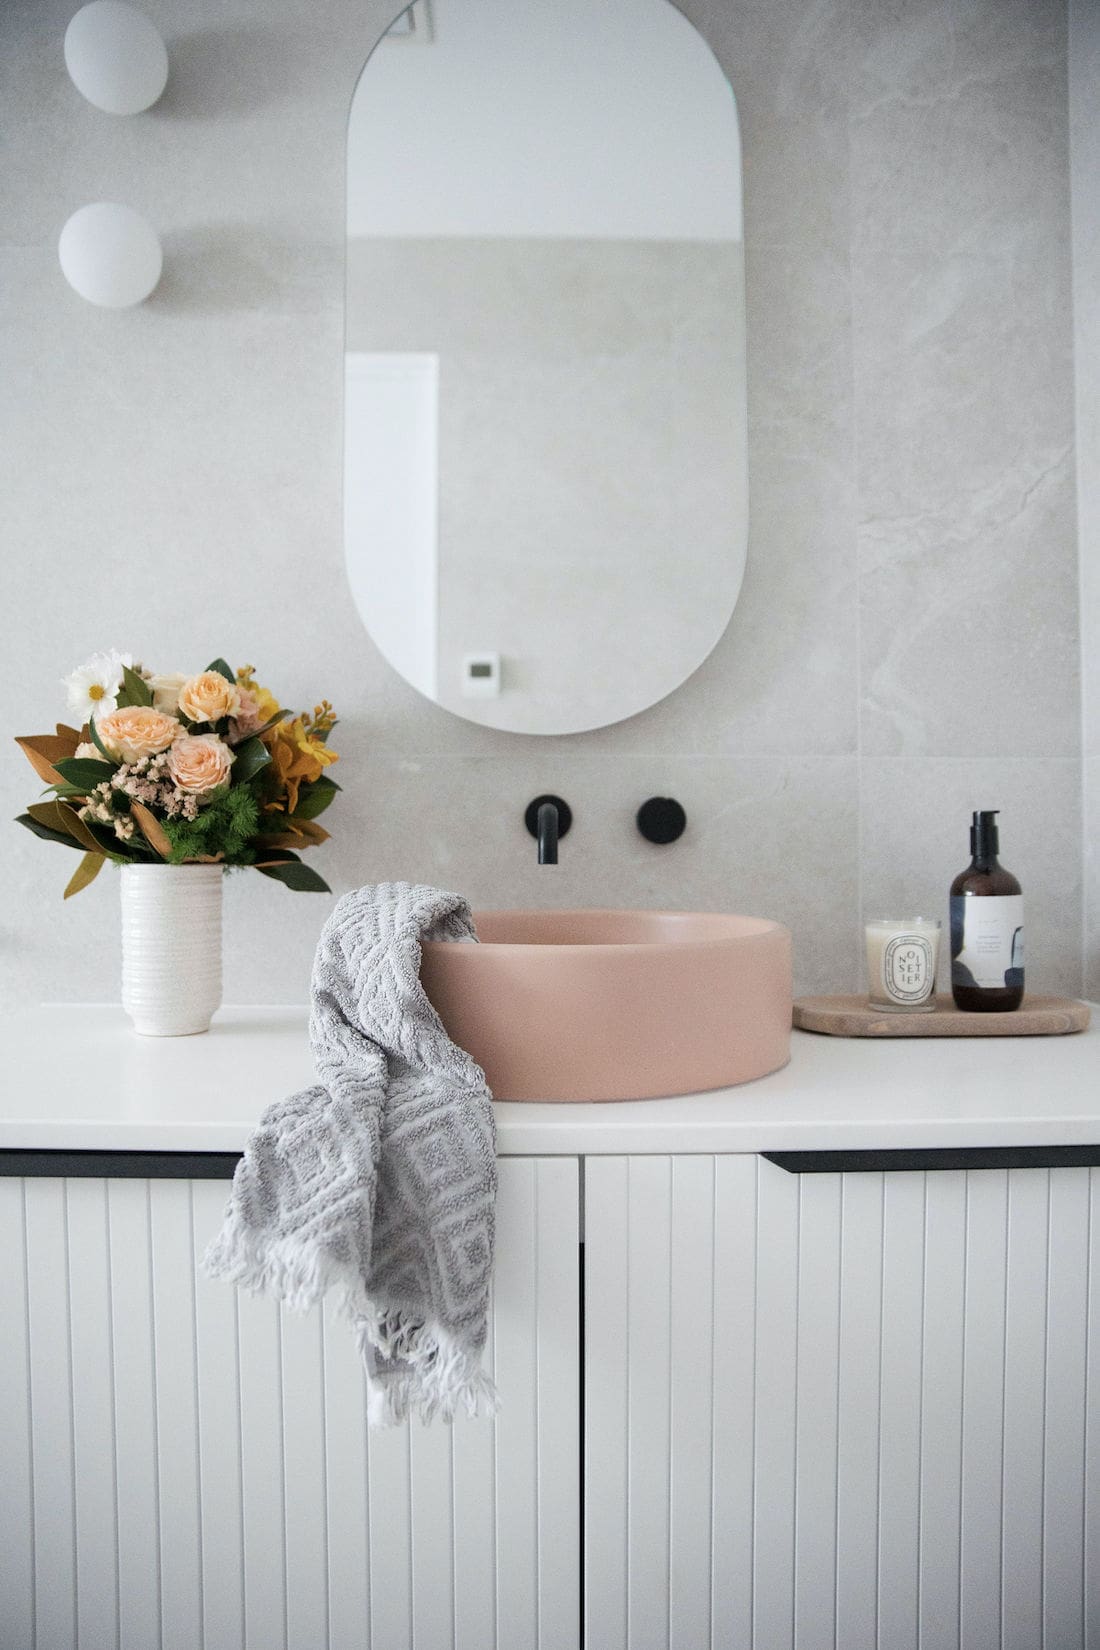
Use of negative space
Another composition rule you might like to try — especially if you’re photographing products — is the use of negative space. As the name suggests, this involves using negative space intentionally (aka an area where there is nothing, such as minimal lines, shapes or textures) to naturally draw our eye to the subject of the image.
Experiment with different ways of capturing the subject, such as using more negative space to the left or right, above or below, take photos in landscape and portrait (aka horizontal and vertical), and from different points of view (ie by adjusting your eye level). When it comes time to edit the photos, you’ll learn what type of composition you like most and can continue to hone your style.
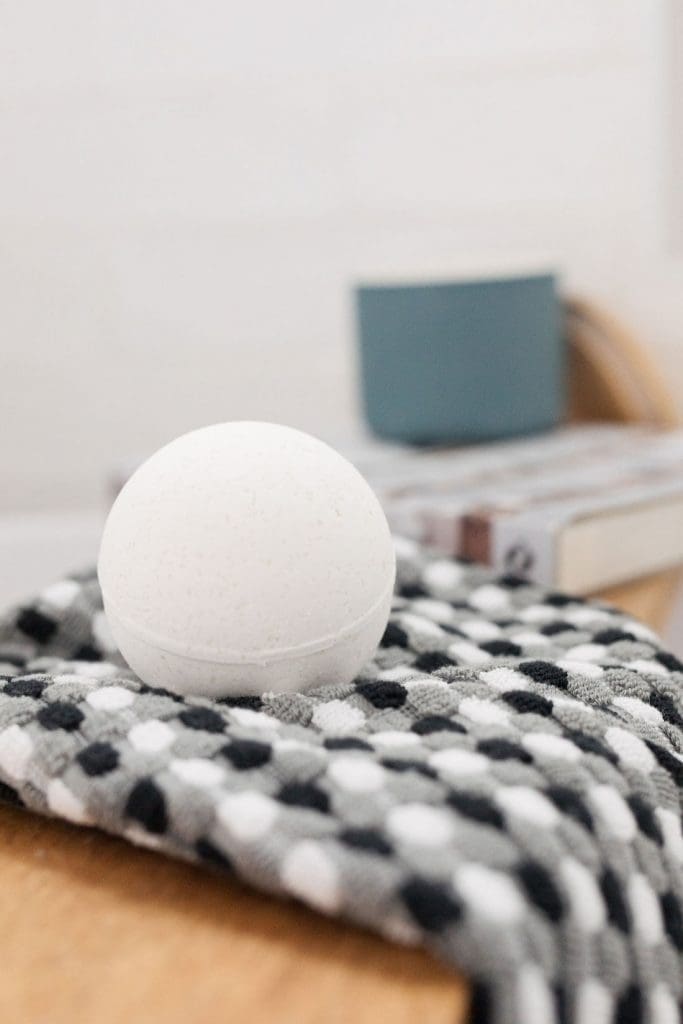
Shallow depth of field
One of my all-time favourite ways of capturing a subject is by using a shallow depth of field. This technique is my go-to when looking for product photography ideas. As the team at Ted’s Cameras explains, “this means your product is in focus and the background out of focus.”
This allows you to still fill your image with colour and texture but in a way that won’t distract from the subject. Below is a photo of a bath bomb I took that uses this trick.
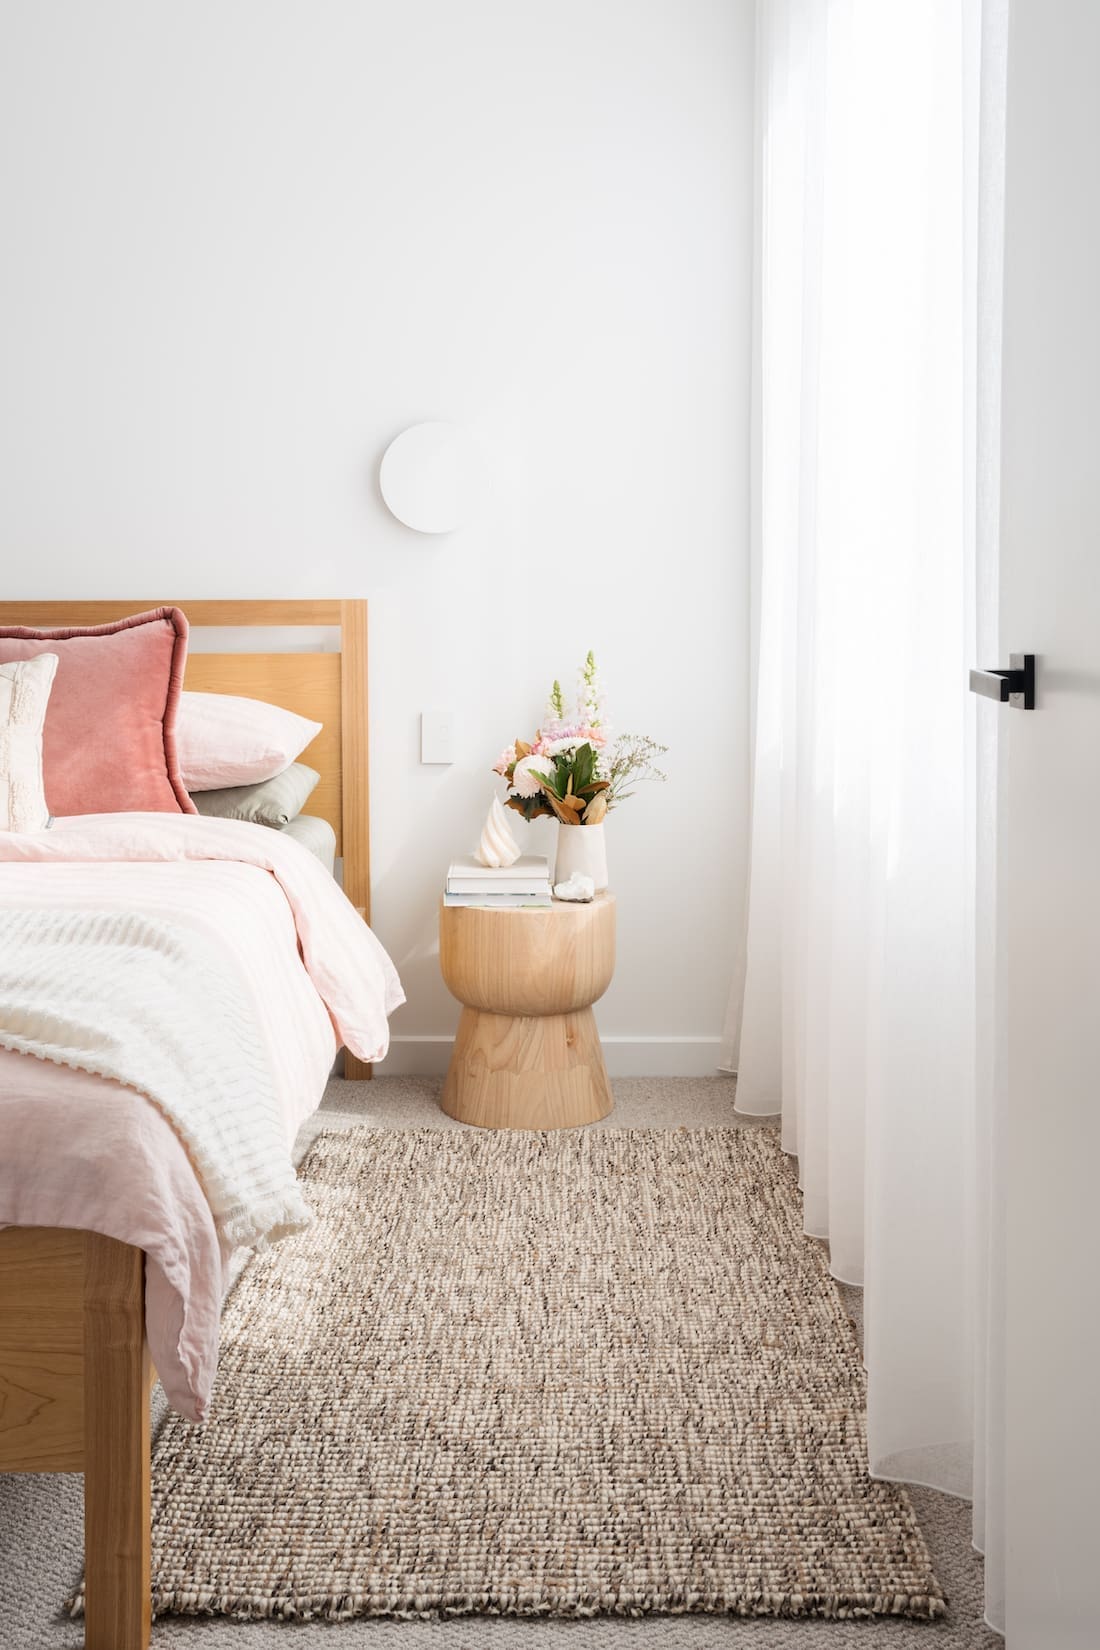
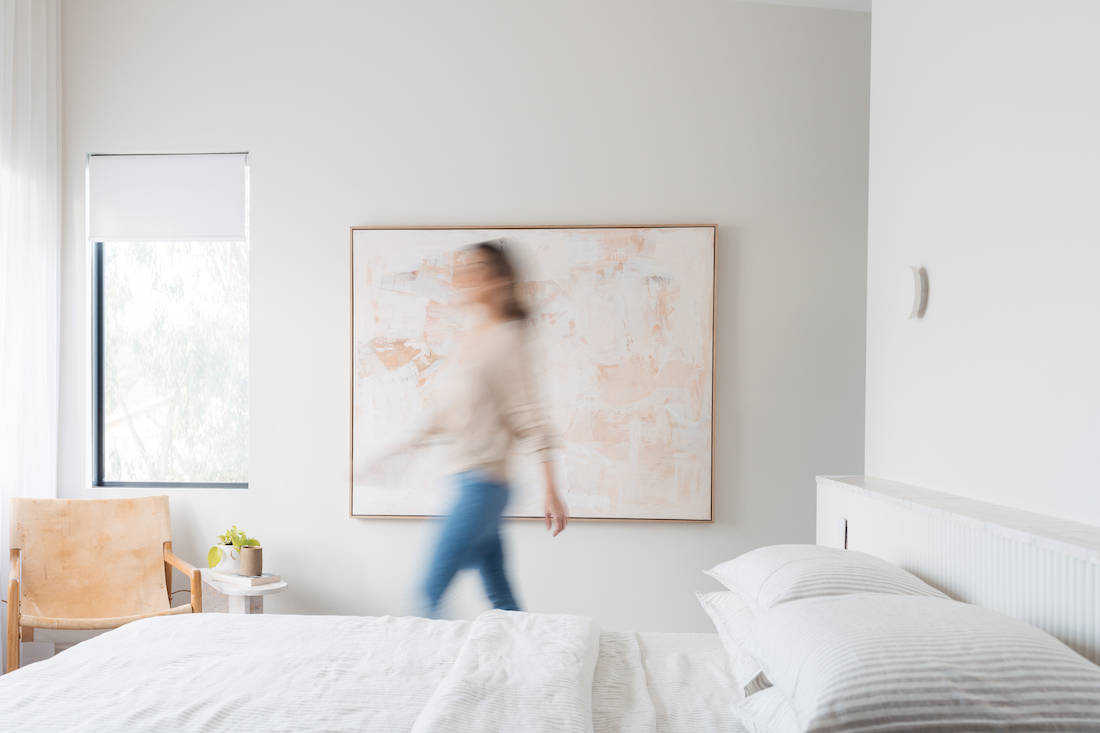
Frame your shot
The final composition trick that works particularly well for product and interiors photography is to frame your shot.
This could be using a door frame or wall to shoot into a room, or using a taller item in the foreground out of focus to photograph a product. For example, in my guest bedroom below, I used a door and negative space to frame the floor rug during a recent product photography shoot.
You can be as creative as you like here. In the world of digital, it doesn’t cost anything to take photos, and improving your photography is all about practice and experimentation.
Be mindful of colours
Another key element of a good photo (and styling, really!) is getting the colours right.
“Learn some colour theory, so you can create complementary colour combinations with your styling choices,” suggest the team at Ted’s Cameras.
We share the basics of colour theory in this article so you can make intentional decisions on the colours you use to achieve the mood you want.
It’s also worth noting that vibrant colours will stand out more than muted or pastel tones. So be sure to not let your styling props take away from your subject.
Create a mini studio for product photography
You can save yourself time and build a more consistent brand identity by creating a studio space to take photos.
Your ‘studio’ or product photography set up could be anything from a board or bookshelf in your home to a full room and the team at Ted’s Cameras have tips on how to get it right. Some people also use a product photography box if they are shooting smaller items, such as candles or jewellery.
“Use a room with good natural light or space to set up artificial lighting. If your space is small, natural lighting is easier to manage, while a large space is good for artificial lighting,” they explain.
Good lighting is key to great photos, and we’ve got a whole section below to help you master it, including tips on using artificial lights. But if you need professional results, you may want to chat with a Melbourne professional photographer. For example, Heroshotphotography can bring your brand to life with professional portraits of your business and people.
When taking your own photos, the team at Ted’s Cameras suggest keeping things simple.
“Use a plain white wall, or consider purchasing or making a white backdrop.”
This is one of the best backgrounds for product photography as it will literally give you a ‘blank canvas’ to work from and is useful if you want to explore taking photos with negative space.
“When styling your product, remember that your aim is to highlight this product and its unique properties,” they add.

Good lighting is essential
We briefly mentioned lighting above but honestly, this is one of the most important aspects of good photography — and can save you hours when editing photos if you take the time to get your lighting right.
Natural light
“If you are using natural light, experiment with different times of the day. The golden hour (late afternoon light) is your best friend,” explain the team at Ted’s Cameras.
I’ve certainly found this to be true. In the morning, particularly in winter, there often isn’t enough natural light and photos can appear blue and cold. The middle of the day isn’t ideal as it can cast downward shadows or make your subject appear somewhat flat. Generally, anywhere from 2pm – 5pm (depending on the time of year and if a room is north- or south-facing) is the window where I’m able to take the best photos for product styling and interior photography.
To save time, I’ve created a photography cheat sheet for my home where I’ve noted what time of day is best for different rooms, and even what manual settings I should set the camera to (aperture, ISO and shutter speed). We’ll talk more about manual camera settings below but taking the time to do something like this can save you hours in the long-run and help you to create more consistent photos.
To take full advantage of natural light, they also suggest to “shoot by an open window” or in front of floating sheer curtains also creates dreamy images.
Artificial light
Oftentimes there isn’t enough natural light in a space. This can happen when there are no windows (or small windows for a large room), or if you’re restricted by the time of day you have to take the photos. Artificial lighting can be the solution or “blend natural and artificial light together” as the team at Ted’s Cameras suggests.
Where you still get some natural light, they recommend “using reflectors to make the most of the natural light and direct it at your subject” and when this isn’t enough, you can add artificial lighting.
When buying artificial lighting, it’s best to start with your needs. Will you need to move it from room to room or are you creating a long-term setup?
If you need a flexible solution to move with you or create content on the go, a portable lighting kit would be the solution.
If you have the luxury of space and will be creating a studio, the team at Ted’s Cameras suggest setting up a full-sized studio lighting setup. “Experiment with the placement and different outputs of your lighting. A common technique is three-point-lighting, in which one light is for key lighting, one is for fill and one provides backlighting.”
Given these lighting kits are so affordable, I purchased a few. I use a light ring for when I’m doing videos or illuminating an object (for say product photography) but when I’m shooting a room, I use a studio light setup which diffuses the light more evenly across the space.
Photography tips
Of course, I couldn’t let the team at Ted’s Cameras go without sharing some of their top tips to improve your photography.
Learn to use your camera’s settings
Ahh yes, having a good camera is only useful if you know how to use it. You can find endless tutorials on sites like YouTube or photography blogs (such as Ted’s Cameras’ blog) that will step you through the process of how to adjust ISO, aperture and shutter speed. I’ve suggested a few camera settings for product photography and interior design photography below.
Aperture: this is defined as the opening in a lens through which light passes to enter a camera. If you want to shoot with a shallow depth of field, ie make your subject in the foreground in focus and the background blurry, this is the setting you would adjust. Depending on your subject, an f/2.8 is probably ideal.
ISO: is your camera’s sensitivity to light. When it’s super sunny, you can reduce your ISO down to 100-400. When it’s dark, this can be bumped up to around 1000. I generally don’t push my ISO beyond 1000 as I find it can make the images appear grainy.
Shutter speed: is the length of time your shutter is open when taking the photograph. If you want to create a photo where someone is walking through a space and that person appears blurry but the room is in focus, you would use a shutter speed of 60/1000. Generally though, you would set your shutter speed to 80/1000 or higher to avoid camera shake.
If you really want to master product photography, you can also do a product photography course or book a 1-1 session with a photographer in your area who offers teaching.
Get a tripod for steady shots and the ability to put yourself in the frame
Tripods are incredibly affordable nowadays and “reduce camera shake and help you refine your compositions”.
I also like using a tripod so that I can sneak into the image too. For this I will either use a delayed shooting setting on the camera, or a clicker remote, or my favourite is to set up live shooting which links my Canon camera to my smartphone (also works for shooting video).
These remote and delayed settings are also useful when photographing products. “Using a remote can also help by reducing your contact with the camera during capture, thus reducing blur,” explain the team at Ted’s Cameras.
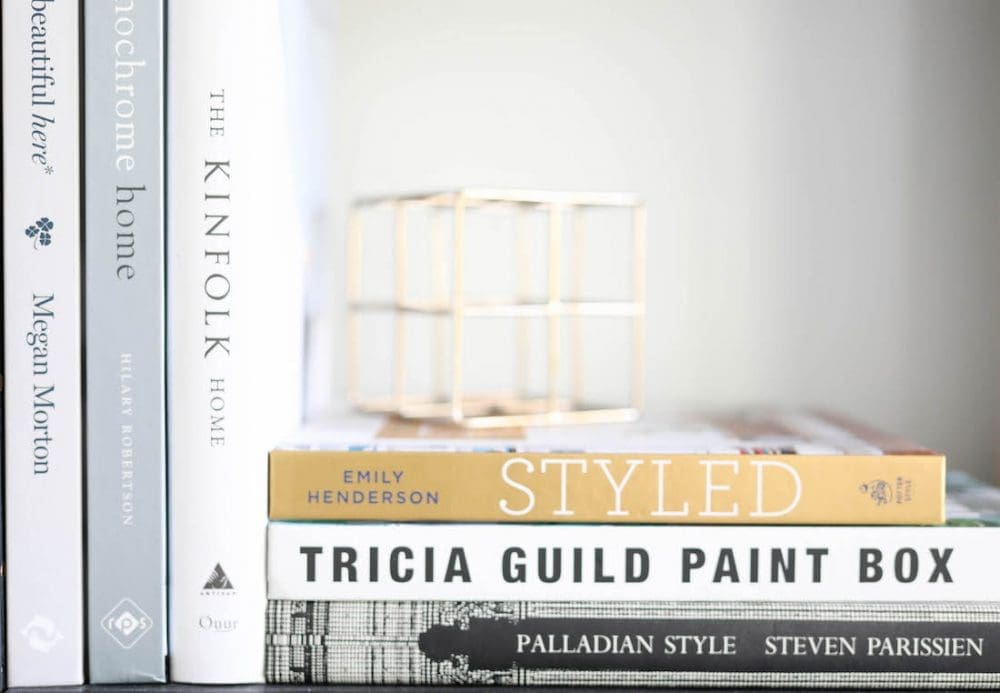
Another time I regularly pull out my tripod is when shooting a flatlay, such as a materials palette for a project or product photography for a hardware/tapware company. Take a peek at the flatlay I photographed below.
Upgrade your equipment
If budget permits, they also suggest upgrading your gear to get the best equipment to capture your shots.
“DSLR and mirrorless cameras provide the best image quality. They are also best for experimenting with manual photography and for attaching external accessories.”
If you are shopping around for new equipment, “avoid wide-angle lenses as they tend to distort. Go for normal-length lenses such as 50mm or longer,” they advise.
“If your products are small and detailed, you may need a macro setup. This includes a macro lens and a ring light.”
Cameras are constantly advancing and different brands and models can suit certain photography needs better. While online reviews are helpful, I found going into Ted’s Cameras and talking with their team most helpful. They asked about my photography needs, my level of experience (not much!) and budget, and from here could make a few customised recommendations on the best camera for product photography.

Editing tips
Capturing a good photo is only the first step in photography — then comes editing or post-production.
We also got some tips from the team to help with this:
- focus on getting a good exposure first: this makes editing easier
- shoot in RAW: this makes your editing process easier and less detrimental to your image quality
- focus on the basics first: learn to set good white balance and exposure levels, as these are the things that you need to consistently get right when putting together a portfolio
- add your creative touches last: add contrast to your images, experiment with saturation and sharpening
- remember to make minor adjustments and keep checking as you progress: it’s easier to undo small adjustments then it is to suddenly realise you have gone too far, and have to start your editing all over again.
I hope you found these tips on how to improve your product styling and interior photography useful. If you’re looking to upgrade your equipment, I suggest visiting the team at Ted’s Cameras as their staff aren’t just salespeople, they’re photography experts who can recommend the best products to suit your needs and budget.
More styling tips here
This article was first published in July 2020 and continues to be updated with latest information and images.

