
Those of you who followed our home build journey would know we completely blew our budget… Although, to be fair, we never had a fully itemised budget to start with. I laugh when I think back to how we just winged the whole owner builder thing and figured it out as we went.
But, turns out your build budget disappears VERY quickly! Especially when you get tempted by pretty (always equates to expensive) products or materials along the way. After a few too many upgrades, the budget I had allocated to landscaping and driveway vanished.
I decided it was better to wait and get the driveway I wanted rather than rush and put in a standard concrete driveway. After a long wait, we finally got it!
Related article: Get your home and gardening jobs done with Airtasker
Related article: Laundry renovation reveal: Gina’s new laundry

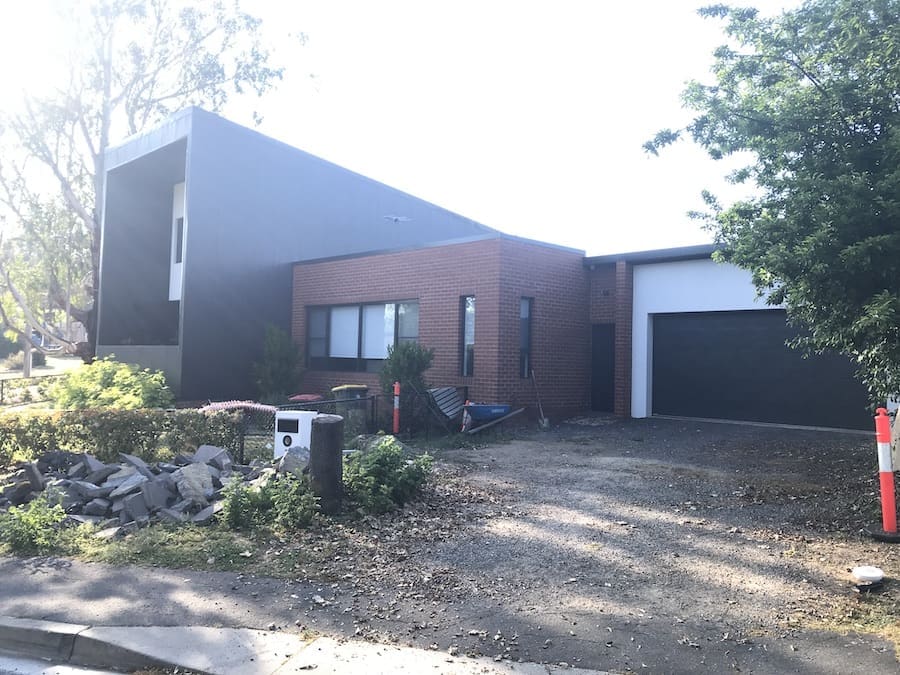
‘Driveway’ before
Excuse the mess but this is the real before pic of our house, ha ha!
As you can see, my ‘driveway’ for the past three years has been a gravel ramp. It did the job in the sense that we could get our cars in and out but it certainly didn’t look great and loose gravel always ended up in our garage or washing away when there was heavy rain. It was only a temporary solution.
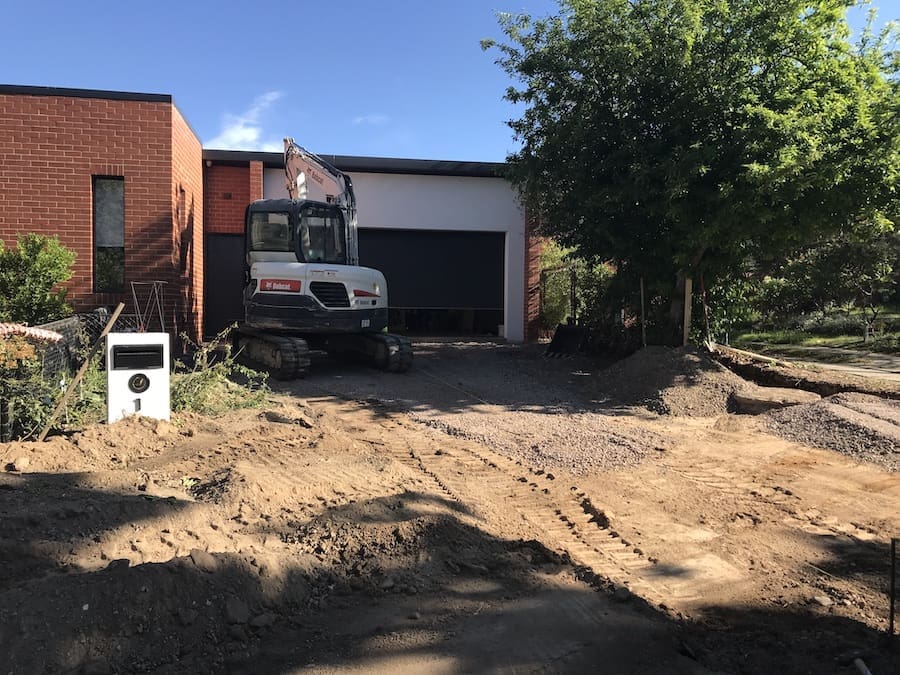
Driveway in progress
The first step was to clean up the area. We removed that rubble of concrete (from our backyard), took out the tree stump, and got an excavator in to remove the gravel and dig around 200mm deep.
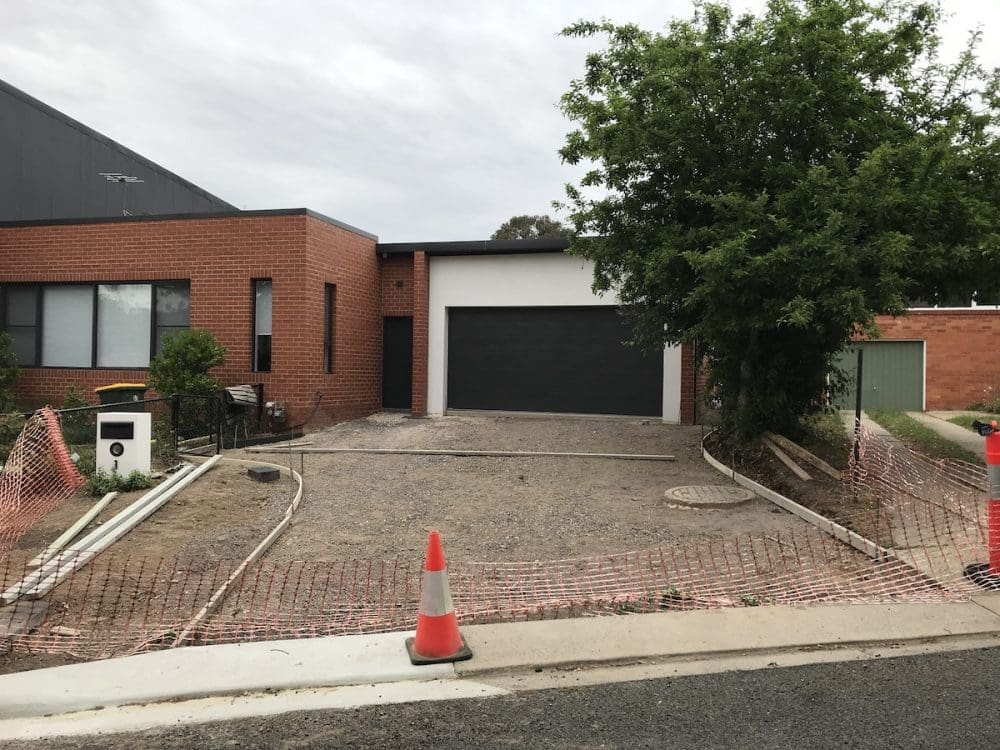
Next, we did the set out. This is the formwork for the concrete to be poured.
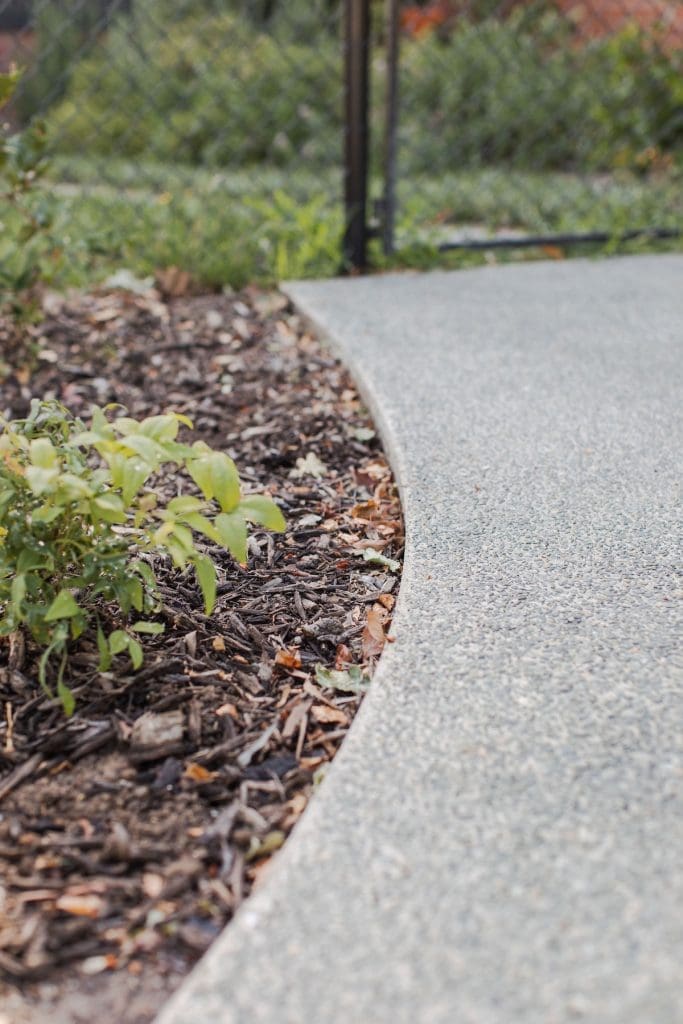
Of course, I don’t like to make things easy so rather than a straight driveway, I wanted to introduce some curves to soften the hard angles of our house. My step-father is a landscape architect and he drew this shape for us. Using timber planks and pegs, we were able to create the curve shape. We also added steel rio for extra strength (but this isn’t required).
(I should mention, before creating the formwork, we extended the driveway entrance at the curb to around 5m. That way, the driveway would be in proportion with our house and we would be able to get cars in and out easily.)
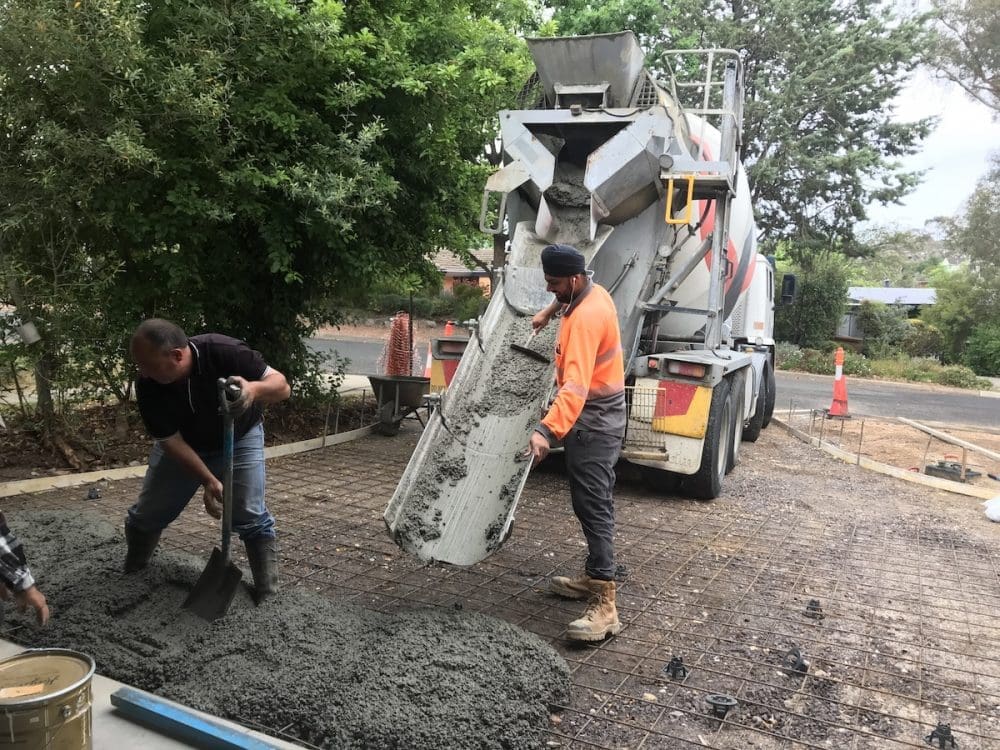
After a few false starts because of weather, I can’t tell you how excited I was to see the first truck roll in to pour the concrete!
We selected a beautiful exposed concrete from Holcim’s Geostone range. It’s a natural look that adds character with a raw aesthetic. At first I was tempted by the more colourful exposed concretes in their range. I thought those with reddish pebbles could pick up the red brick of our house. But ultimately I decided I wanted an understated driveway and opted for a simple grey cement with blackish and grey stones.
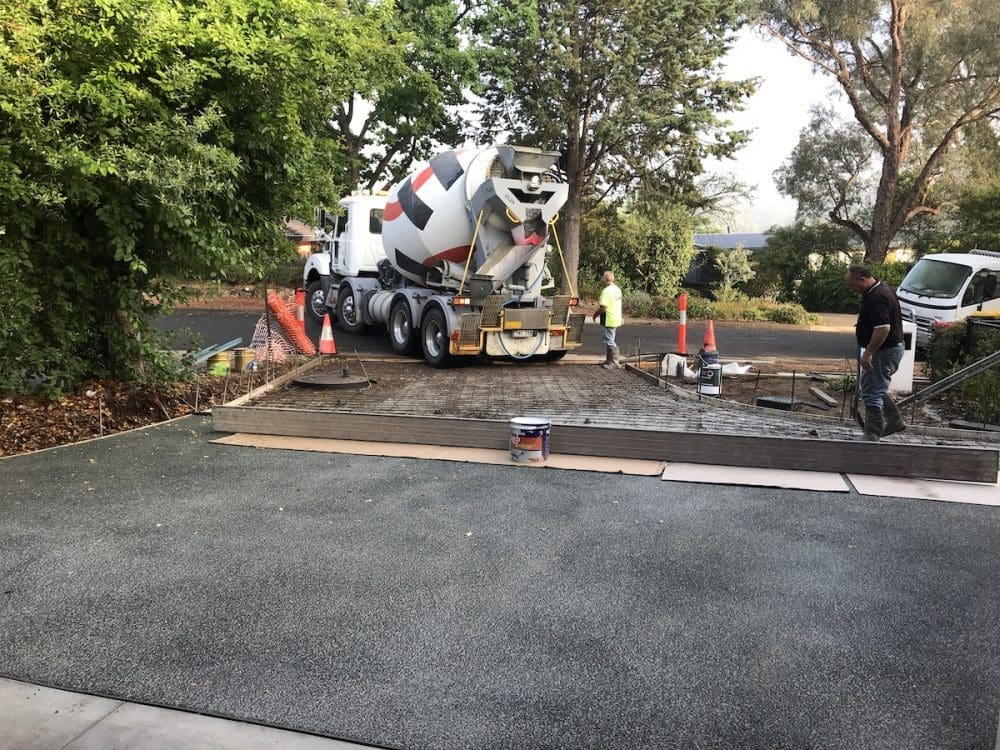
To achieve the exposed finish, the concreter needs to wash the concrete before it dries. Given the size of the area (we also concreted down the side of our house), he wanted to do the driveway in two stages. You can see the area we poured on Day 1 in the pic below. After 48 hours, we poured the rest of the concrete.
After two days, we had a person come to cut expansion joints (to prevent the driveway from cracking). It’s best to get a professional to do this so you get neat, clean lines.
The last step was to apply two coats of clear, matt sealer. This protects the cement from staining and discolouration, and helps to bring out the colour of the stones. For anyone planning their own project, you may also want to look into effective driveway sealing options to ensure long-term durability and protection.
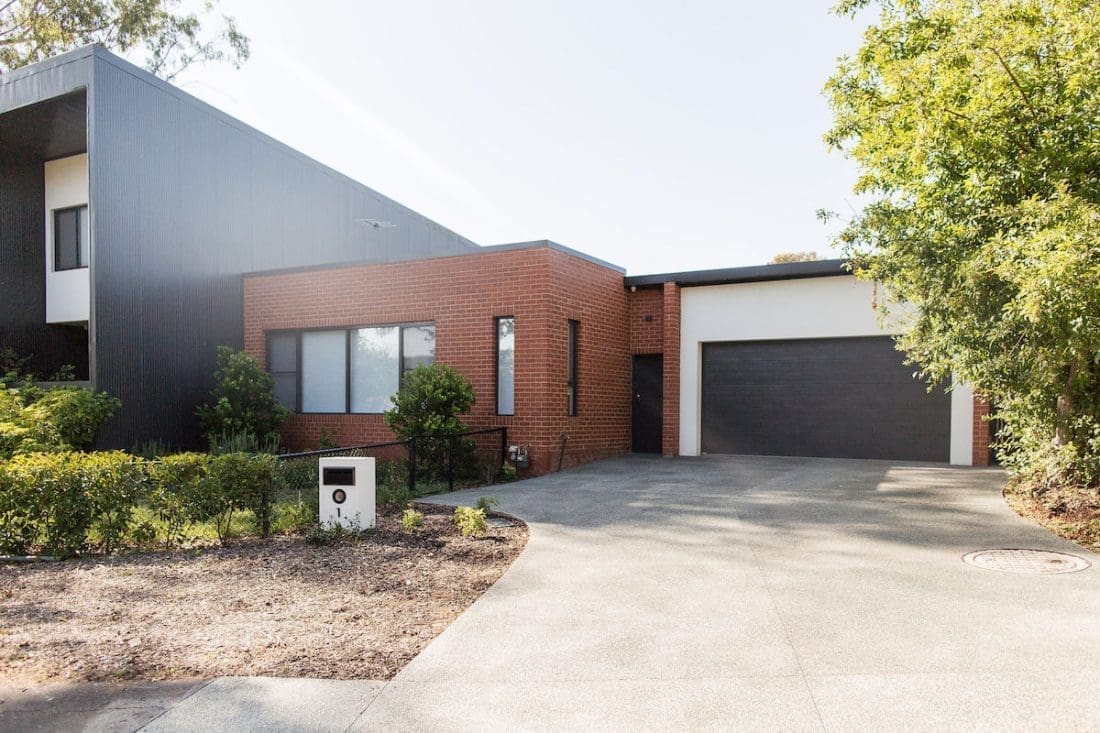
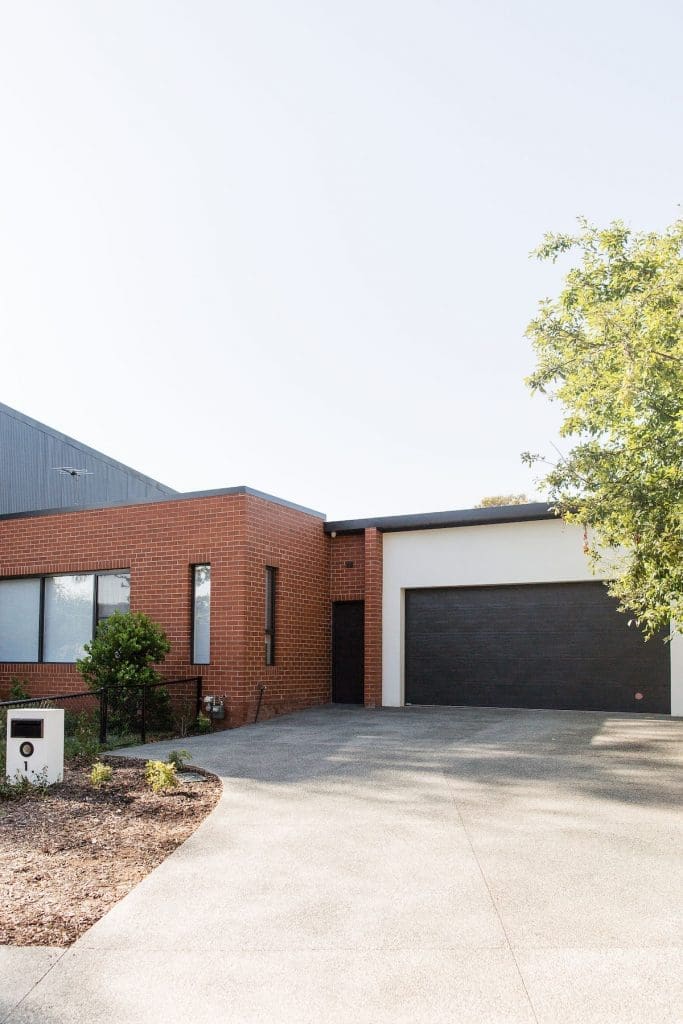
Finished driveway, YAY!
And here she is! I cannot tell you how happy I am to have a real driveway. I love how it turned out.
The simple grey stone exposed concrete feels in balance with the house — I adore the raw finish and curved shape.
If you’re looking at getting a driveway, the team at Holcim were incredibly helpful and have many options in their exposed concrete Geostone range, including black or white concrete and a whole range of stone options too.
It took a while but it was certainly worth the wait!
I’d love to know what you think of my new driveway? Do you think I made the right choice with the simple aggregate? Did you get any ideas for your driveway?
More from our home


Photography by Thorson Photography


")

Comments are closed.