
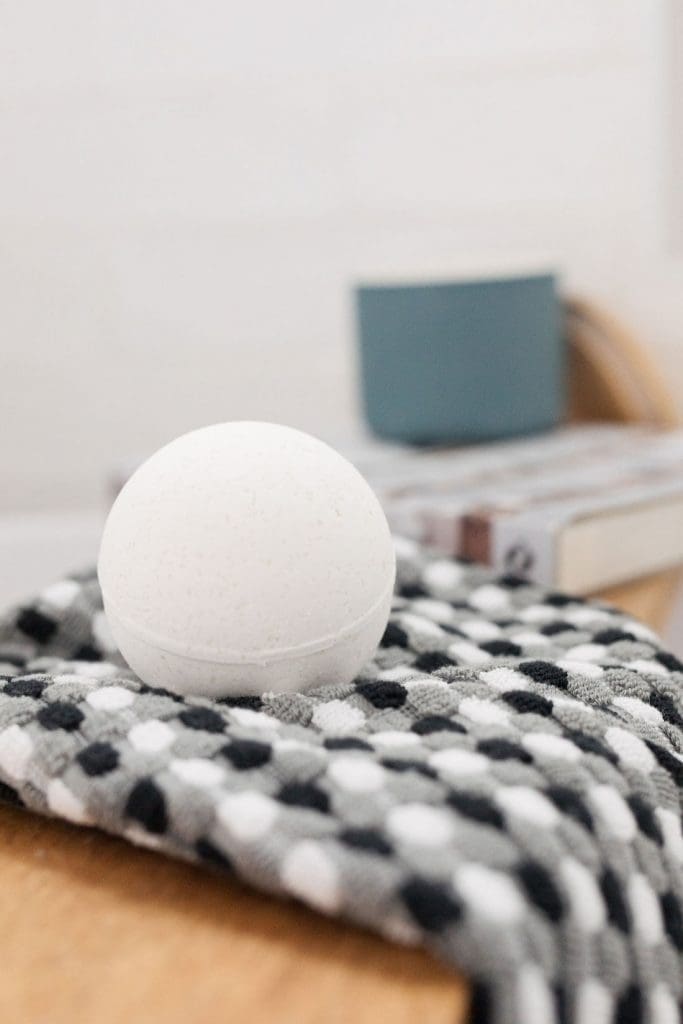
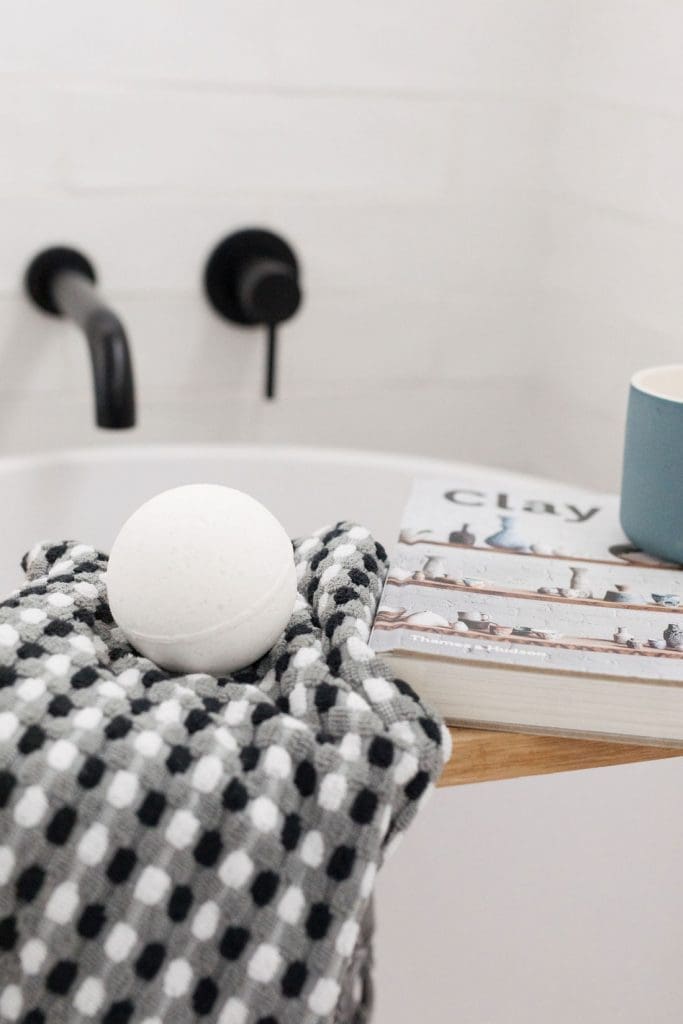
With the cooler weather creeping in, bath season is here! Pamper yourself in style with a luxe bath bomb that’s just as good as any you can buy but for a fraction of the cost and without the hidden nasties. This DIY is so easy and you can easily customise it to suit your preferred scents. Oh, and it makes a fab gift idea too 😉
So let’s get into how to make these gorgeous bath bombs!
Related article: Make your own natural room spray
Related article: Top 10 essential oils you need for the home
Items you will need
- 2 cup baking soda
- 1 cup corn flour
- 1 cup citric acid
- 1 cup Epsom salts
- 6 tsp. coconut oil
- 2 tsp. water
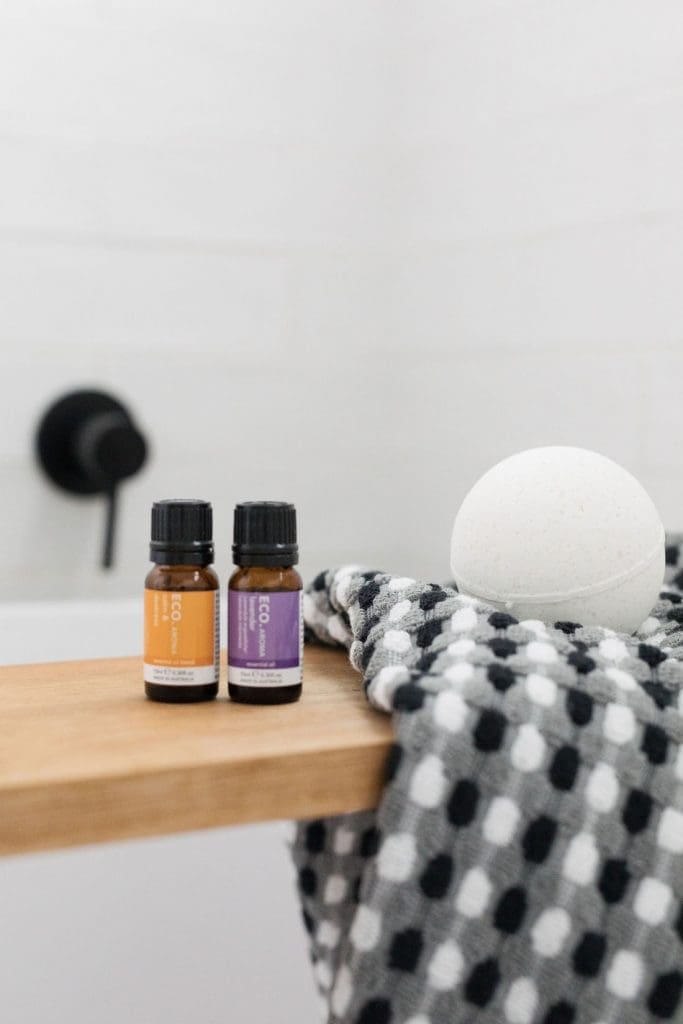
- 30 drops essential oil
- Bowl
- Mug (or other small container to mix wet ingredients)
- Spoon
- Spherical mould
- Latex gloves
- Dried flower petals, herbs, icing sugar flowers or other items to decorate (optional)
- Food colouring (optional)
These quantities will make 3 large bath bombs so if you would like to make more, simply double or triple the quantities.
Steps:
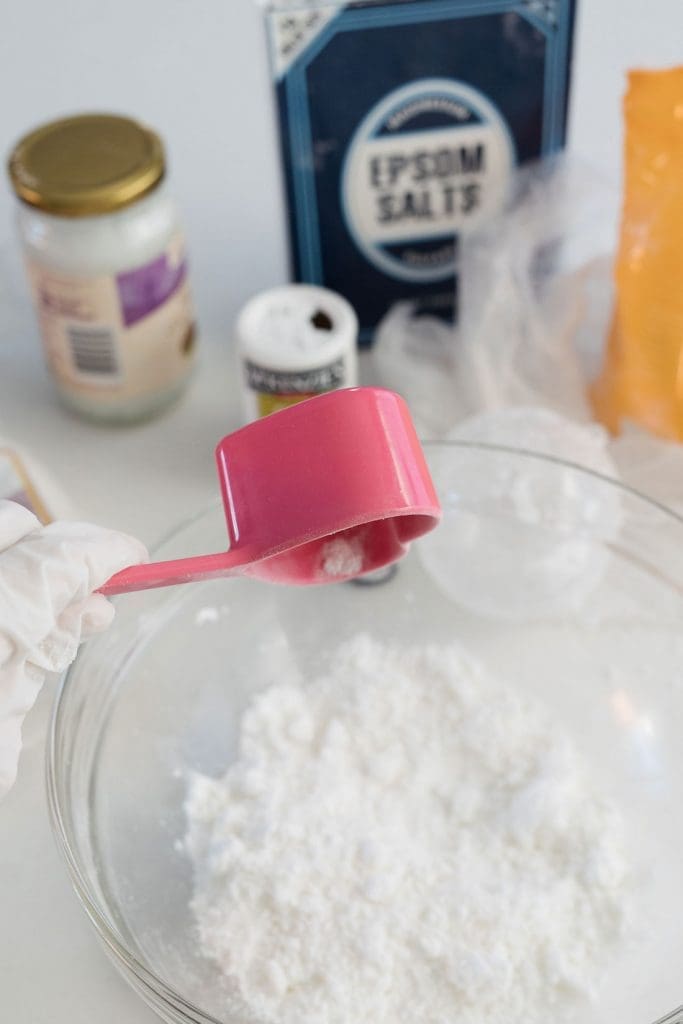
1. Place all the dry ingredients (baking soda, corn flour, citric acid, salt) in a bowl and combine evenly.
2. In the mug, mix all your wet ingredients (coconut oil, water, essential oils) and stir well. You should create a nice smooth paste.
We encourage you to get a bit experimental with scents or to do some research to find the right scent. We used peppermint oil as it is said to help with headaches and it’s also very uplifting. Lemon oil, bergamot oil and jasmine oil is a great combination for an invigorating bath bomb whereas orange oil and rose oil combined with the coconut oil makes a gorgeous blend for a more romantic bath bomb. You can also buy pre-blended essential oils such as ‘calm and destress’, ‘clarify and focus’ etc.
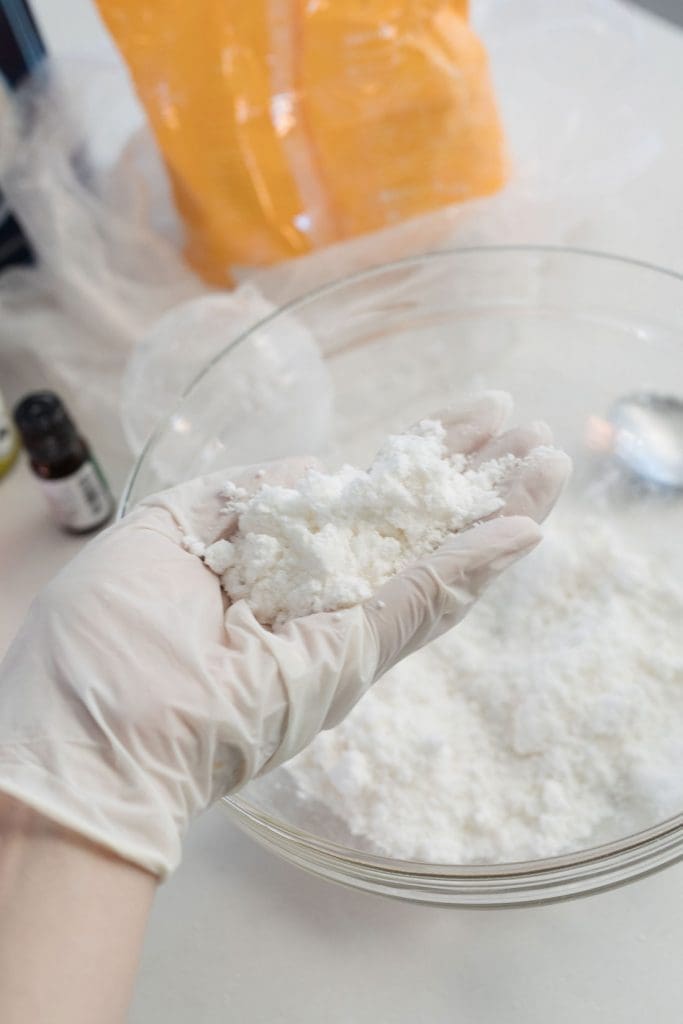
3. Now it’s time to put your gloves on, mix the wet and dry ingredients and have some fun!
We recommend using coconut oil for bath bombs instead of other oils as it creates a paste rather than a liquid… if you use a liquid oil, you need to very slowly combine the wet and dry ingredients together to prevent the dry ingredients from reacting and fizzing because you want to save that until bath time. However, using coconut oil means you can simply make a well in the middle of your dry ingredients, plop all the wet ingredients (aka the paste) in the centre and use your hands to begin mixing.
You should end up with a crumbly consistency that only just holds together when you squeeze them in your hands. Don’t be alarmed if it still appears very dry, these quantities are correct.
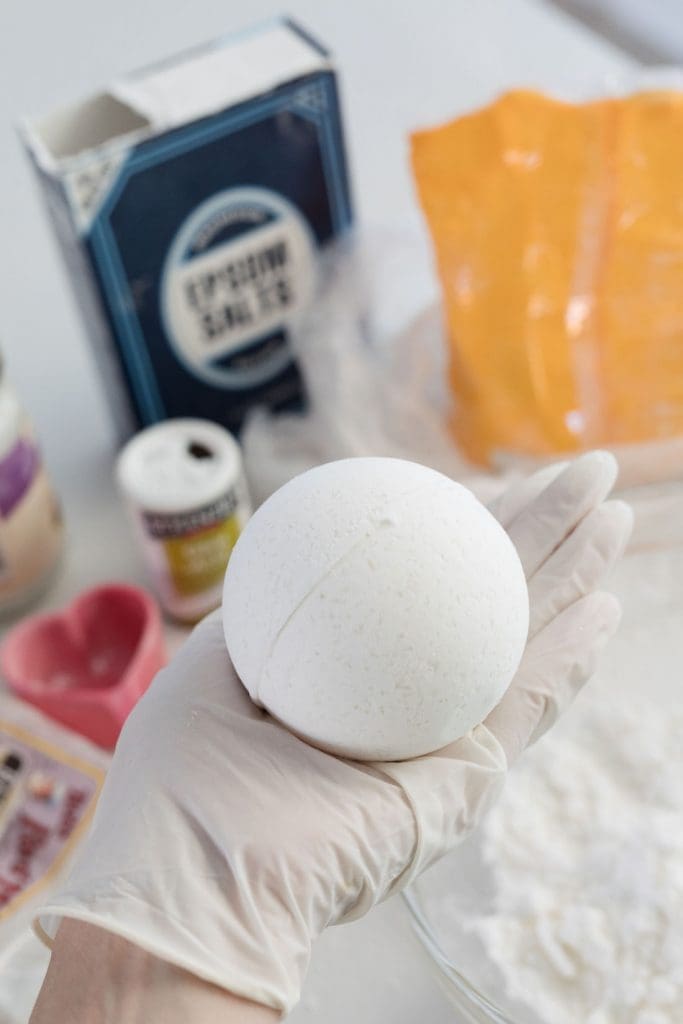
4. Once the ingredients are mixed well, pack the mix tightly into your mould. Slightly overfill each half of your spherical moulds and then use a twisting, pushing motion to bring the two moulds together until they click shut.
Some people like to add decorative elements such as a sugared flower on top as seen in luxury body shops — you will need to add this in the mould before compressing it closed.

5. After the mould has been compressed shut, take the back of a spoon and gently tap the plastic mould to release the bath bomb and place on a clean board to dry for 48 hours.
That’s how easy it is to create these personalised and luxurious DIY bath bombs! This DIY will create 3 bath bombs so, if you would like to create more than that simply double or triple all of the ingredients.
Tips:
If you want to make more than one scent, divide your wet ingredients in half or thirds and do the same with your dry ingredients.
You would also do the same if you wanted to create different coloured bath bombs and add food colouring to the wet ingredients. It is important to note though that food colouring may stain stone or porous bath tubs so use these at your own discretion and remember only a few drops are required.
You can easily customise this bath bomb tutorial by using different essential oils, colours, or moulds to change the way they look or smell.
Do you think you’ll try this DIY to make your own luxe bath bombs? Or do you have any questions about how we made these? Post your comment or question below and we’ll get back to you asap.
Check out more DIYs
This post was first published in May 2019.

