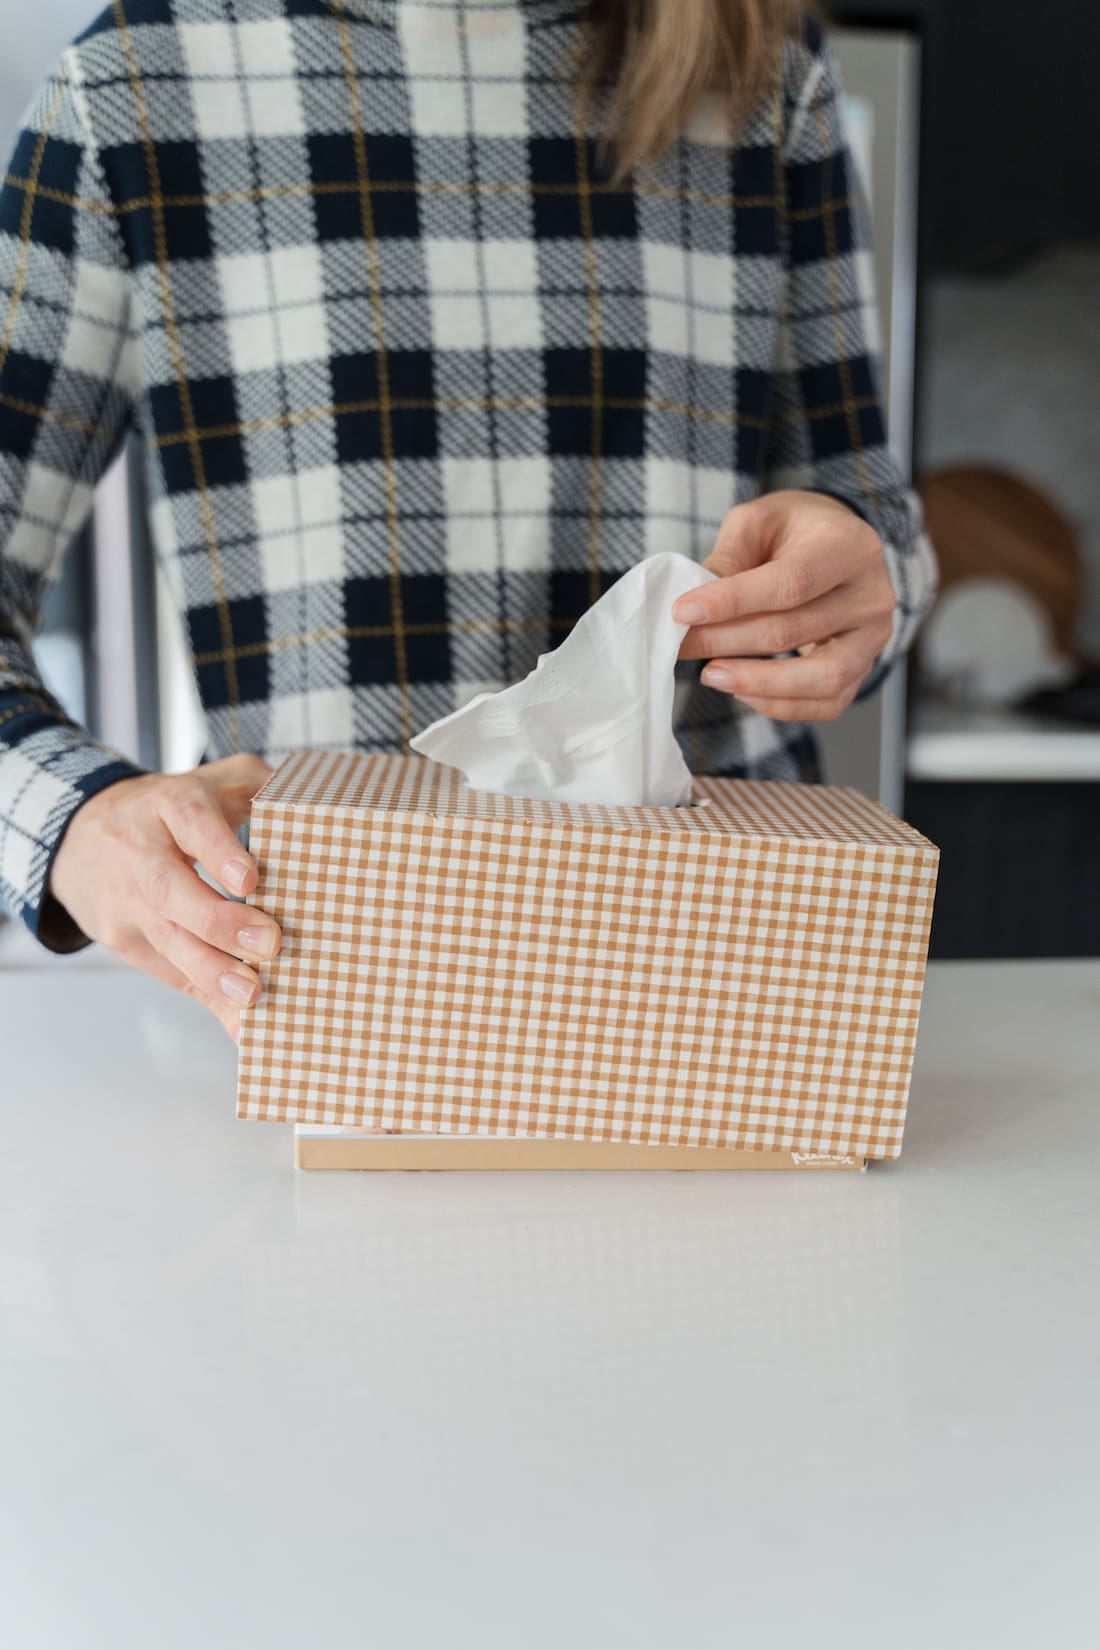
Flu season is here and if there’s one decor item I’ve always struggled to find, it’s a stylish tissue box! So when I spotted this plain craft tissue box at Bunnings, I decided it was time to DIY my own. (Actually, I bought 2 and am working on a second tissue box that I will share soon… fingers crossed it turns out 😉 )
For this first tissue box I channeled my inner American craft Mom. Using Mod Podge and a piece of tissue paper that was too pretty to throw away, I created an on-trend tissue box in minutes.
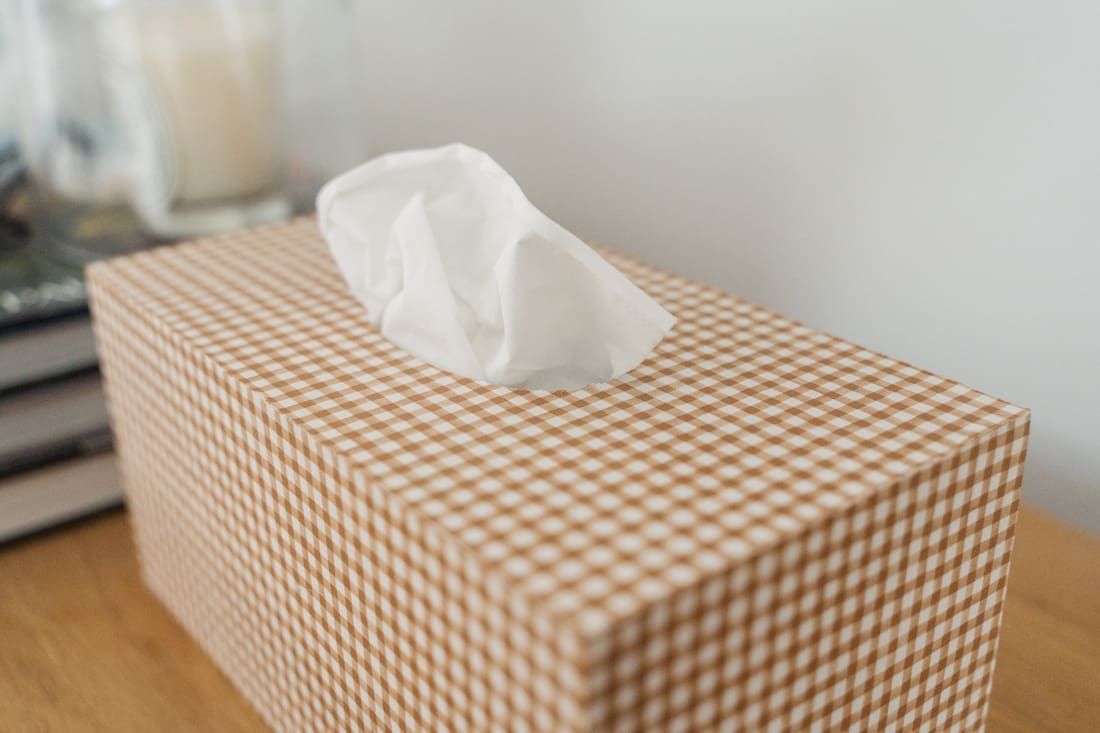
So keep scrolling to check out how I made this DIY checkered tissue box cover!
Related article: HACK your own wall light… without HACKing into your walls!
Related article: 20 of the best concrete home decor DIYs
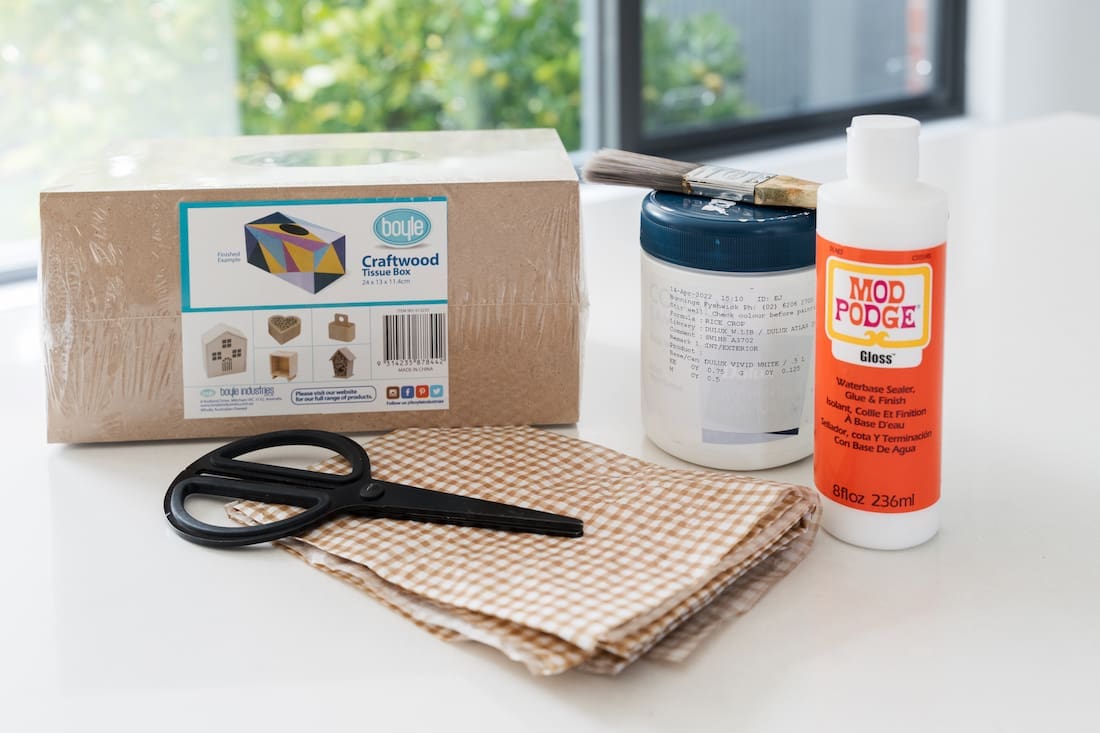
Items you will need:
- Craft tissue box (I bought this tissue box from Bunnings)
- Paper of your choice (this checkered tissue paper is from Emma Kate Co.)
- Mod Podge
- Scissors
- Stanley knife
- White paint and brush (optional if paper is semi-translucent)
Steps:
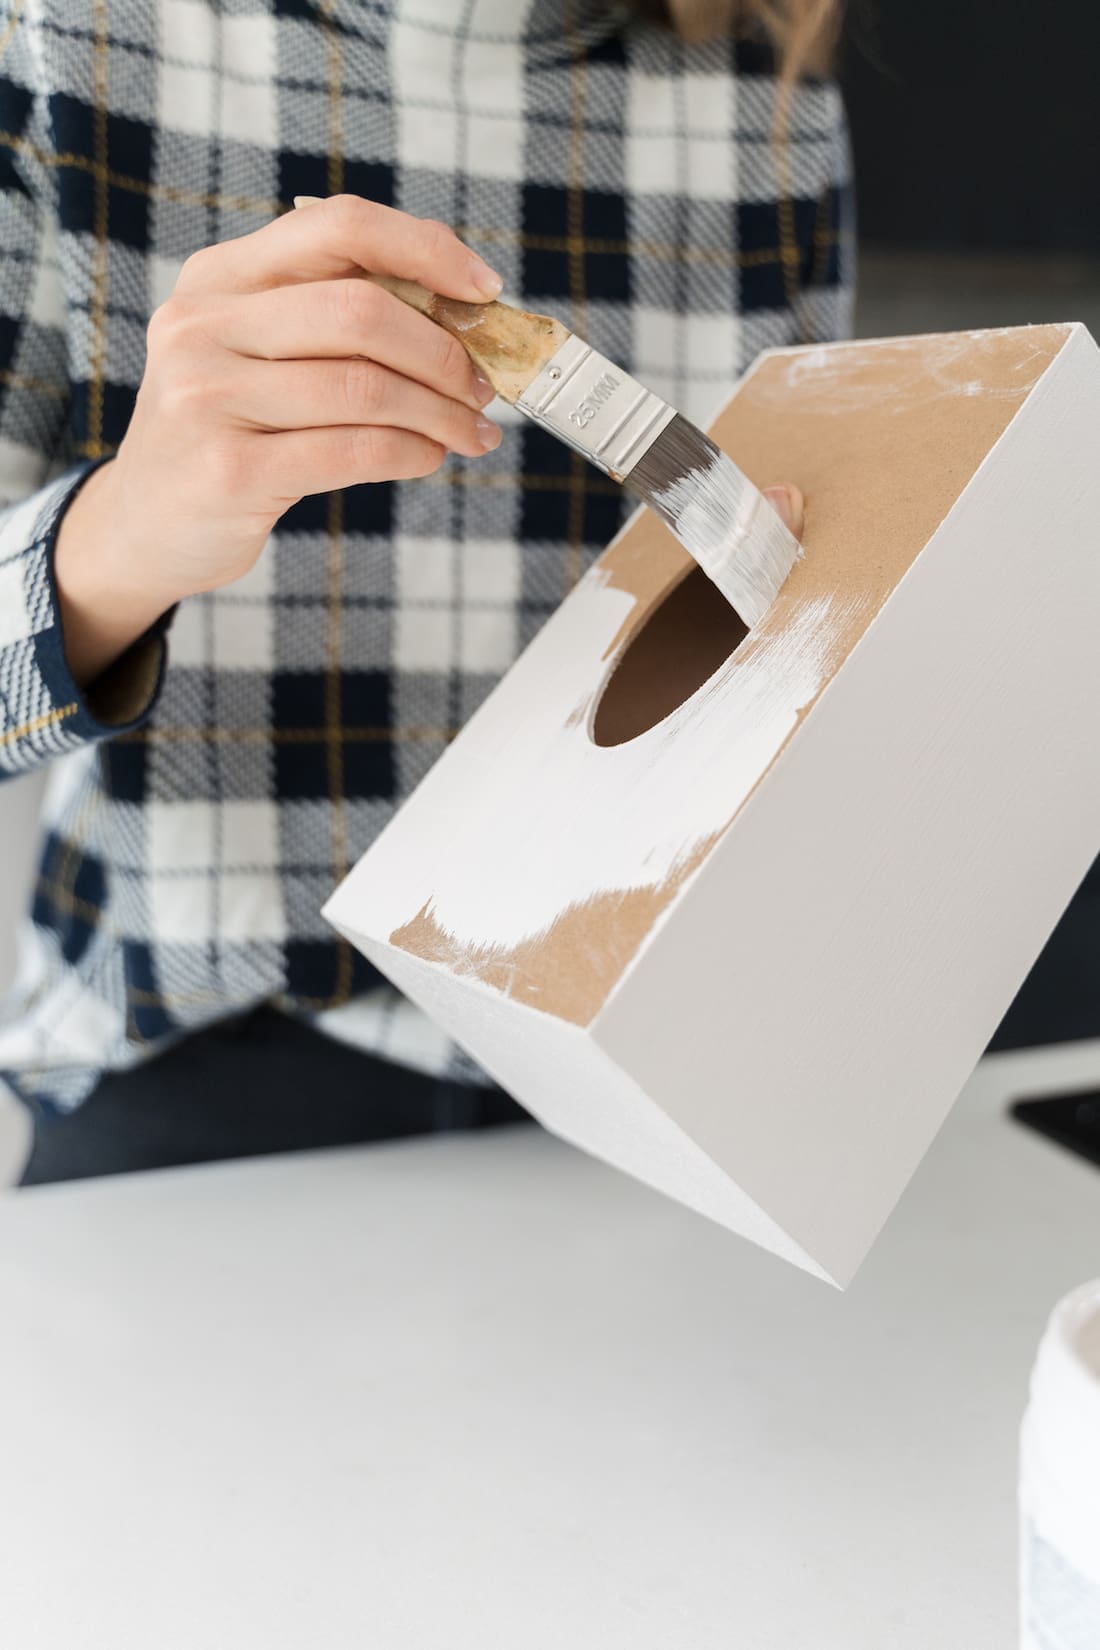
1. If your paper is semi-translucent like mine, I suggest starting by painting the box with a coat of white paint. This will help the colours of the paper to pop.
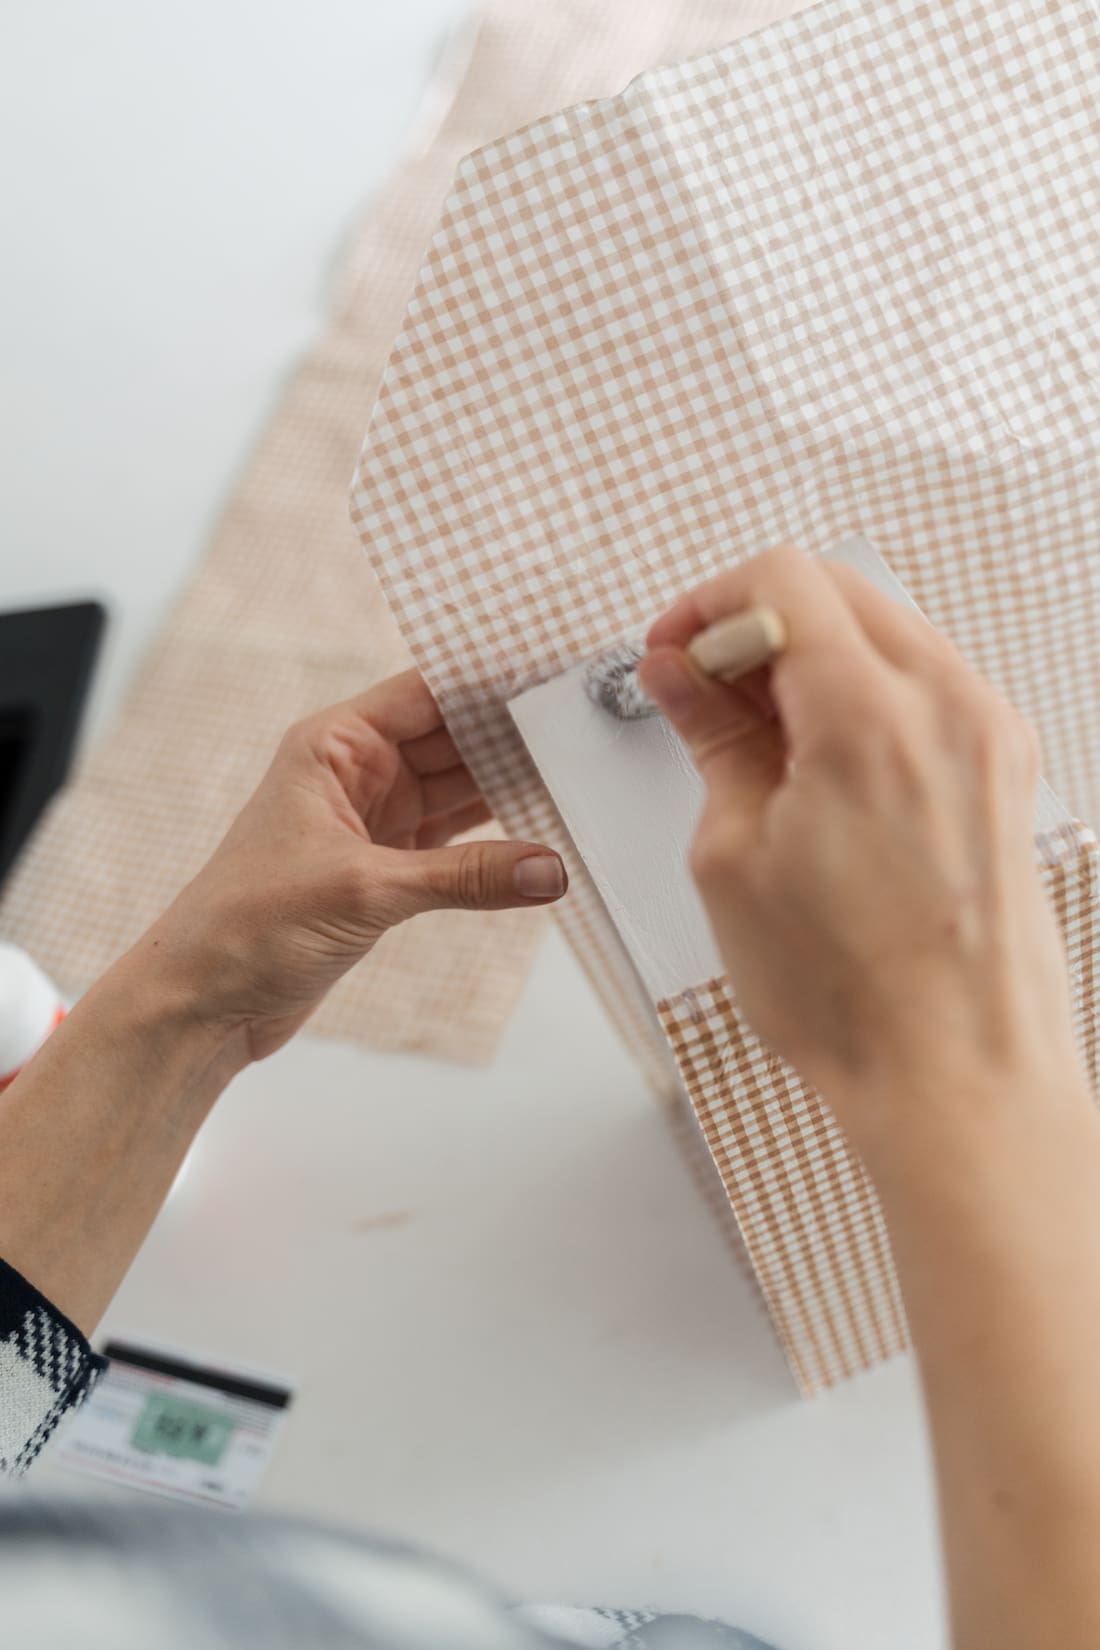
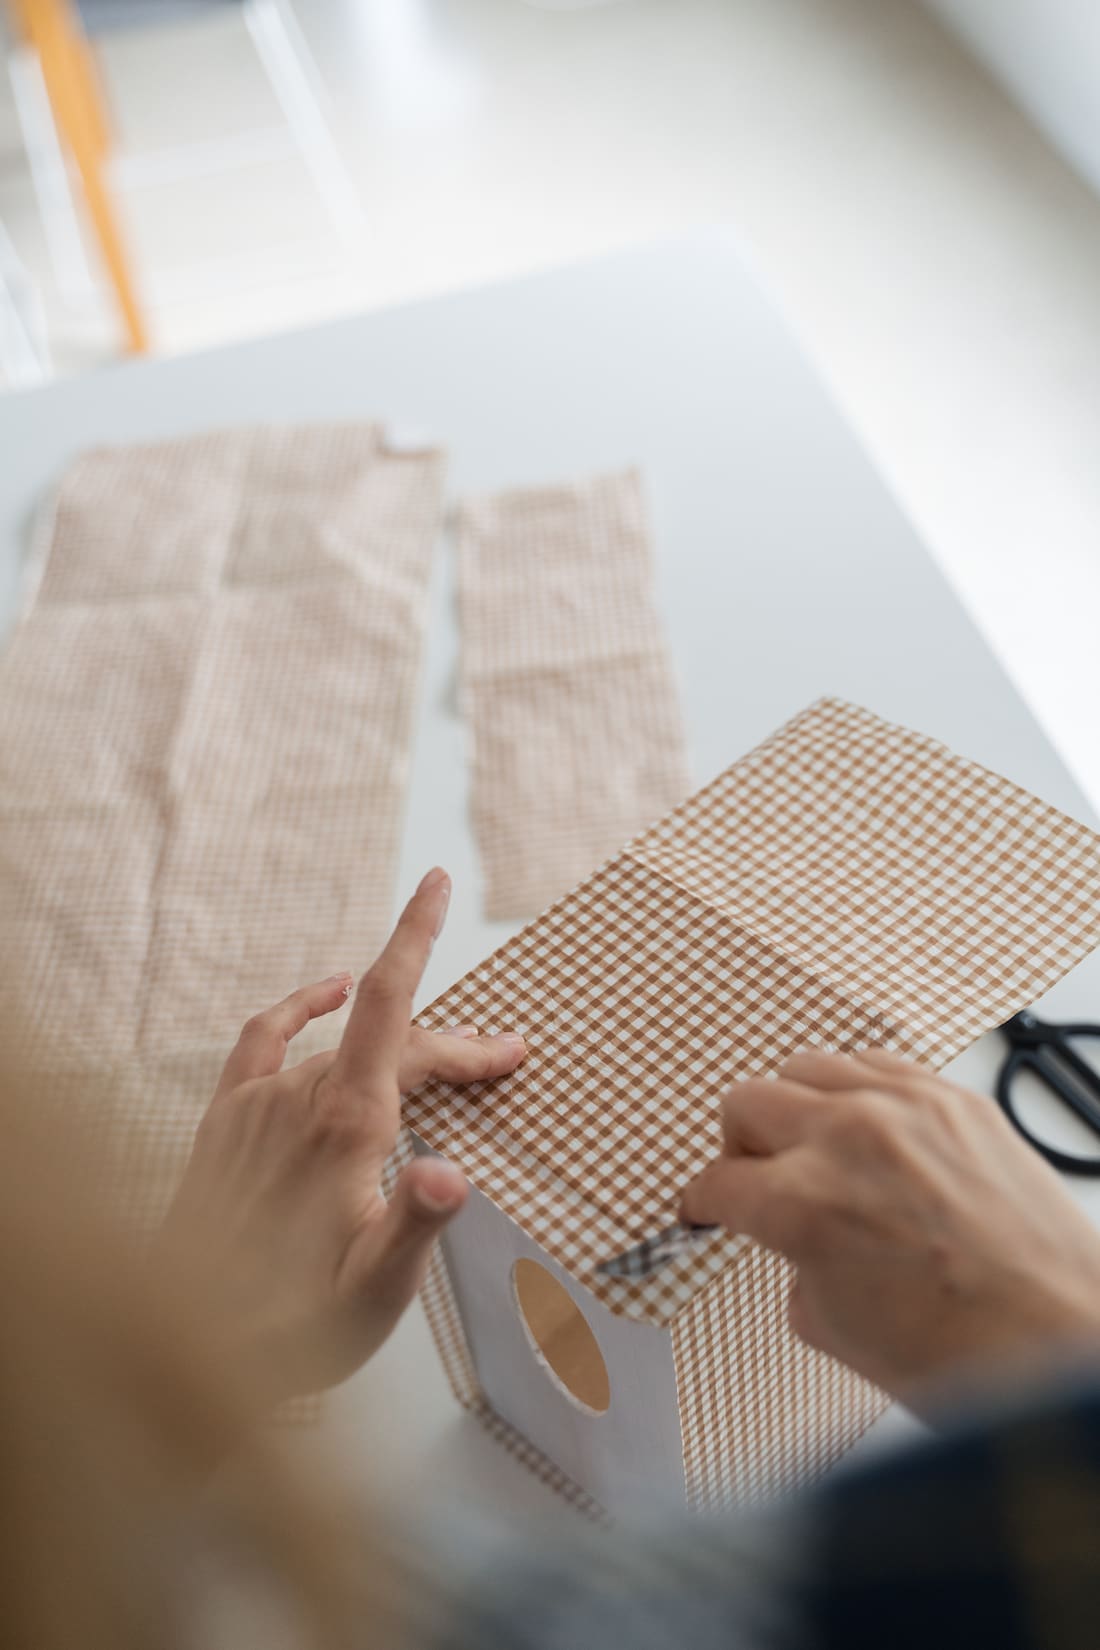
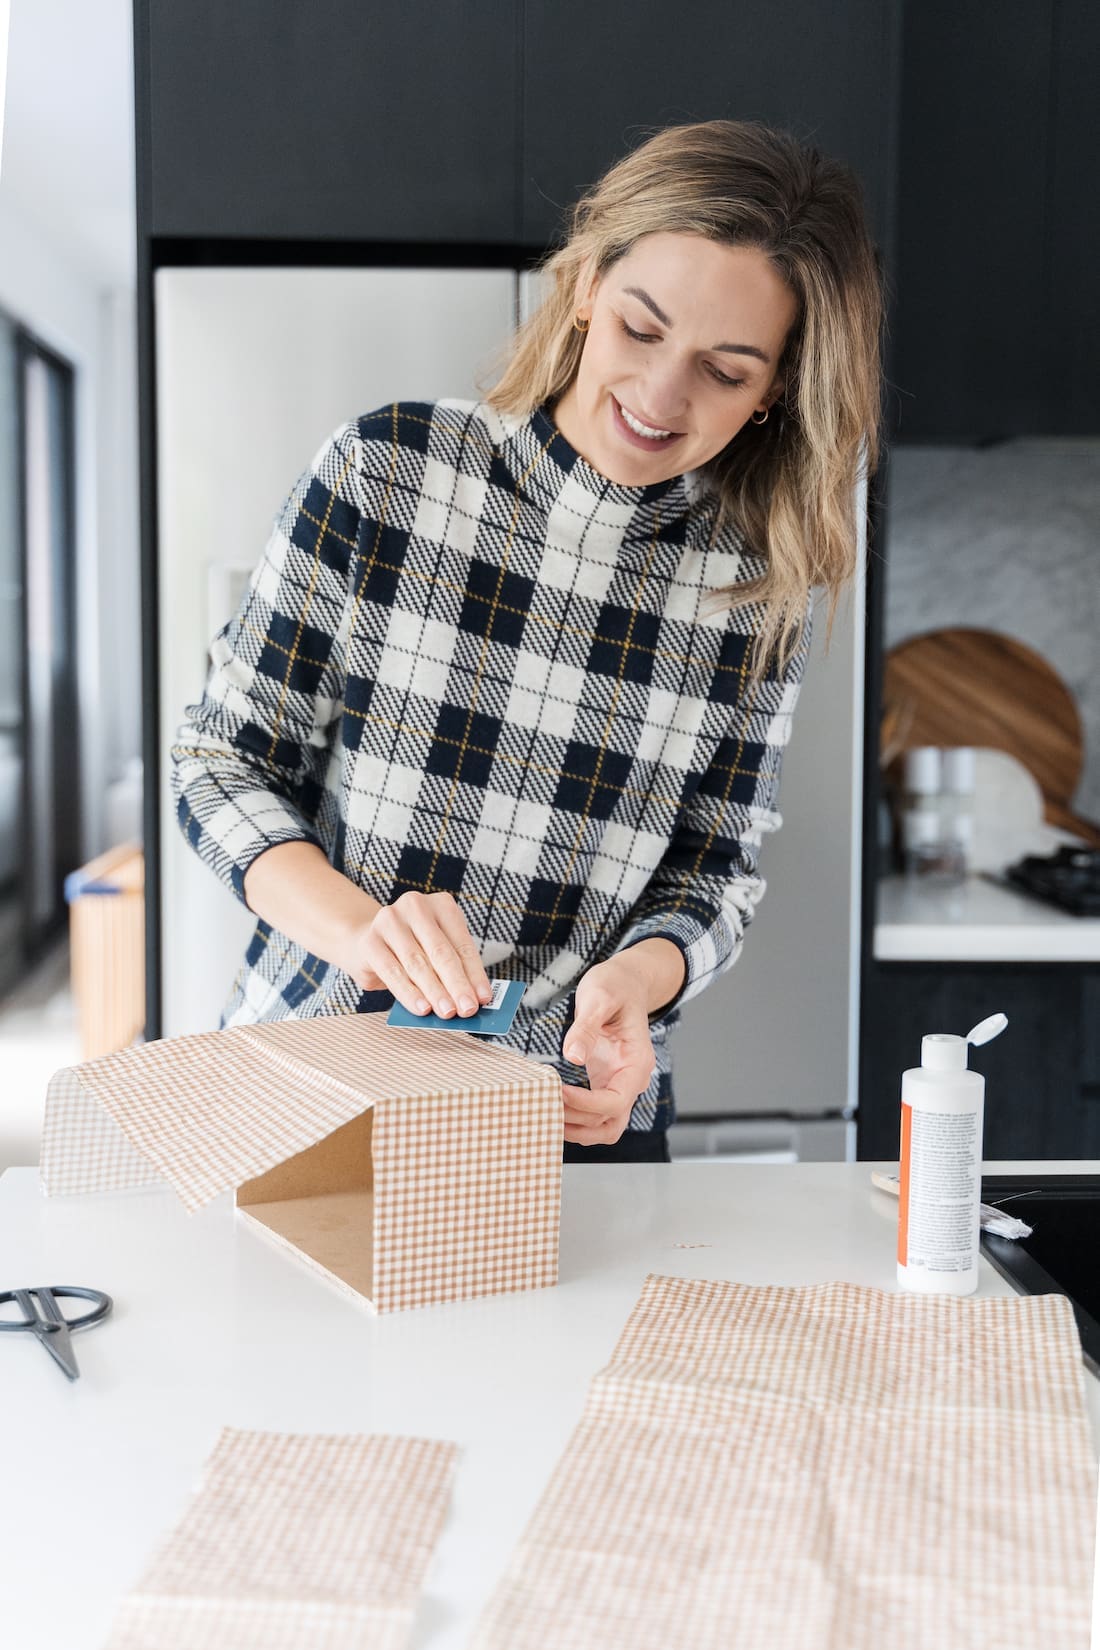
2. Once dry, apply a thin layer of Mod Podge to one side of the box. Then press down your paper and gently smooth out any bubbles. You may find using a credit card helps.
3. Repeat this step on all 4 sides of the box. Once dry, carefully trim the excess paper with a stanley knife.
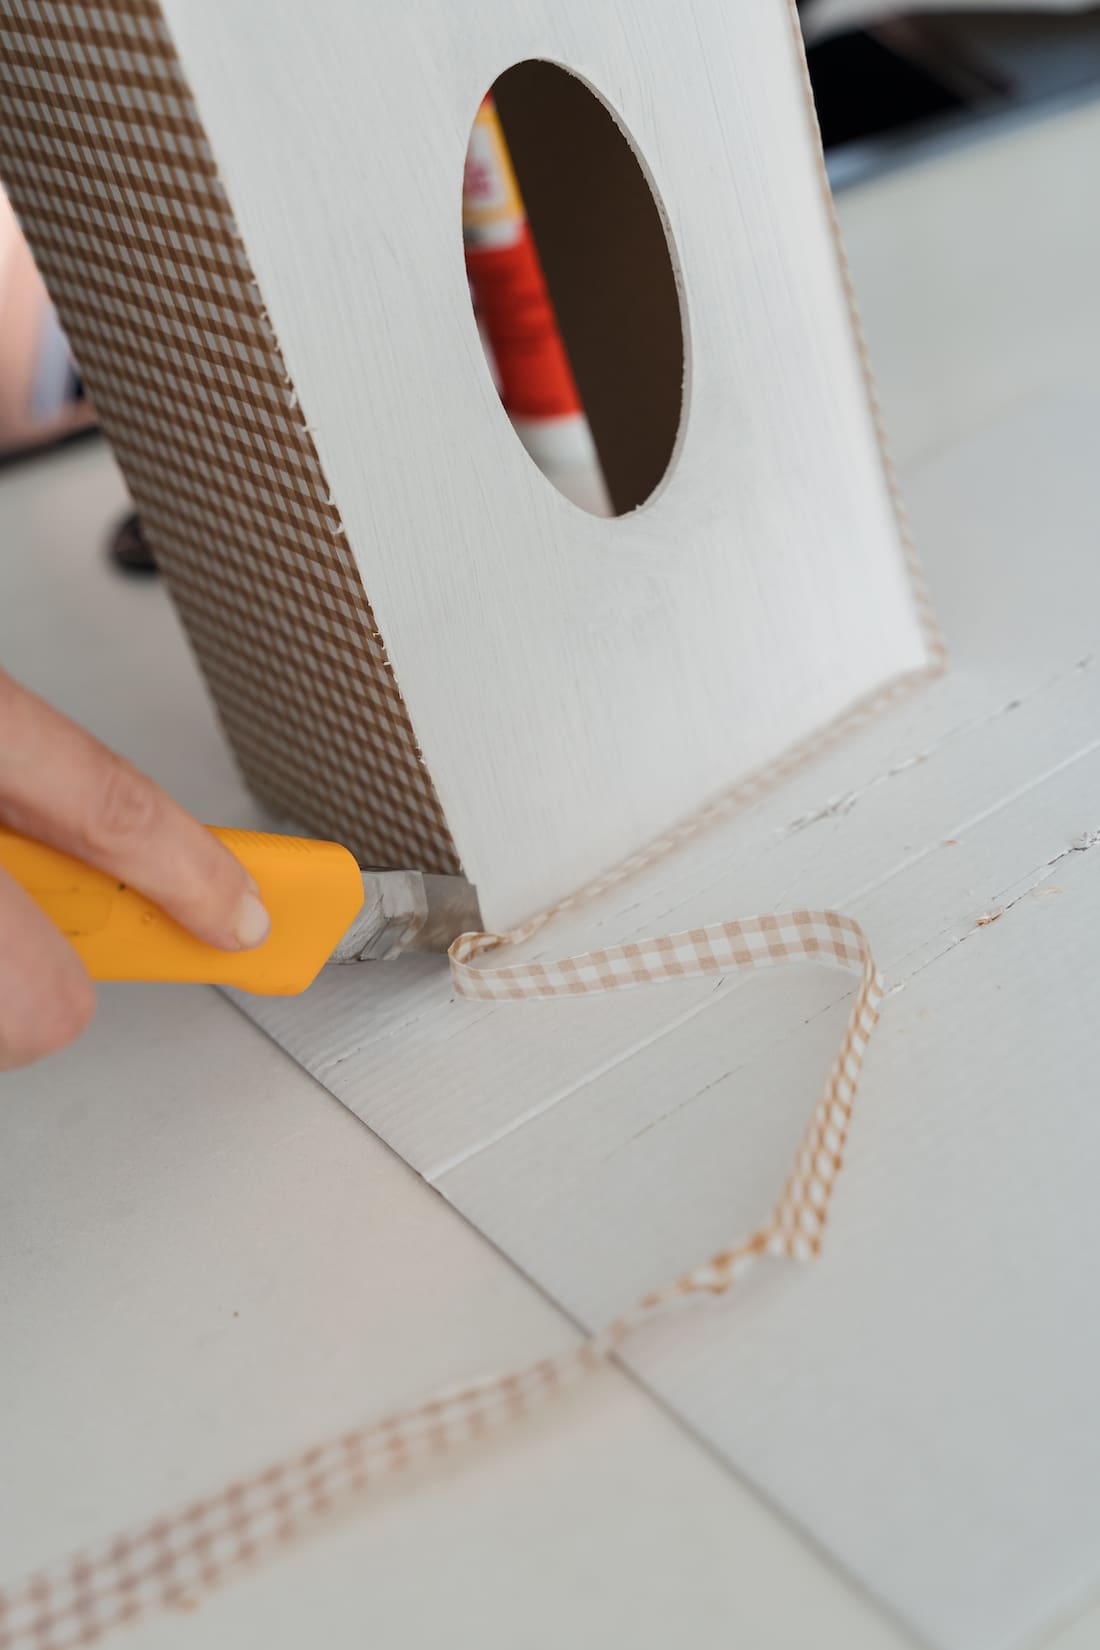
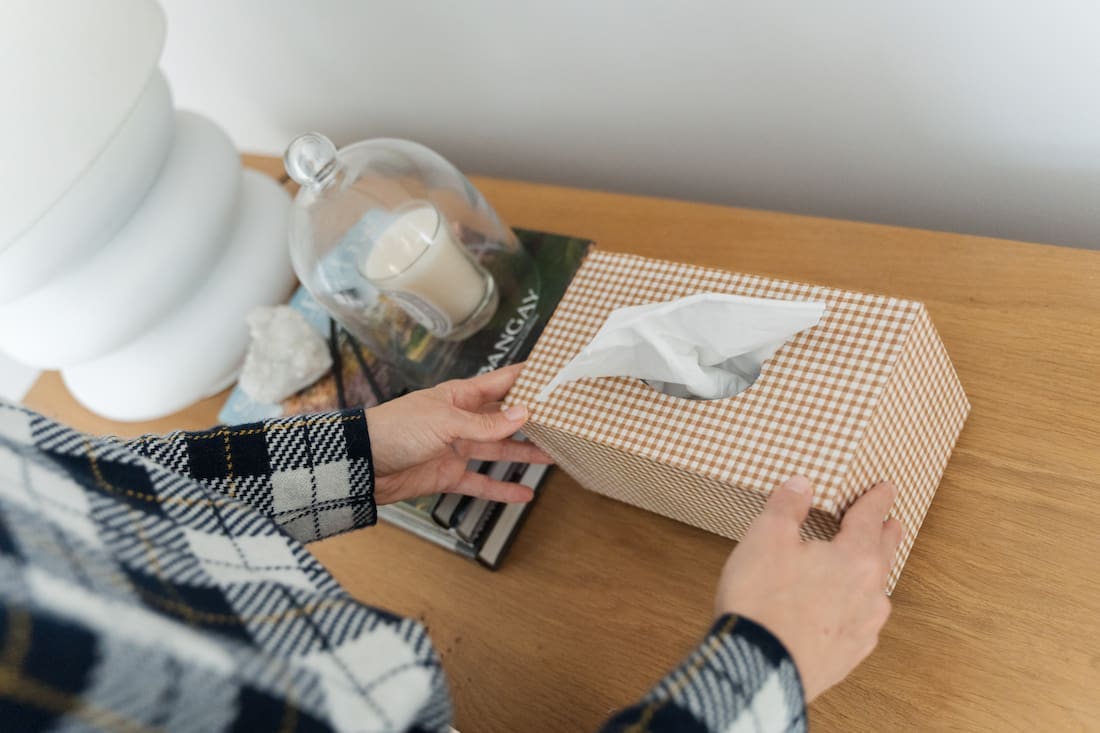
4. Then use the same technique to apply Mod Podge and paper to the top of the tissue box. And once dry, trim the excess and cut out the tissue opening with your stanley knife.
5. Finish by applying a layer of Mod Podge to the entire tissue box. This will seal and protect the paper and provide a slightly glossy finish.
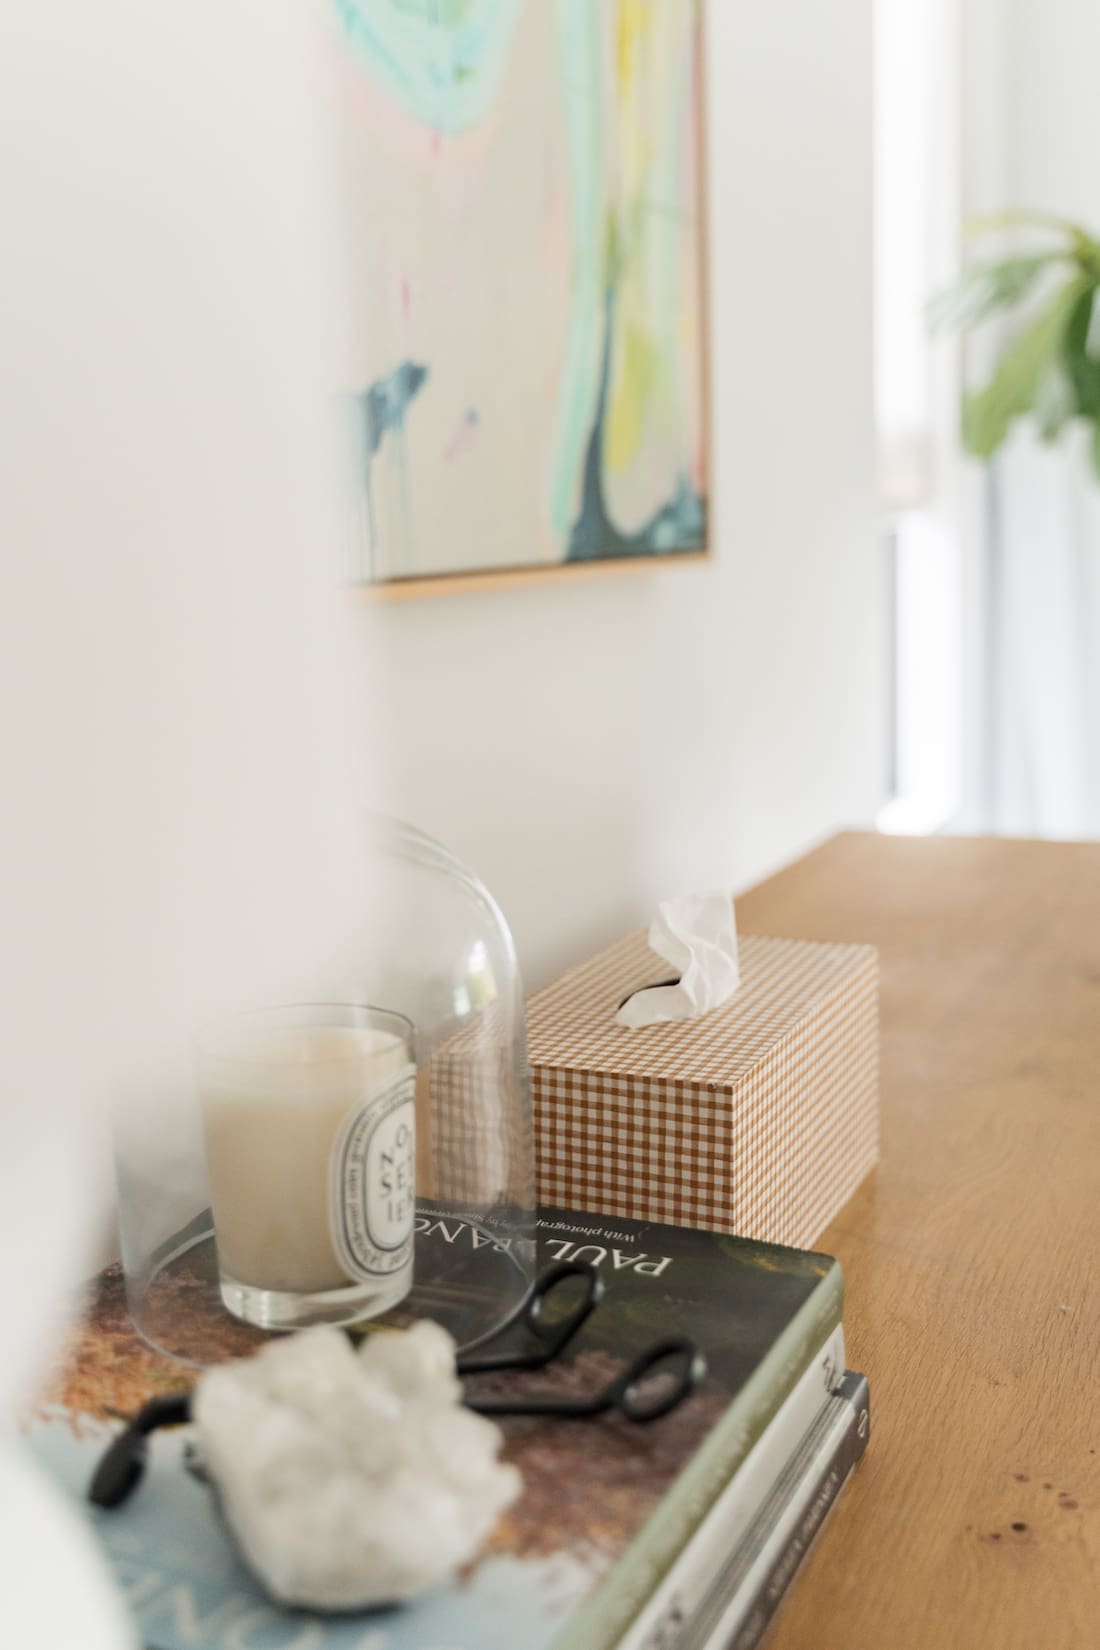
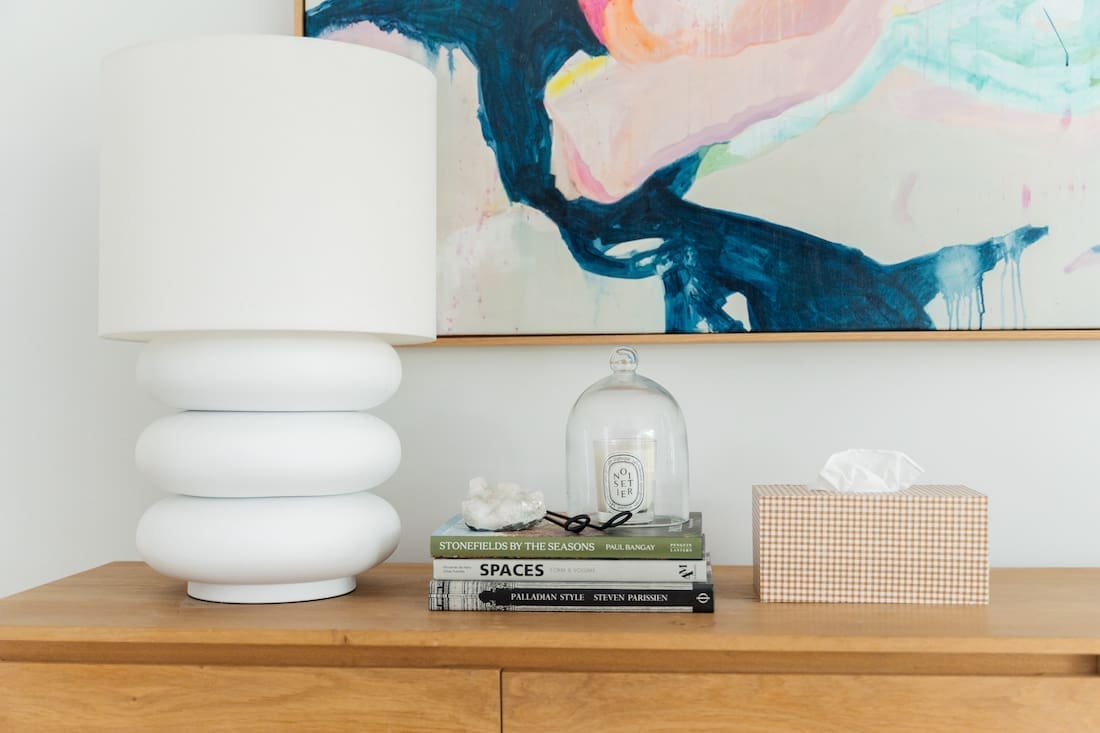
It’s that simple to make your own on-trend tissue box. And you can customise this tutorial to use any type of paper you like. So if you’ve been holding onto some beautiful gift wrap that you just can’t throw away, perhaps this is a DIY to put it to good use!
Are you inspired to make your own tissue box? Or do you have any questions about this DIY home decor tutorial? Pop them in the comments below and I’ll get back to you asap.
More DIY ideas