
Spring is so close we can almost reach it!
For us, Spring is the perfect time to freshen up our homes with a wave of new colours and more plant life.
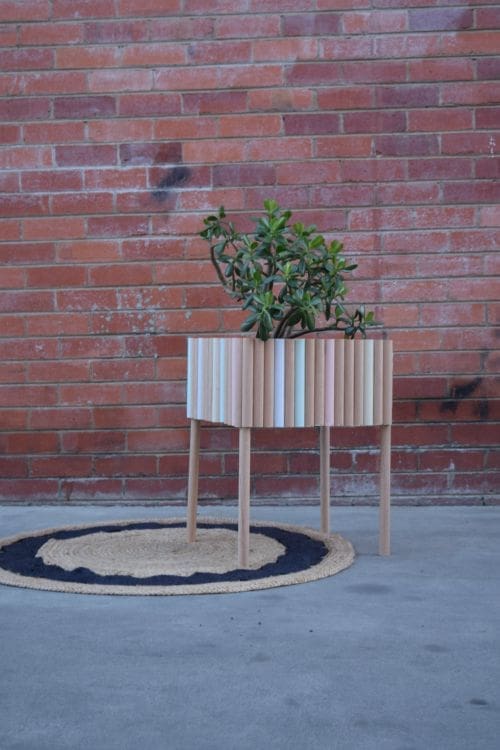
Our latest DIY combines our love of natural timber and sorbet colours. You do need some wood work skills (or to enlist the help of a friend) but boy do we love the results! We’re even thinking of converting this baby into a side table by adding a removable lid.
Related article: Woven planter cosy tutorial: Make a pot plant weave
Related article: Make your own knock off Icelandic sheepskin cushion
Items you will need:
- 2m dowel for legs
- 15m half round dowel (you may need slightly more or less depending on the size of planter you decide to make)
- Piece of MDF wood
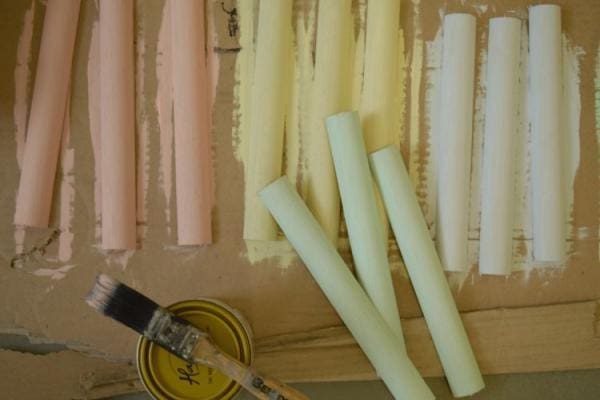
- Paint (we used Pineapple Sherbet, Sugared Peach, Erie and Spearmint by Haymes)
- Paint brush
- Screwdriver
- 8 L brackets
- Screws for timber
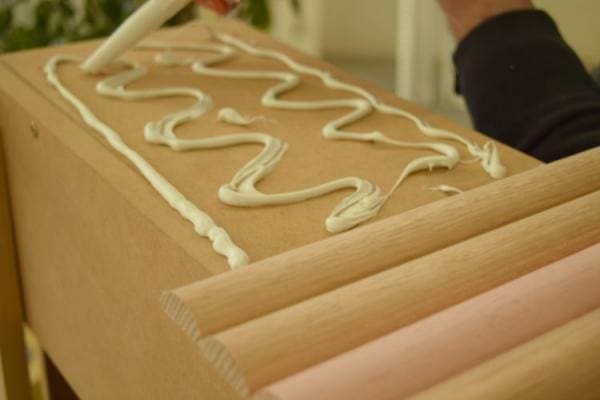
- Super glue (we used T Rex from Soudal)
Steps:
1. Make a box out of MDF wood and the L brackets. Ours is 40cm wide by 20cm high.
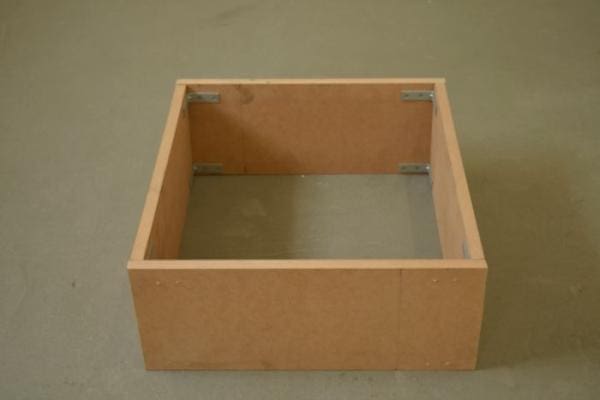
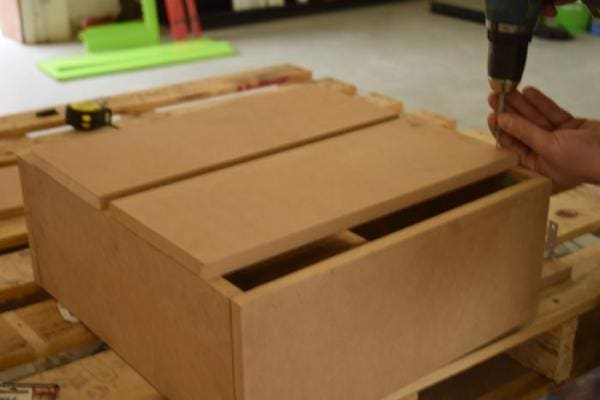
2. Screw two extra pieces of MDF wood as a base so you can rest your pot plant inside.
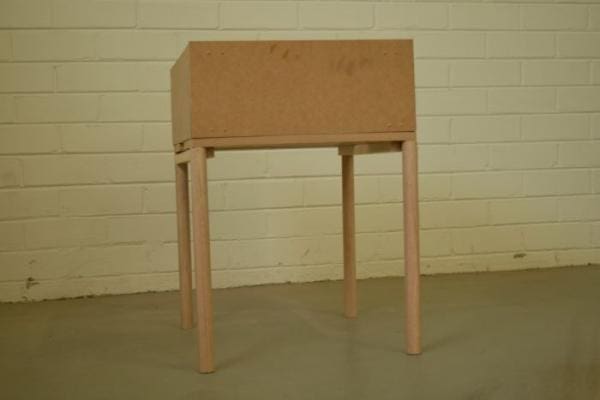
3. Screw on 4 dowel legs (screwing from inside the box to avoid the dowel splintering) and add timber brackets between the legs to secure them in place.
4. Cut your half round dowel down to 35cm lengths and paint some of these in your sorbet colours.
5. Glue the half round dowel around the face of the box using super strength glue. We stuck the dowel 2cm higher than the MDF wood so the pot plant would be hidden.
Once completely dry, add your greenery and style in your home!
Has our DIY dowel planter box tutorial inspired you to make your own planter box? Or have you recently made one that you’d like to feature on SC? Send us some pics, we’d love to see!
More DIY ideas


Comments are closed.