
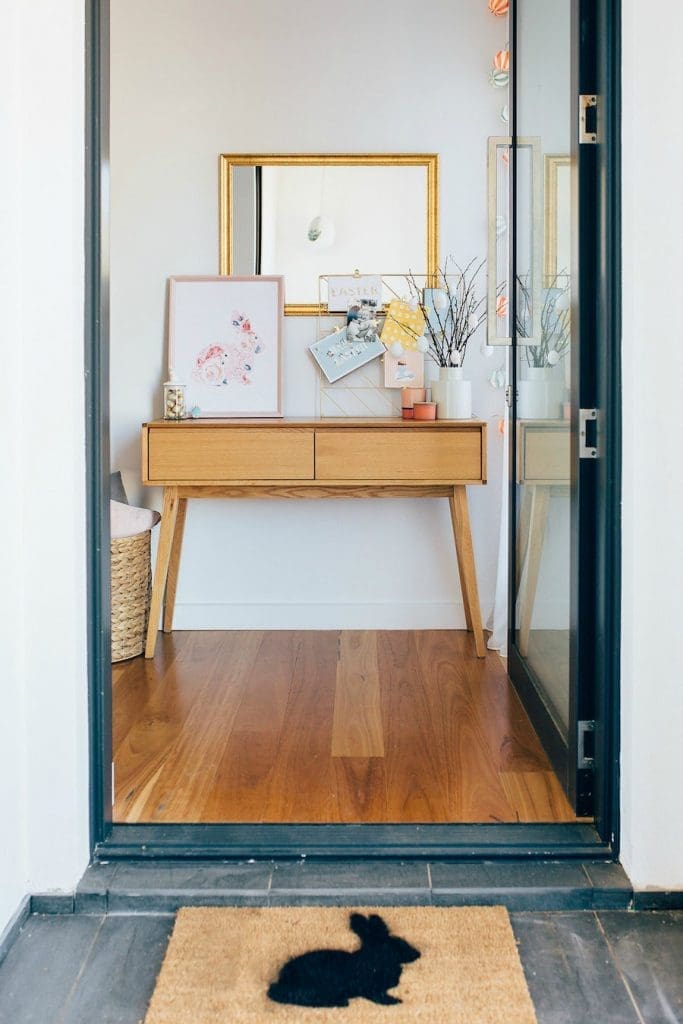
With Easter just a couple of weeks away, now is the time to get your Easter styling on!
Today we’re sharing a super simple and affordable DIY, to create a sweet bunny doormat.
We opted for a simple bunny silhouette but you could find a stylish font and write a message such as ‘Hoppy Easter’ or play around with different prints, such as chevron which is often associated with Easter.
Related article: 12 egg-cellent Easter DIY ideas for the home
Related article: Hop to it: Easter decorating ideas for your entryway
Items you will need:
- Plain doormat (ours is $7 from Big W)
- Black spray paint (or colour of your choice)
- A3 piece of paper
- Pencil
- Scissors
- Masking tape
Steps:
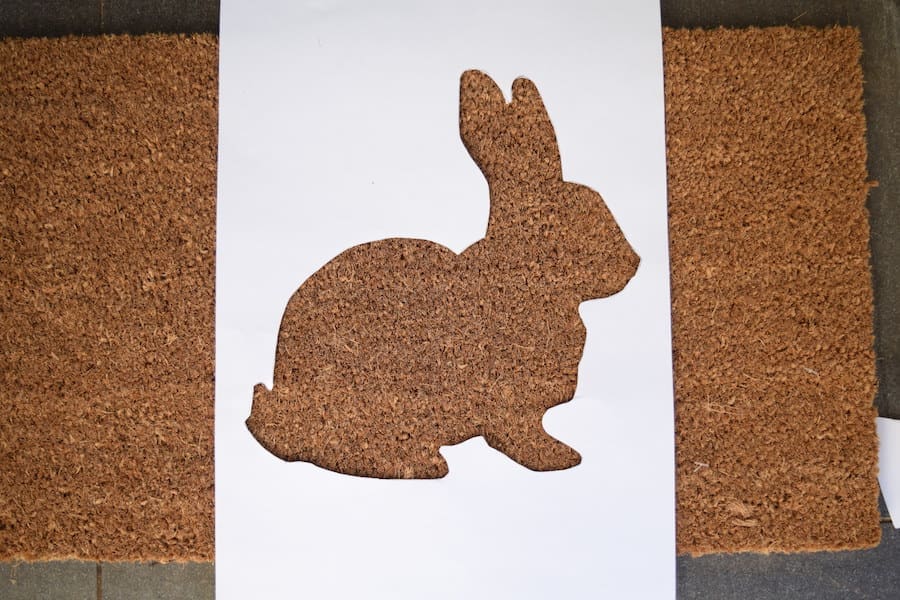
1. Trace an outline of the image you want to apply to your door mat on the A3 piece of paper. If you’re a confident drawer, you could do this free-hand (keeping in mind intricate details will not work well with spray paint). Alternatively, you could print a silhouette shape from the internet that reminds you of Easter and use this as your template.

2. Cut out the area you want to spray black and tape the paper template onto your mat. Tip: you can roll sections of tape to create double-sided tape to stick the paper down firmly, avoiding gaps where seeping could occur.
3. Spray paint the cut out area. Work quickly to prevent the paper getting wet and losing shape and keep a 30cm distance to prevent bleeding.
4. As soon as you finish spraying the area, carefully remove the paper and allow the mat to dry for 4 hours.
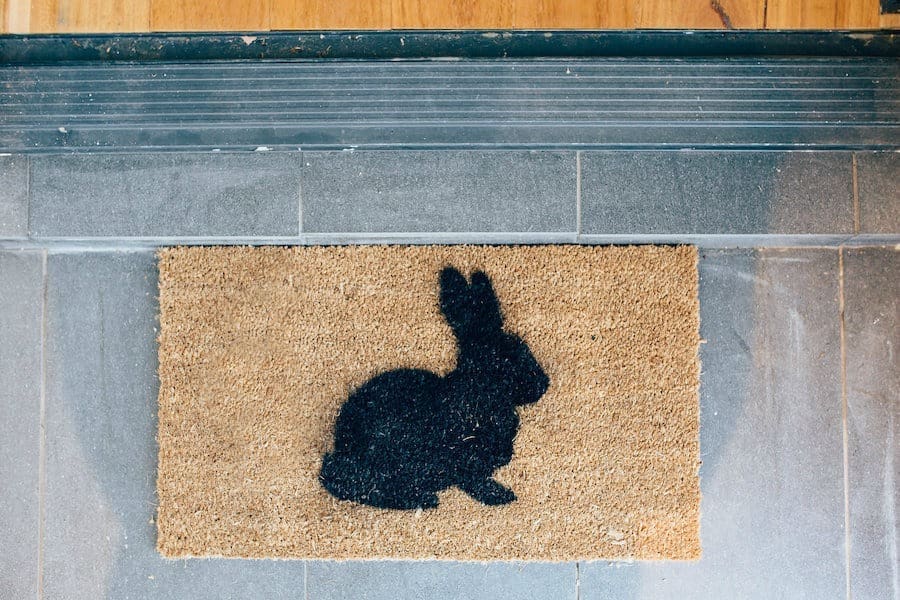
That’s how easy it is to create a personalised DIY Easter bunny doormat!


")
