

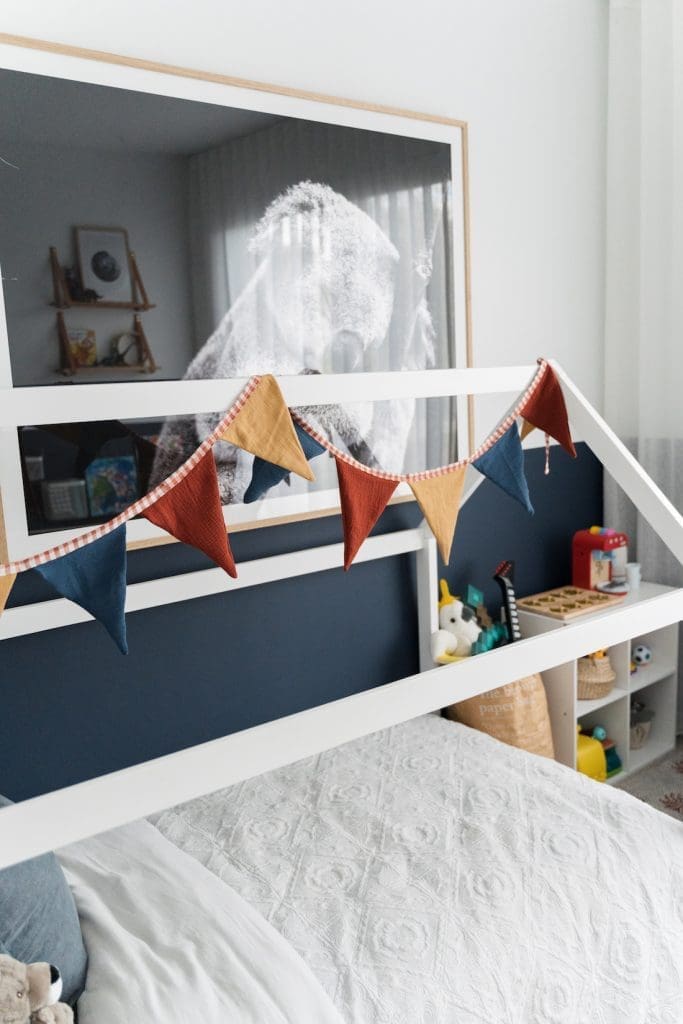
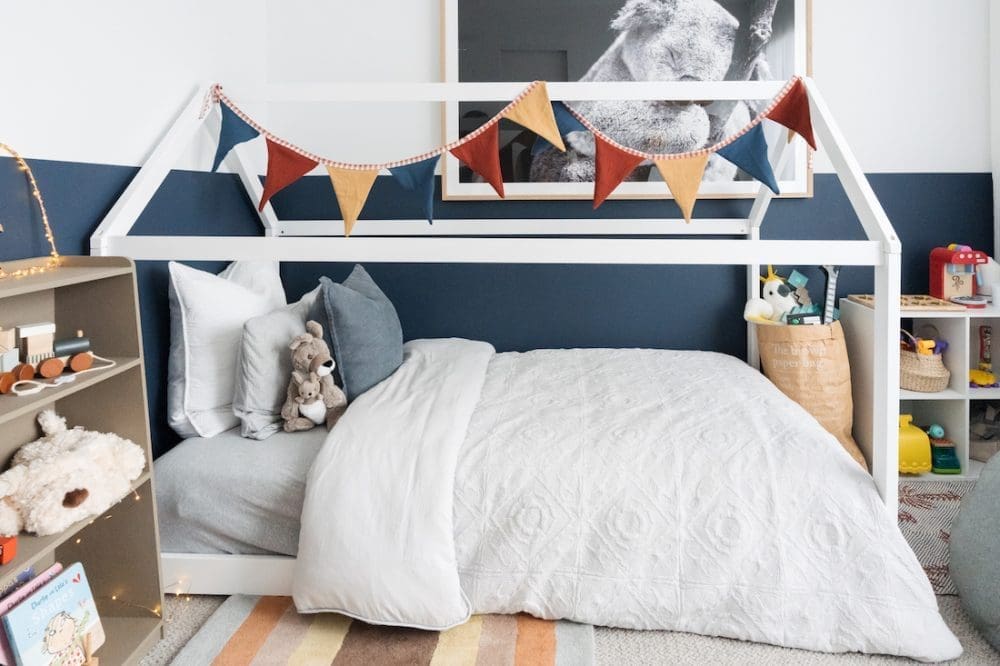
I recently updated Alexander’s bedroom with a new colour palette. He’s outgrown his sleepy, sage green bedroom and his new favourite colour is dark blue. Rather than buying all new furniture and decor, I upcycled and DIYed what I could, including making some new DIY garland bunting flags for his house bed.
This tutorial is a great, inexpensive way to pick up on a colour palette in a child’s bedroom. It’s also a stylish DIY to decorate a party, such as a baby shower or engagement party. This is an easy sewing tutorial that anyone with a sewing machine can do. Here’s how I made these whimsical DIY garland bunting flags.
Related article: DIY kids teepee clothing rack
Related article: DIY ply bear shelf
Items you will need:
- 3 x 40cm fabrics of your choice for the flags (I used cheesecloth fabric in various colours)
- 40cm of fabric for the top ribbon (I used a linen gingham print from Spotlight)
- Print out of a flag template (download ours here)
- Sewing machine
- Piece of cardboard (to create your bunting template)
- Scissors
- Pins
Steps:
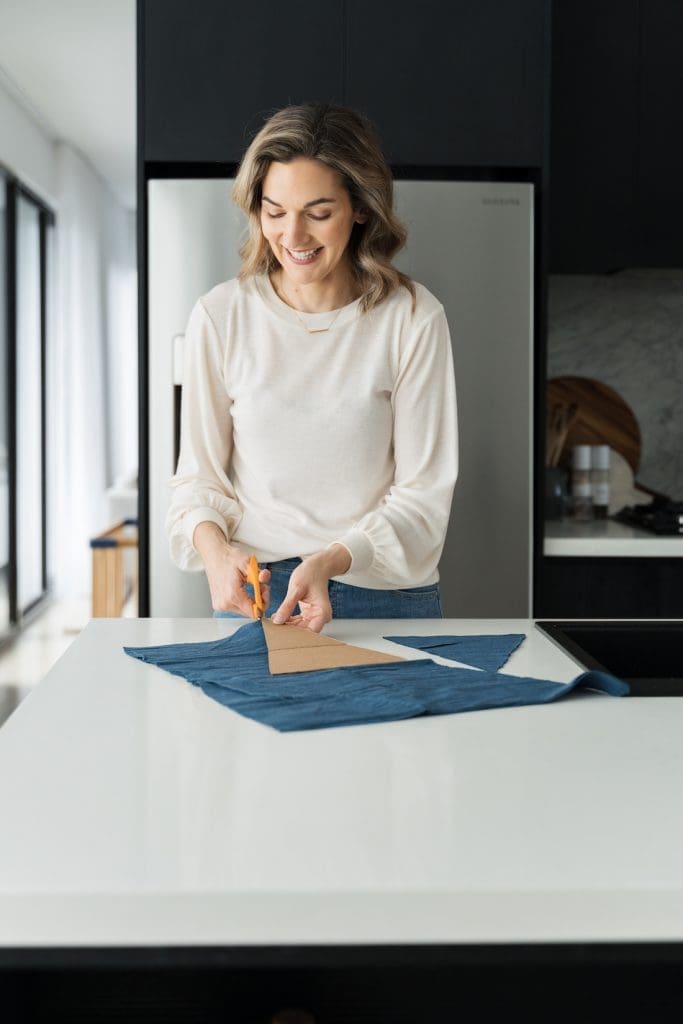
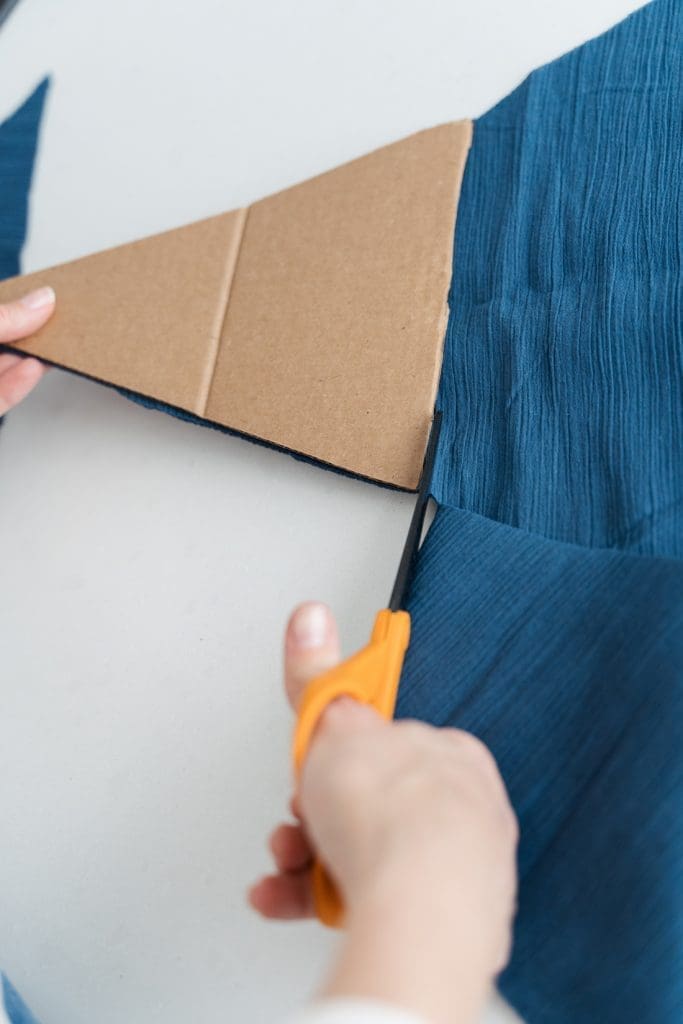
1. Start by making a cardboard stencil for your flags. Simply print out the free download above and trace it onto a piece of cardboard.
Then use this cardboard template to cut out 4 flags in each of your 3 fabric colours. Be sure to double over the fabric before you start cutting.
2. Next it’s time to make each flag and this involves a few steps. Firstly, sew down the two longer sides of each triangle. Important: if your fabric has a ‘good’ side, you would place the good sides together and sew the flag with the ‘bad’ sides facing outwards.
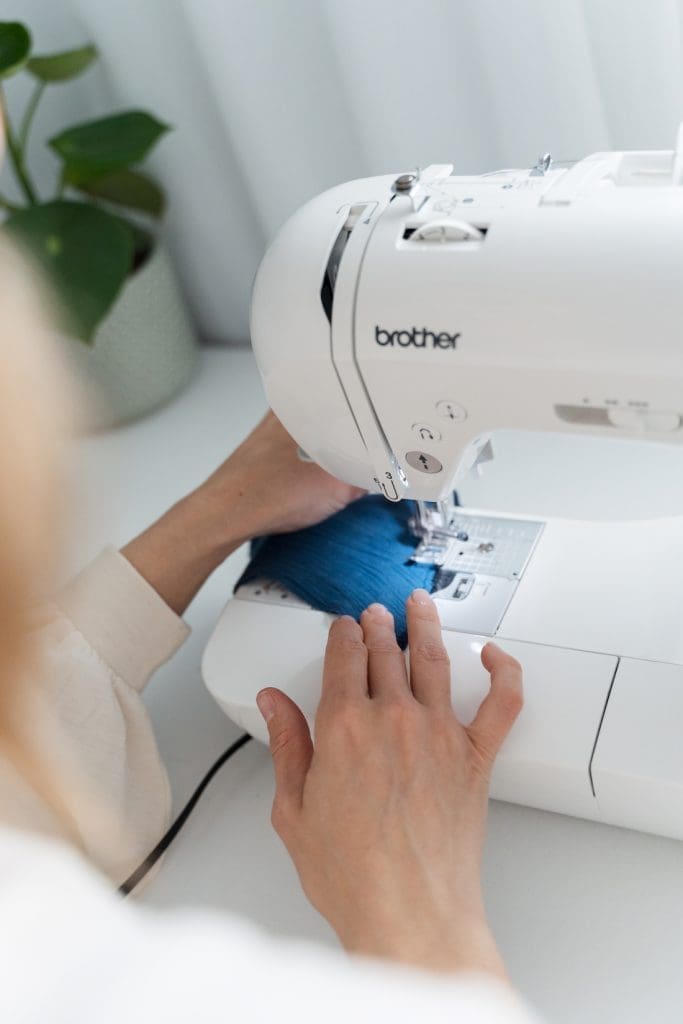
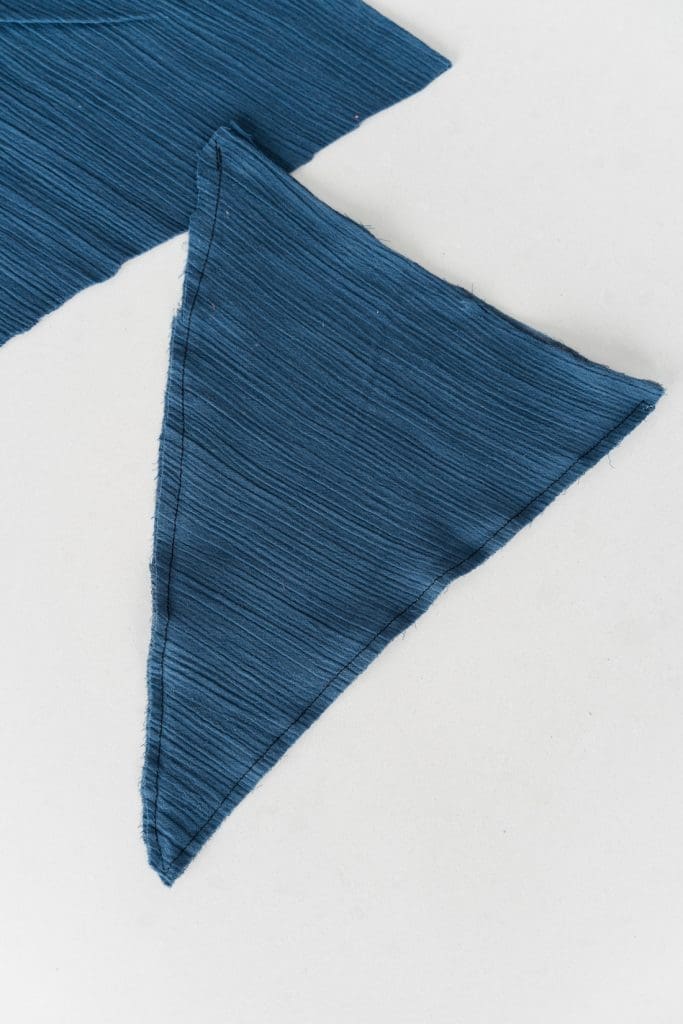
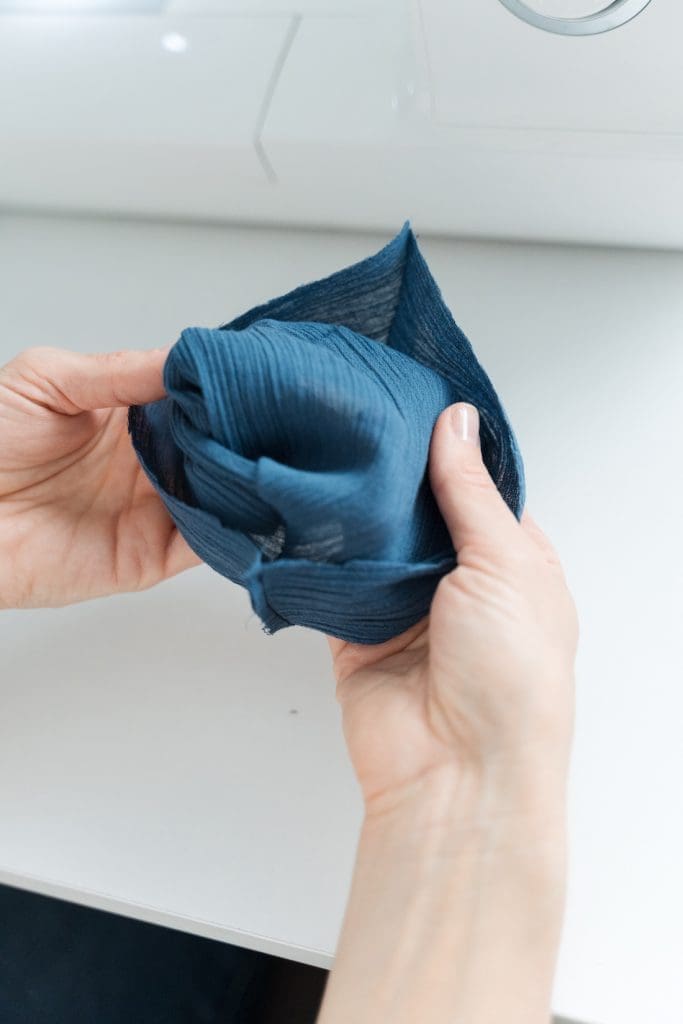
3. Then turn the flag inside out so the good sides are facing outwards. Repeat these steps for each flag.

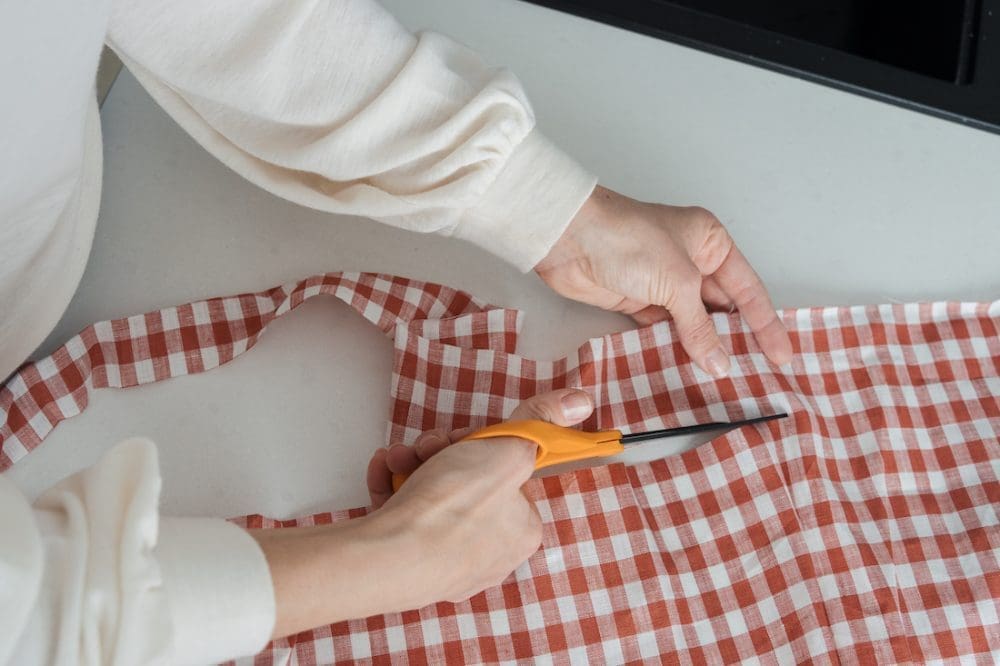
4. Now that you’ve got all your flags, you can attach them together. For this I cut 4 strips of gingham fabric that are 7cm wide and the length of the fabric.
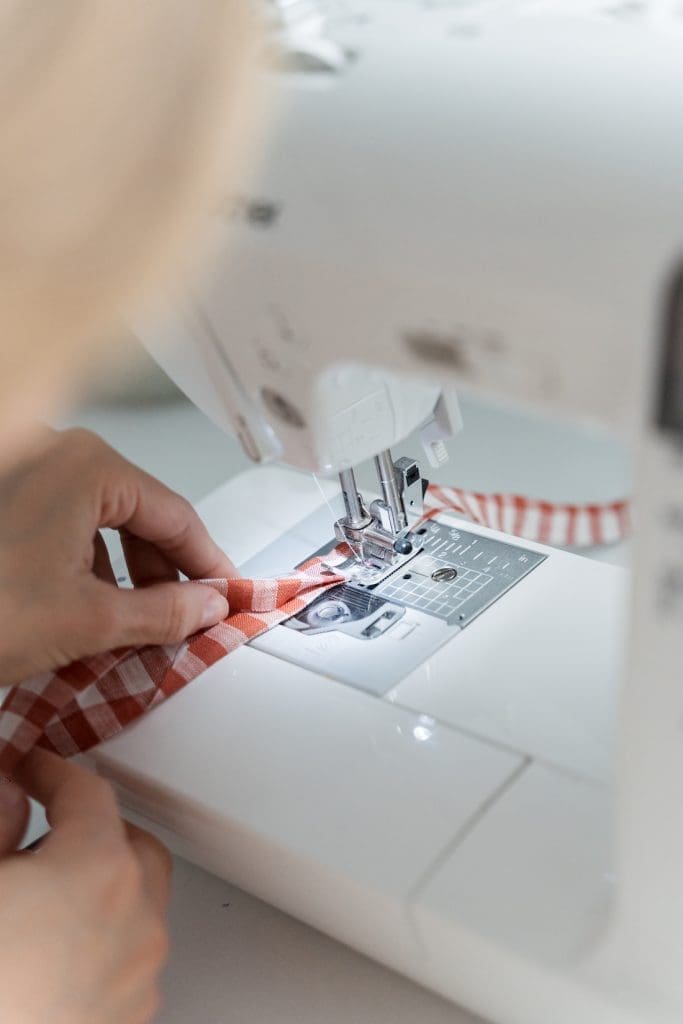
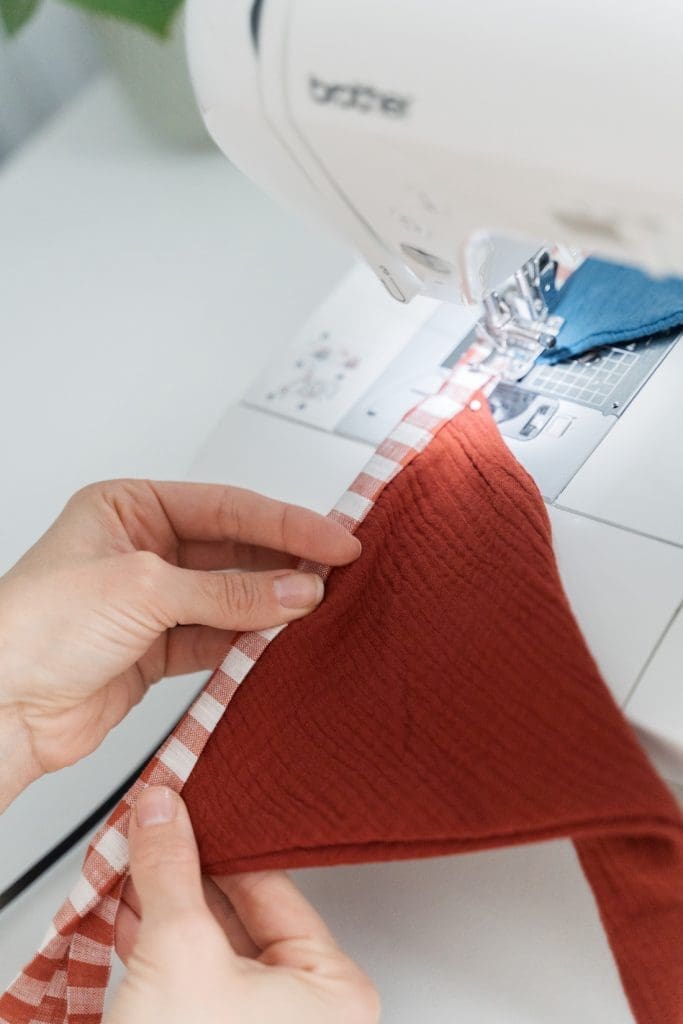
5. Once I cut out all of my strips, I began creating the top ribbon that would hold all of the flags. So that I could tie the bunting around Alexander’s bed, I allowed 40cm on either end of the bunting without flags.
Firstly, I folded a 1cm edge inwards on either side of the strip (to prevent fraying) and then folded the ribbon in half. Pin the ribbon in place and then start sewing closely along the open edge (see picture below).
6. Once you’ve sewn approximately 40cm of ribbon, you can start slotting your flags inside the ribbon. Use pins to hold them in place and continue sewing along that same edge line.
7. Continue sewing until all your flags are attached and then finish off the bunting the same way you started by allowing 40cm of plain fabric ribbon.
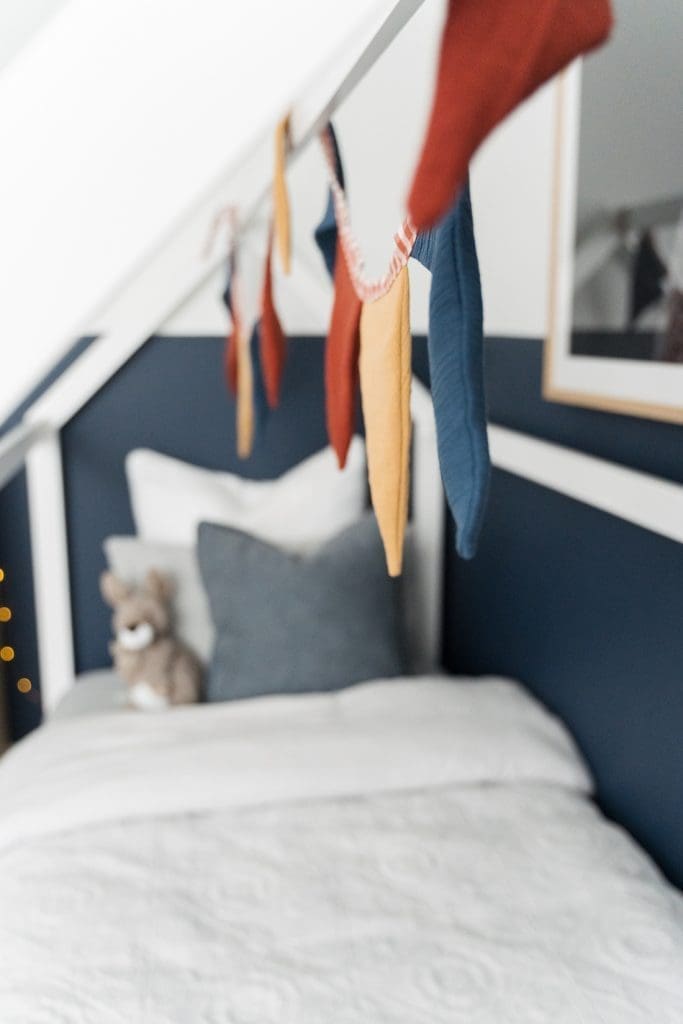
I decided on a simple bunting pattern of 11 flags in various colours. You may prefer to use all the same coloured fabric for a minimalist look, or make every piece different for a whimsical aesthetic. You can also use different bunting shapes, such as stars, hearts or dinosaurs! As well as mixing up bunting shapes, you can play with bunting size. For example, mini bunting can look especially sweet in a nursery. If you want, you could also add decorative elements to the flags, such as a bell or tassel to each tip. Essentially, let this tutorial on how to make bunting offer inspiration but get creative and make your bunting your own!
All that’s left to do is string up your garland! These flag garlands are a great way to enhance any child’s space and also make a sweet gift idea.
We hope this sewing tutorial on how to make bunting helps you for your next decorating project. Will you give this DIY garland bunting flags tutorial a go? I’d love to see how you put your own spin on them. Share your photos with me by tagging @stylecuratorau when you share them online or email them to hello@stylecurator.com.au!
More nursery and kids room DIYs
Disclaimer: This post was first published in November 2020 and has been remade in a new colour palette.


