
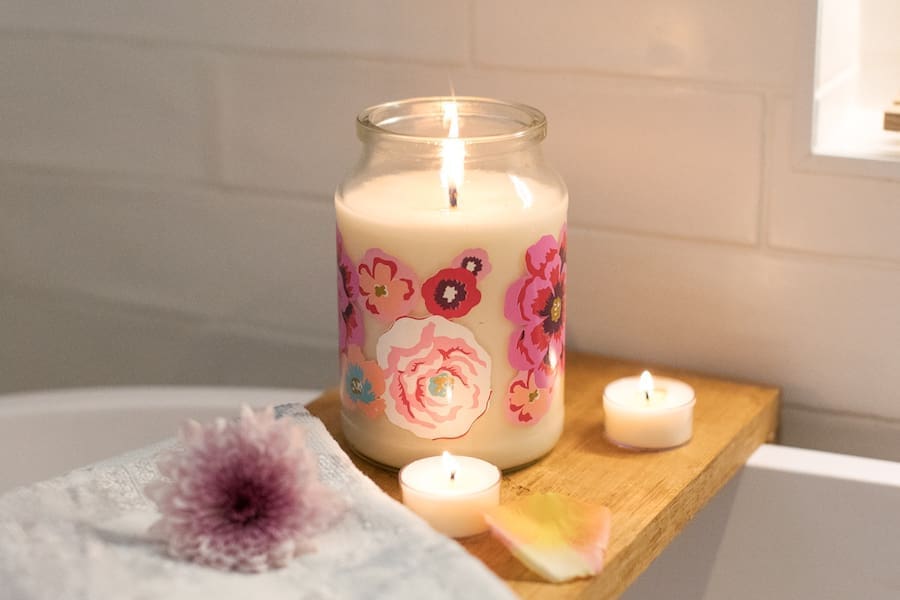
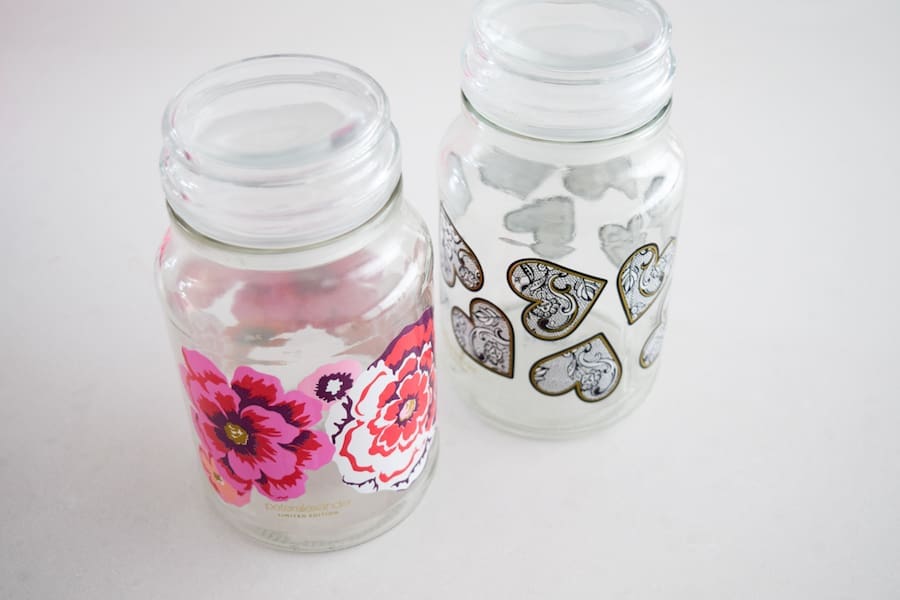
I’ve always wanted to learn how to make my own soy candles and when I saw my empty Moccona coffee jar, I thought it was the perfect opportunity to upcycle the jar by filling it with a candle.
Trouble is, the thought of making a candle has always frightened me a little – as a child, my older sister almost set our house on fire trying to make a candle under the grill – so for this DIY I enlisted the expert help of my friend Cheyenne who is the maker behind luxury soy candles The Little Flame Co.
As it turns out, making a candle is actually simple and you can even buy candle-making kits with all the materials you need.
Items you will need:
- Empty Moccona jar/s
- Wax (the best types to use are soy or beeswax, we used natural soy wax)
- Candle fragrance (we used coffee, of course!)
- Tub big enough for the cooling rack (we used the laundry sink)
- Candle wick (we used a wick size 26 to ensure a good burn)
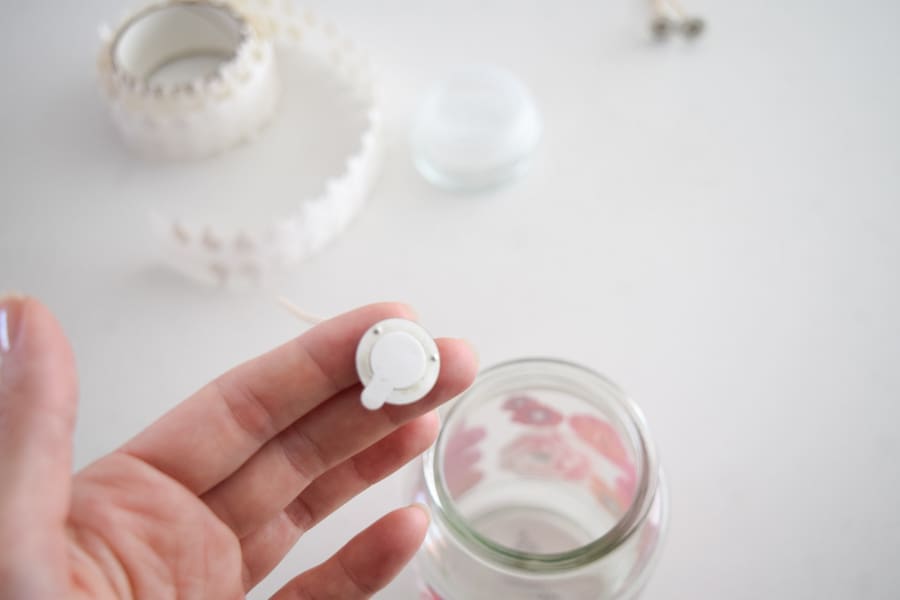
- Wick sticker or glue
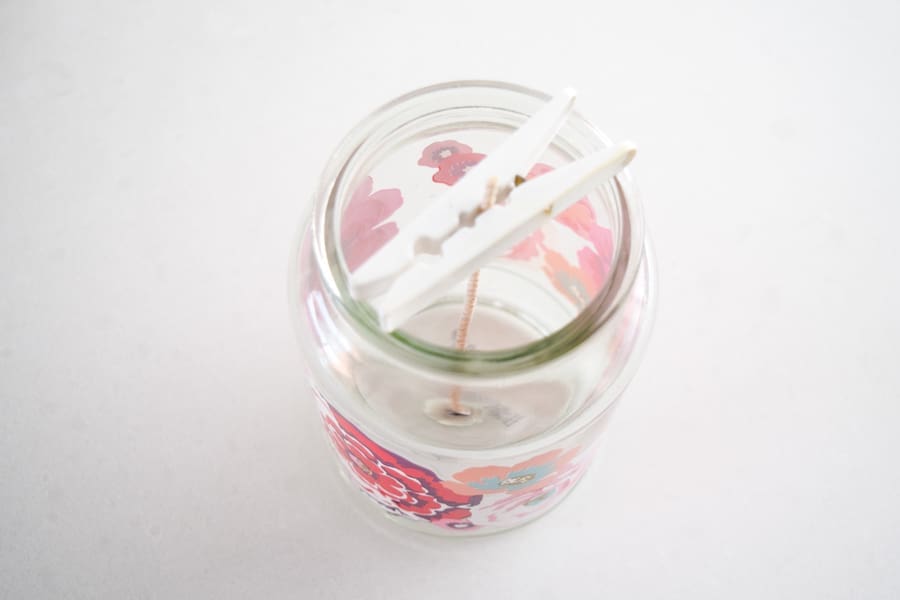
- Peg
- Thermometer
- Glass measuring jug
- Timber paddle
Steps:
1. Clean the Moccona jar well.
2. Measure the volume of the candle you want to make by filling the jar with water up to the desired level. We wanted the candle to be up to the lip of the jar. Pour this water into a measuring jug to get an accurate reading. For a large jar, we needed to make a 600ml candle. (This step helps us to get the fragrance-to-wax ratio right in a few steps.)
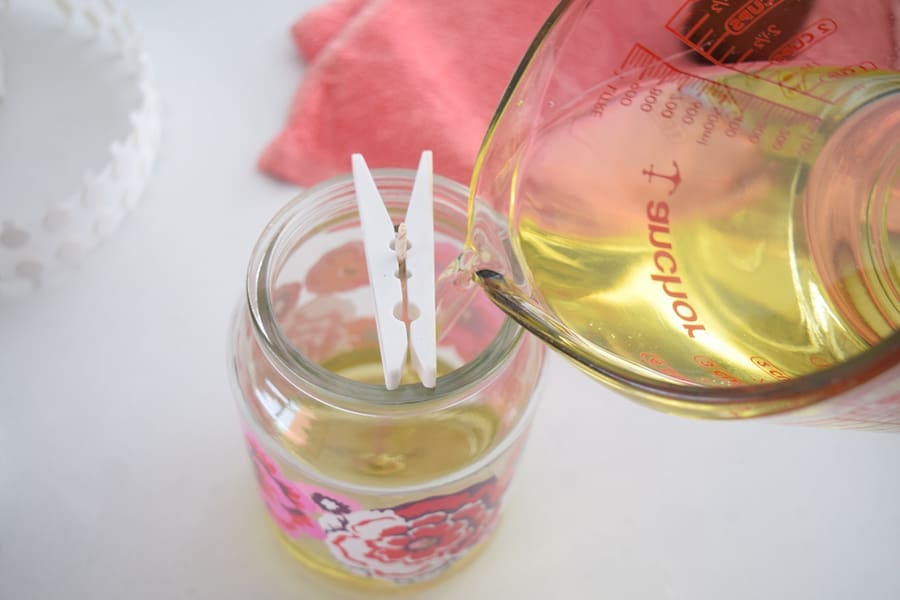
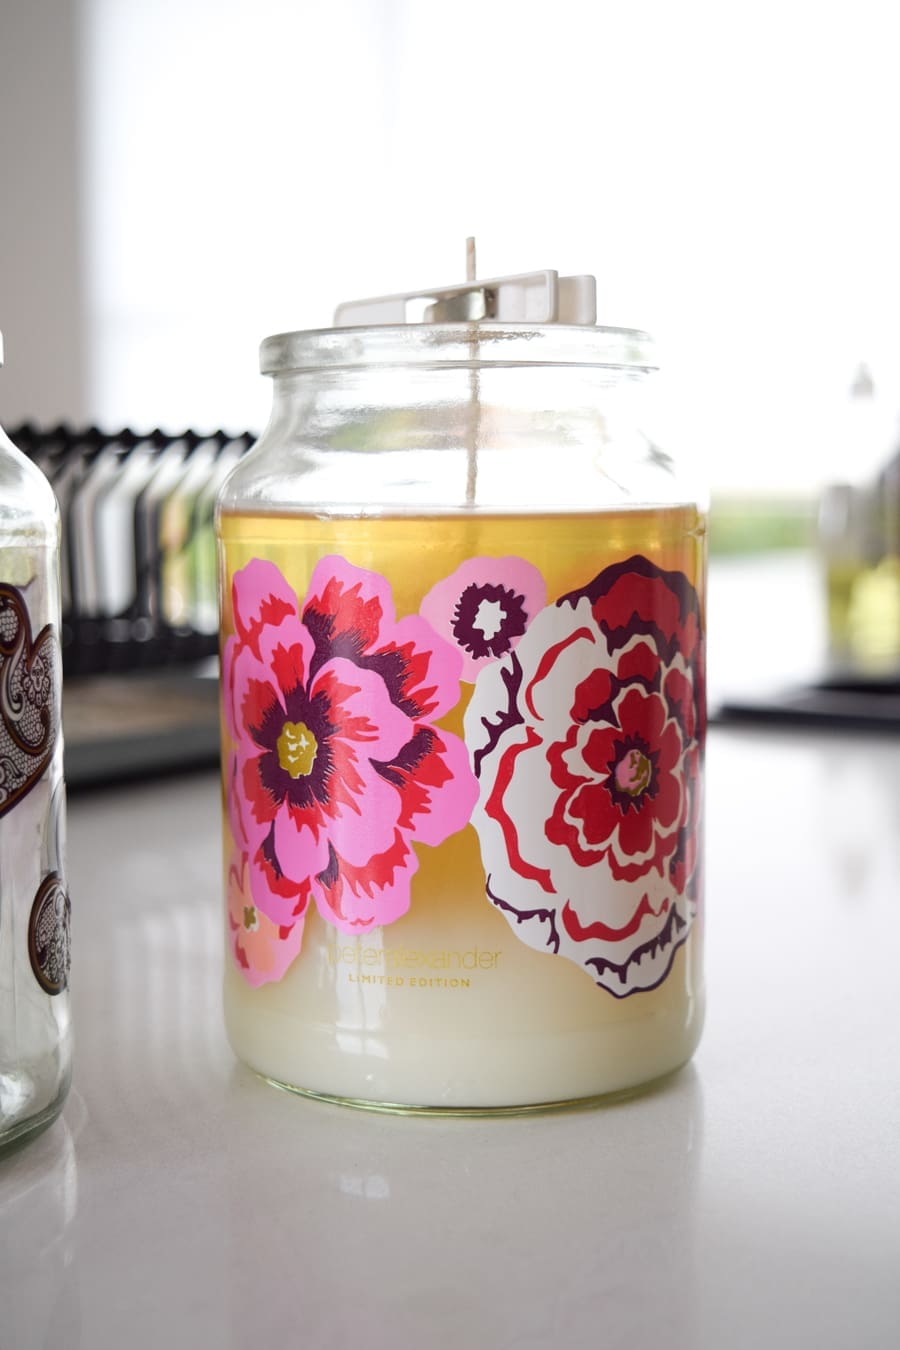
3. Dry the Moccona jar and then secure your wick in place in the centre. We used a wick sticker for this (they are available in most candle making kits but you could use glue), as they are easier to remove should you wish to upcycle your jar again after you finished burning the candle. It’s important to try and get the wick as centred as possible and then secure it at the top of the jar with a peg.
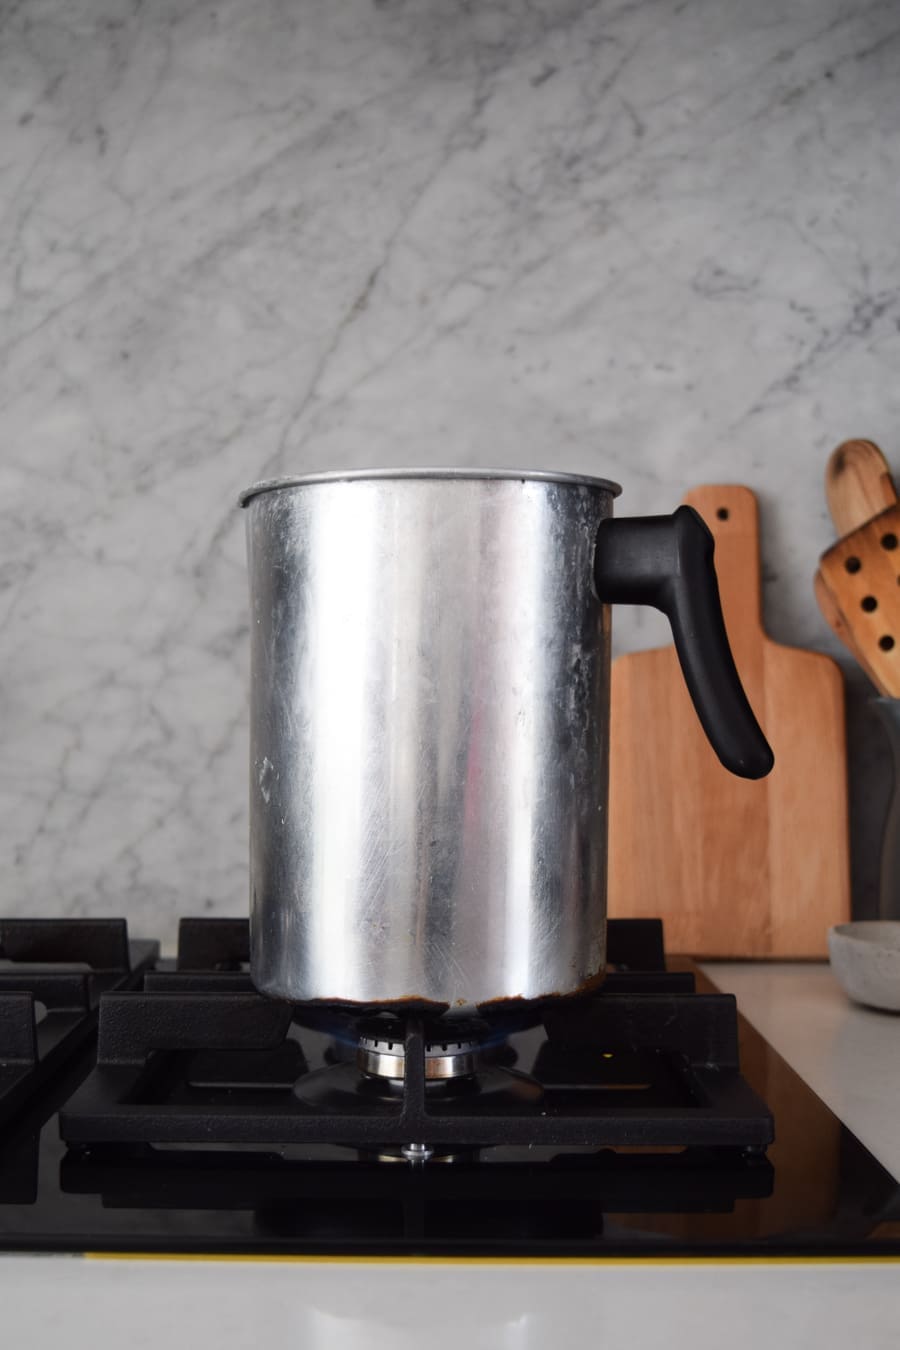
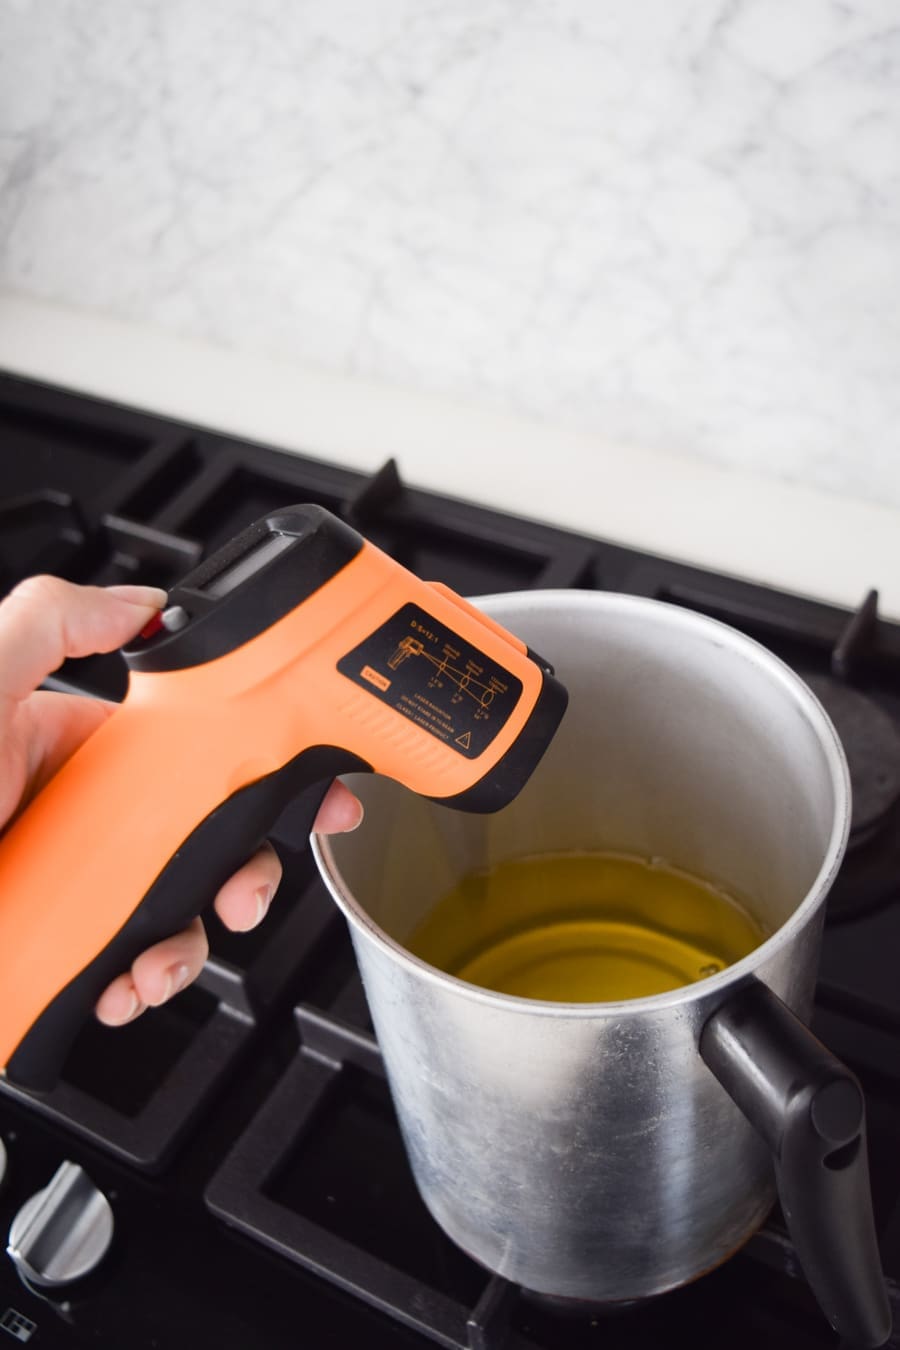
4. Now it’s time to melt your wax. You can use any heat-proof container to melt your wax but a jug or something that is easier to pour will make life easier. Look at the melting temperature for the wax you have but most soy waxes are between 71-93 degrees (this is a low heat on a gas cooktop).
5. Once the wax has melted, set it aside to cool. It needs to cool to 55-85 degrees before adding your fragrance.
6. Now it’s time to add fragrance to your candle. You could add whatever scent you like but we love the idea of using coffee fragrance to reference the original use of the jar. However, peony fragrance was a close second given the pretty floral packaging.
The correct proportion of fragrance to soy wax is 7-10%. It’s important to be accurate here as too much fragrance will make your candle more flammable, and too little and you won’t be able to smell it.
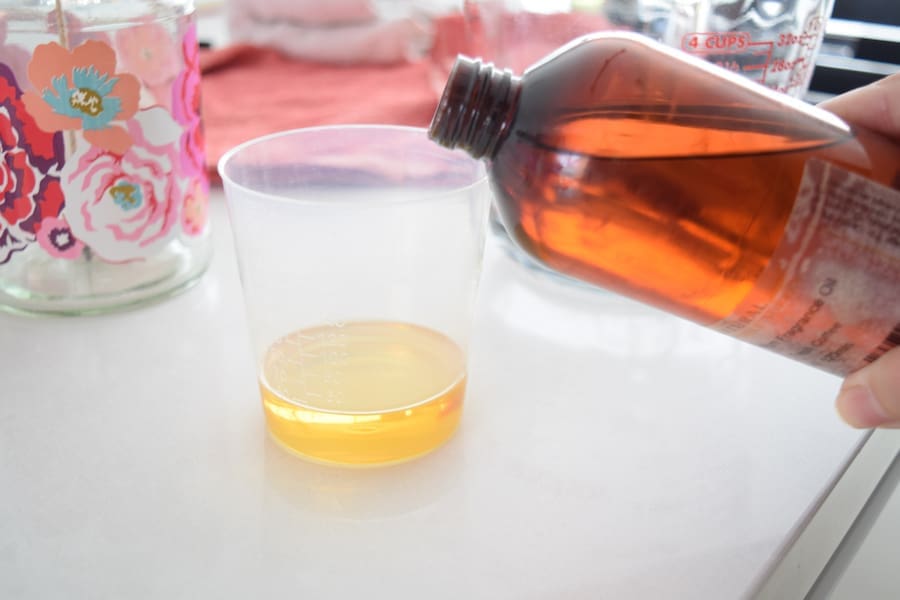
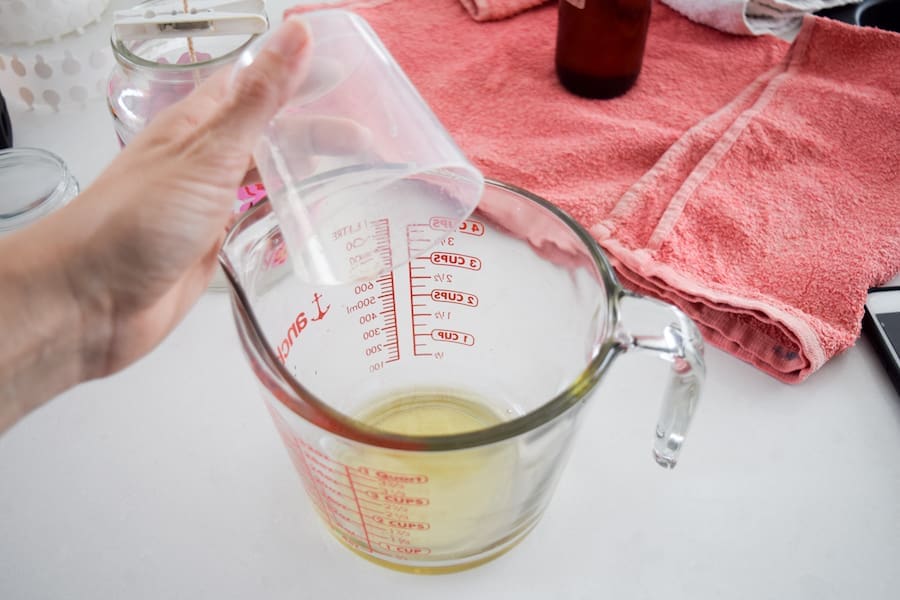
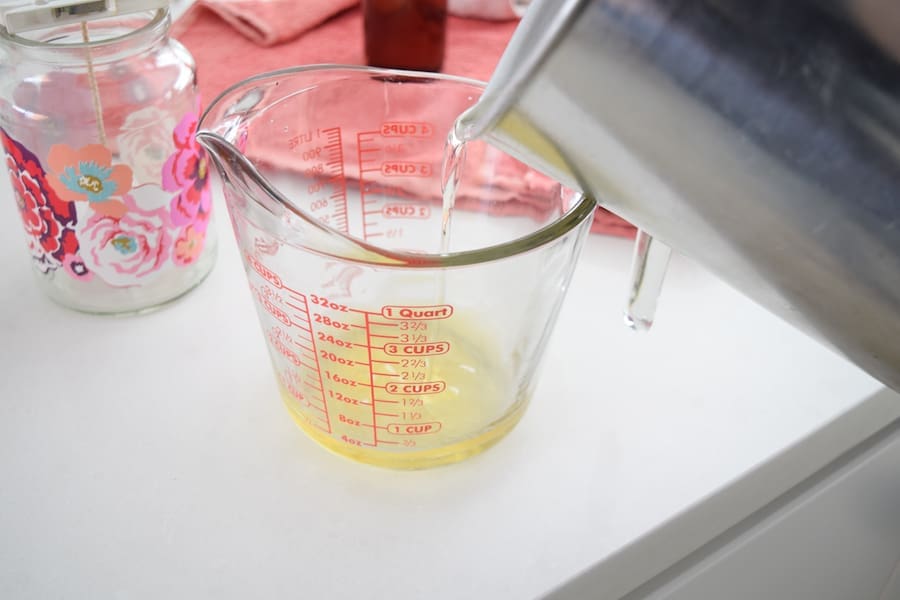
7. In a glass-measuring jug, pour your fragrance first. As we are making a 600ml candle, we are adding 42ml of fragrance to achieve a 7% level. Then pour your slightly cooled yet still melted soy wax up to the 600ml level.
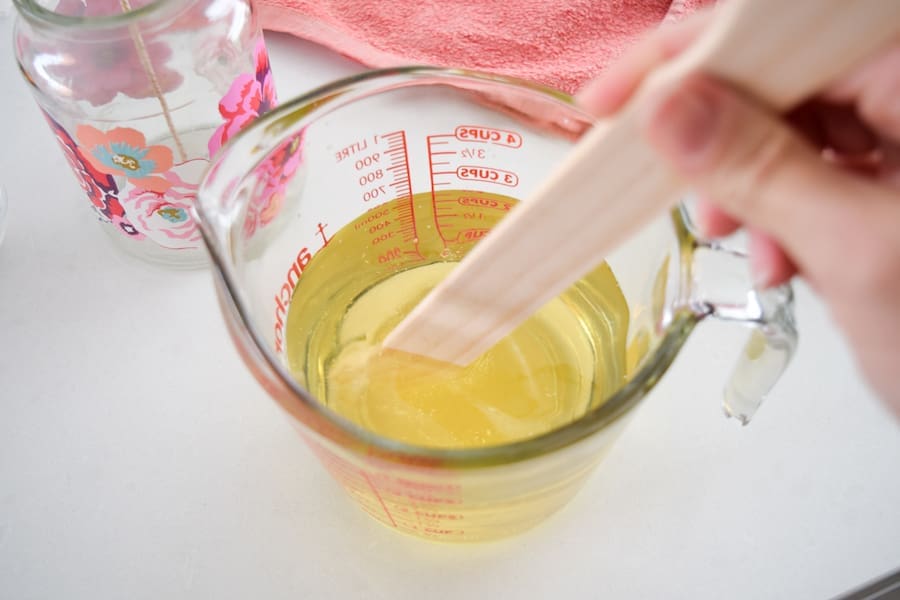
8. Stir the fragrance and wax well using a timber paddle or new wooden spoon. This will release air bubbles and ensure you have good consistency of fragrance throughout your candle.
9. Now pour the scented wax into your Moccona jar, being careful not to move the wick.
10. Allow your candle to set fully (it will turn white) before moving it. This may take 2-8 hours, depending on the weather.
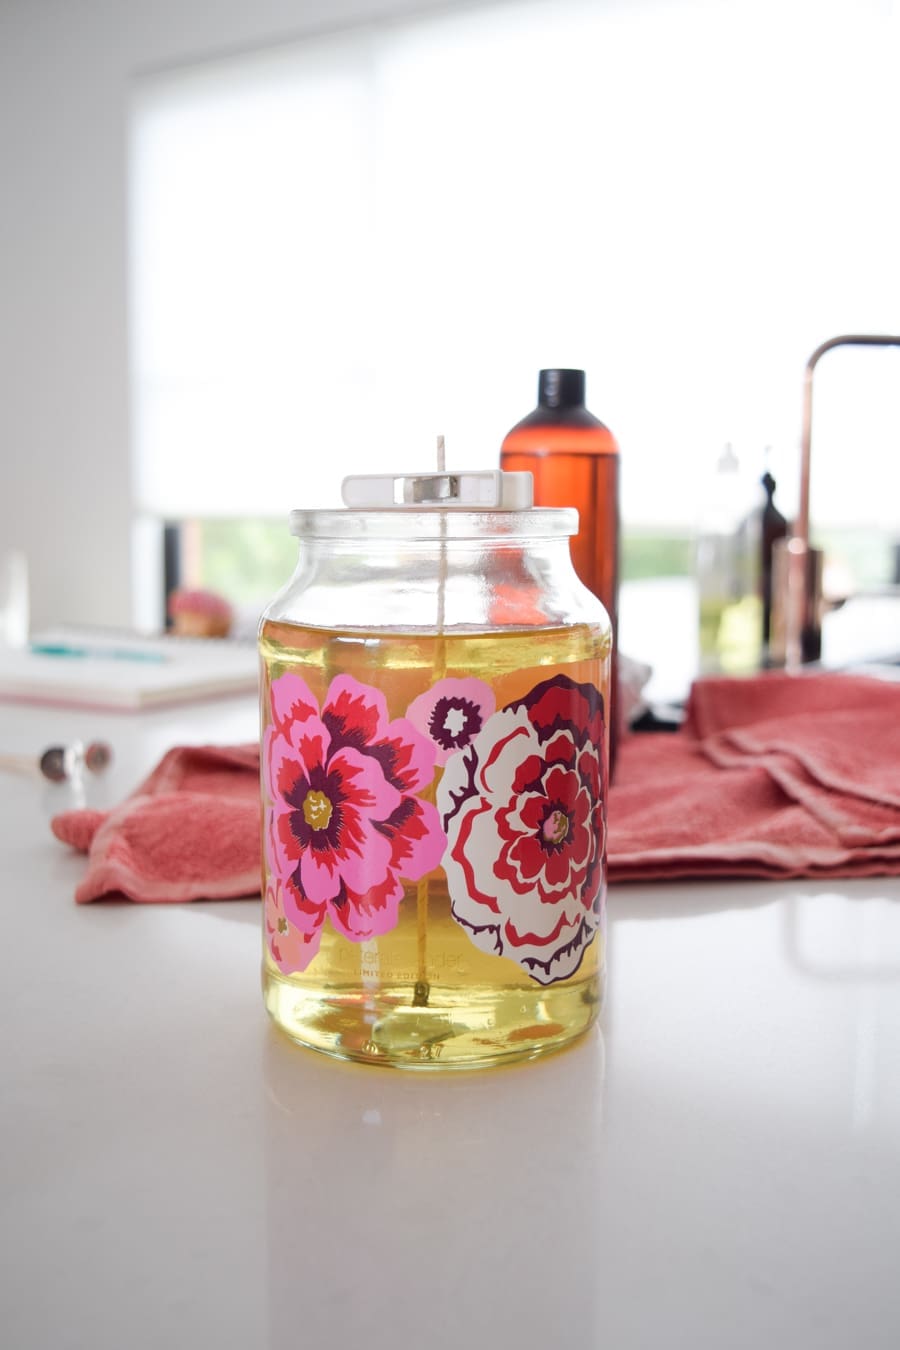
That’s how easy it is to make your own natural soy wax candle!
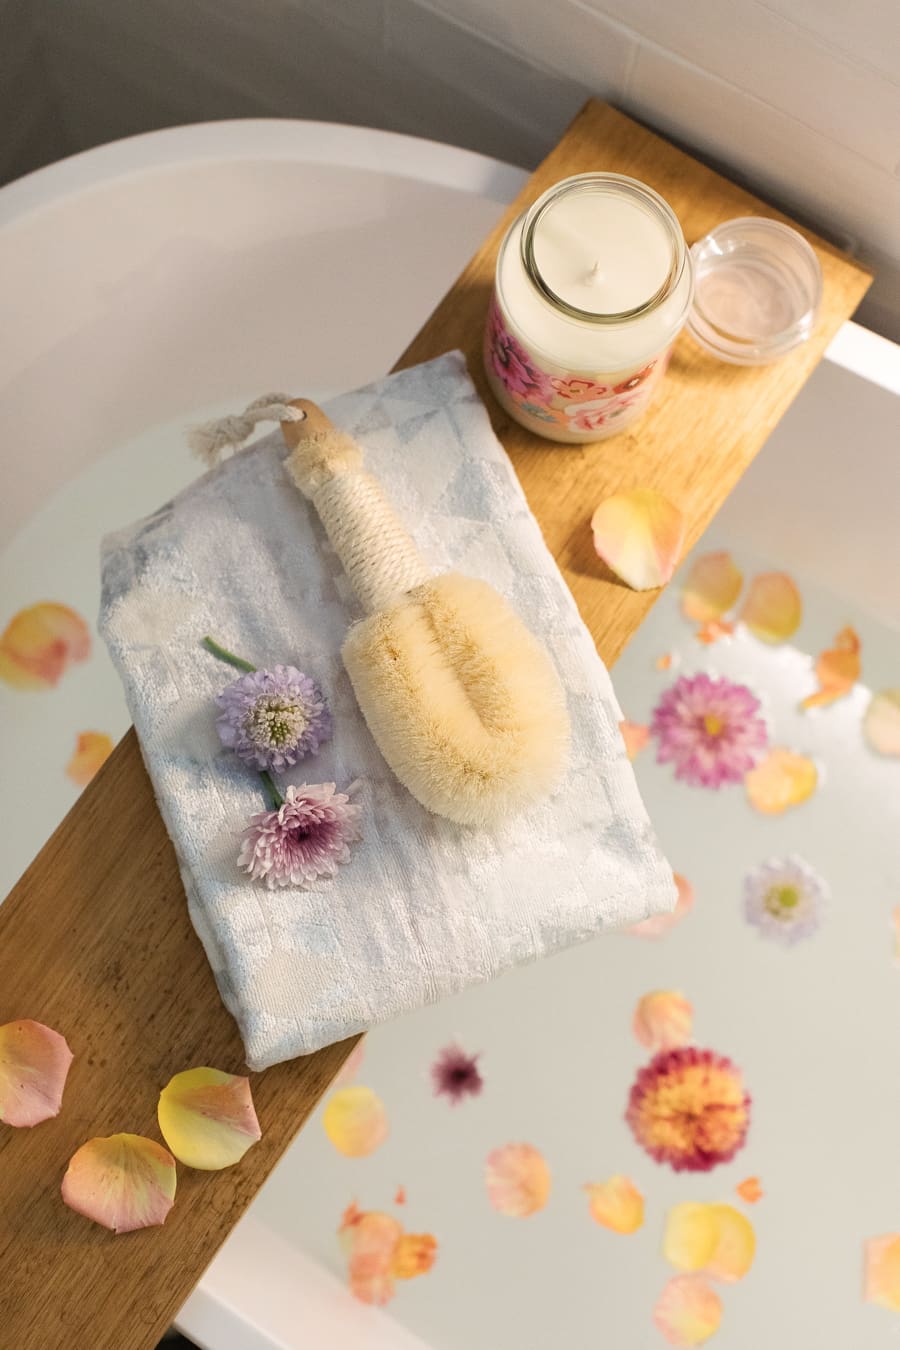
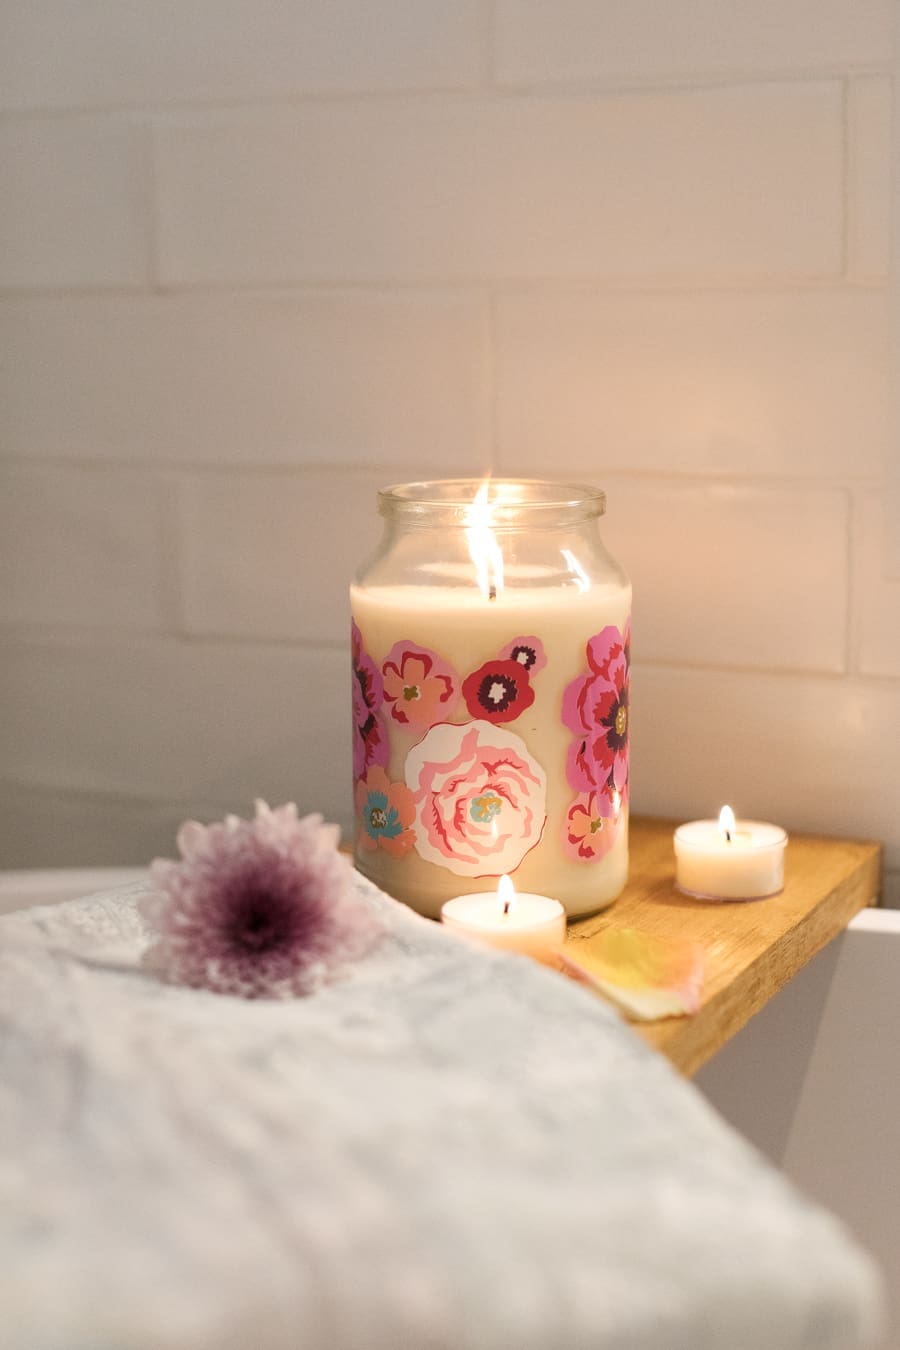
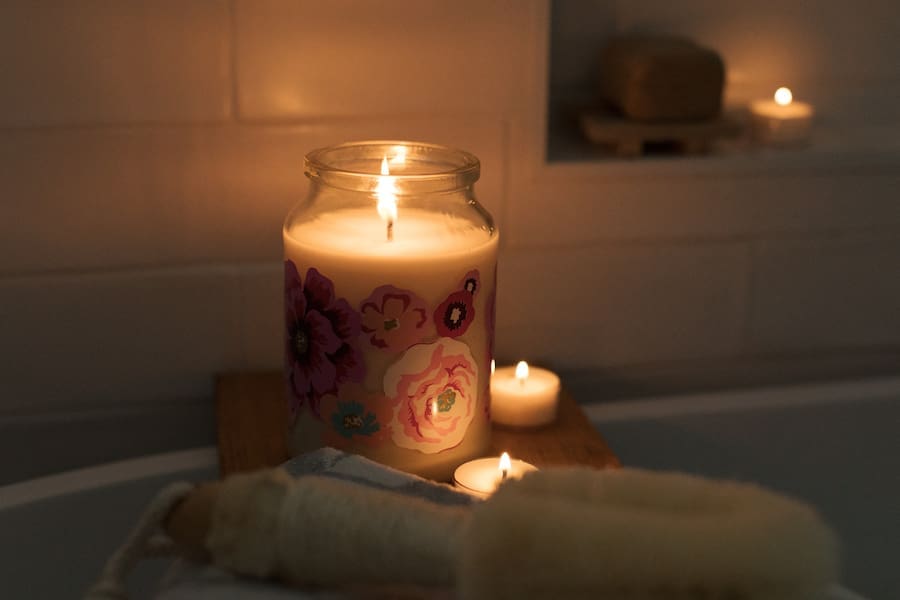
This pretty floral packaging is a collaboration between Moccona and Peter Alexander, and is totally fitting with Mother’s Day. I hope you are inspired by this DIY or consider a different way you could upcycle a jar for your Mum to create a personalised gift. You can check out other jar upcycling ideas here.

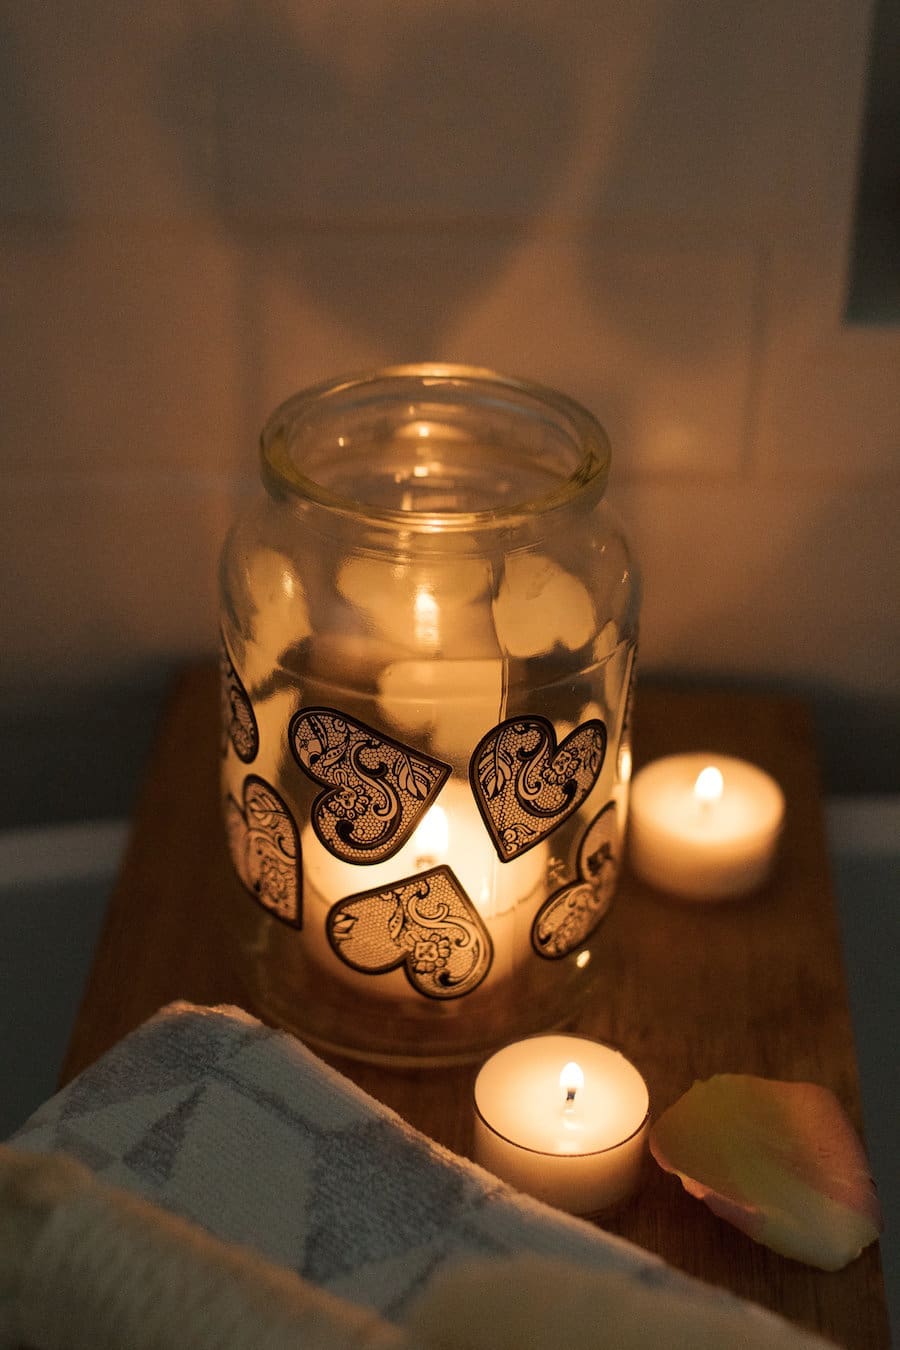
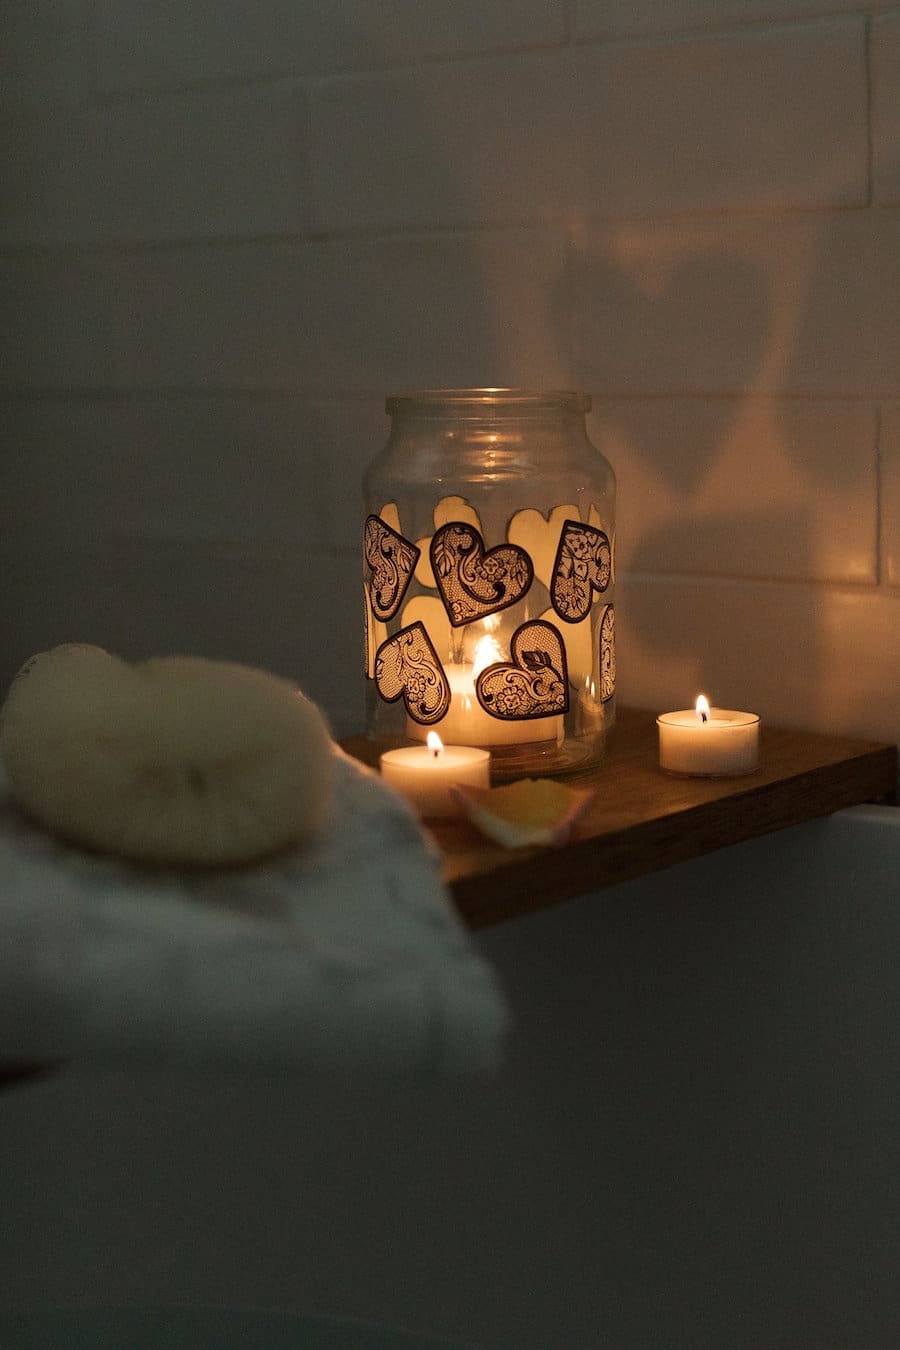
Another way you could use the jar for a candle is simply by placing a large tea light candle inside (see photos below). We did this in the heart designed Moccona jar and love the way it casts heart shadows around the room.
If you make this DIY soy candle, we’d love you to show us by either emailing your photos to hello@stylecurator.com.au or tagging us @stylecuratorau when you share them online!
After photography by Thorson Photography


")
