
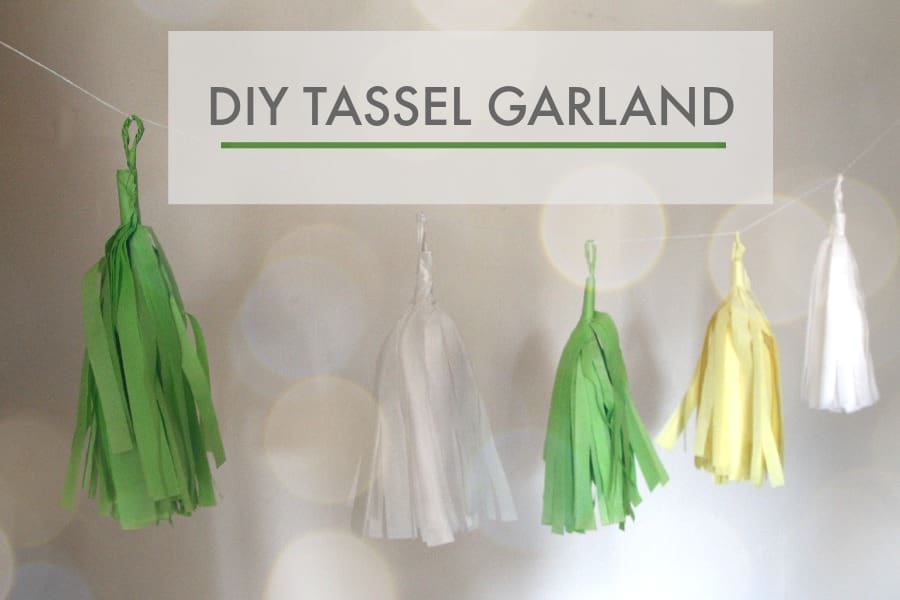
Tissue tassel garlands are a huge party décor trend! They’re fluffy and fun, inexpensive and easy to make, and fill a lot of visual space making them perfect for backdrops at parties — think above a dessert bar or behind a photo booth.
Don’t spend a fortune buying these online when you can make them yourself at home. Many online tutorials use wire to secure the tassel but our kid-friendly version doesn’t have any sharp edges.
We like garlands that use at least 3-4 colours — especially those that mix gold or metallic paper. Keep scrolling for our simple steps on how to make a tassel garland.
Related article: How to create a gorgeous grazing board
Related article: Spring garden party meets wilderness table setting
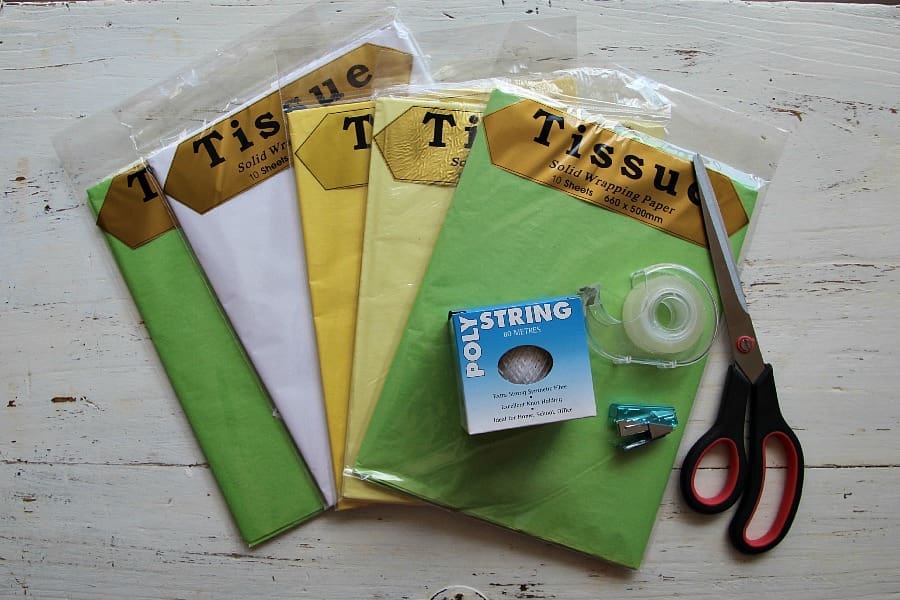
Items you will need:
- Tissue paper in 3-4 colours (available from the dollar store)
- Scissors
- Stapler
- Sticky tape
- Twine
Steps:
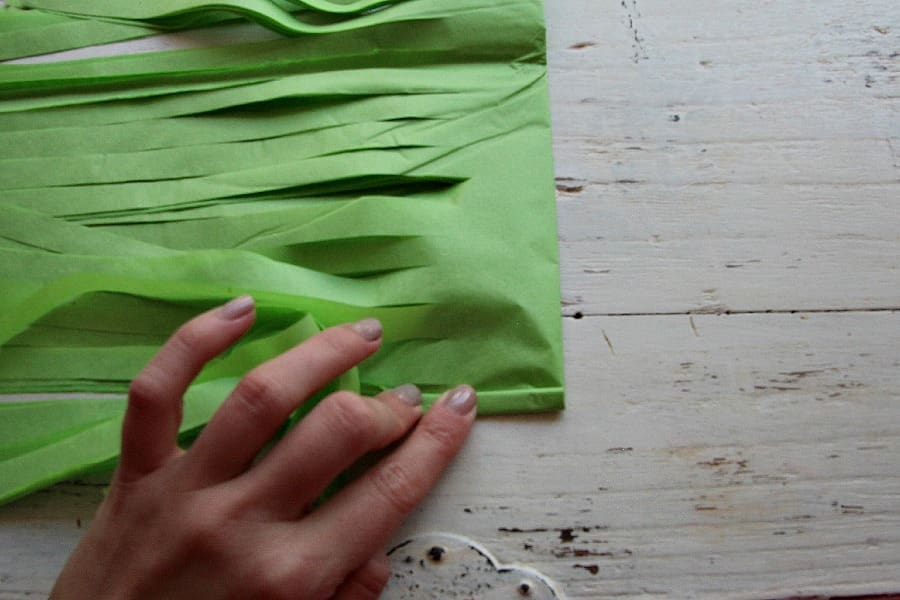
1. Cut 2 sheets of folded tissue paper 40cm by 20cm.
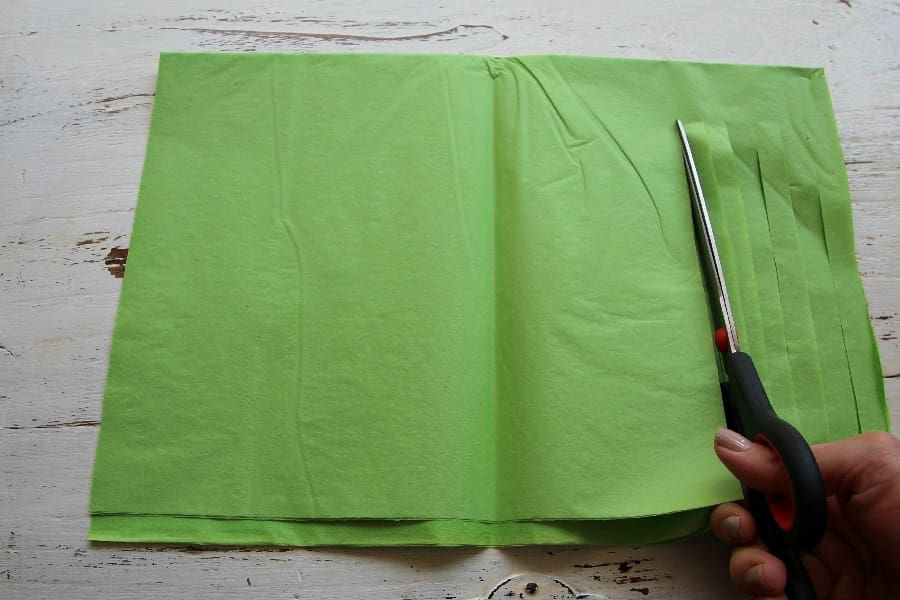
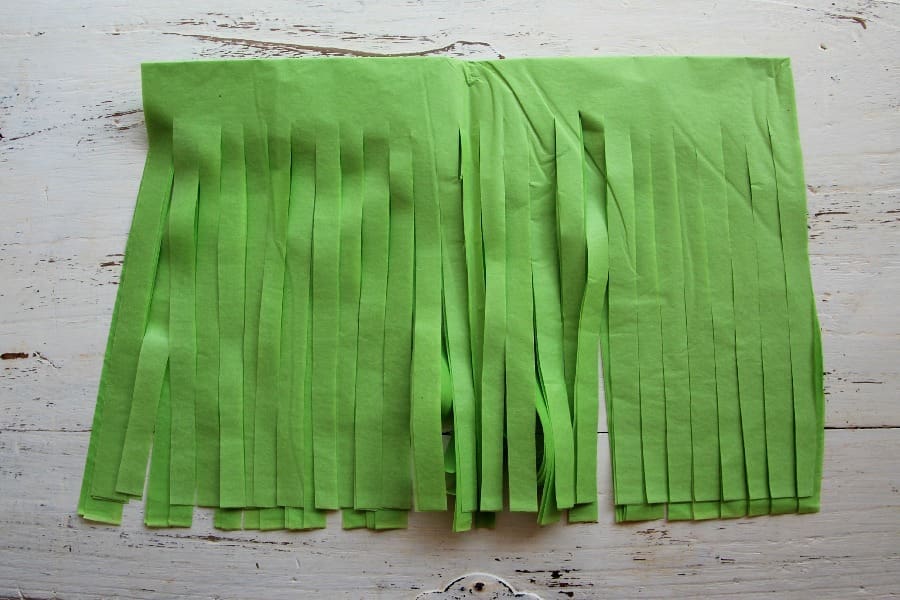
2. Cut all the way along the length of the tissue paper (approximately 1-3 cm wide), leaving three centimeters at the top of each cut.
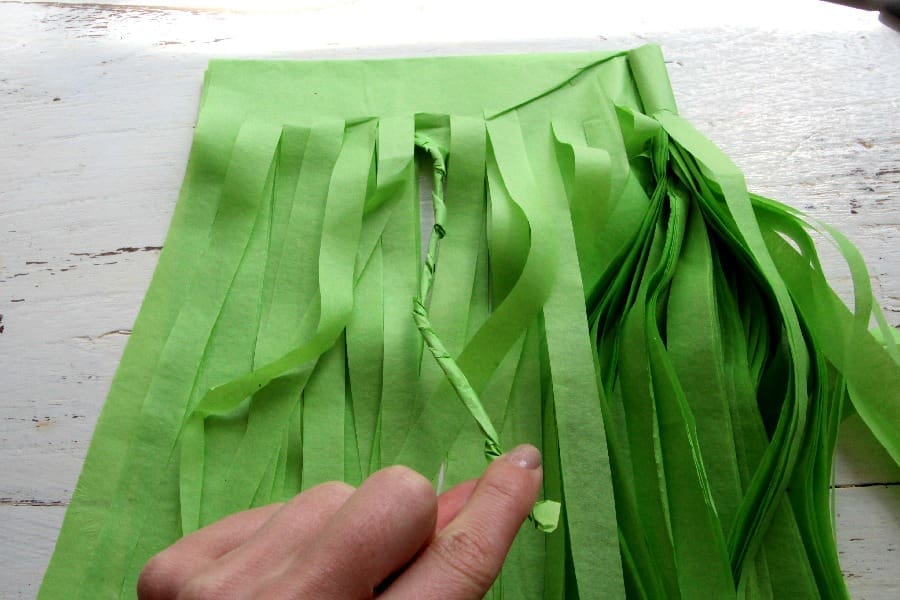
3. Tightly roll the tissue paper until you get approximately 10cm from the end.
4. Twist one strand and use it to create a loop. Sticky tape it into place.
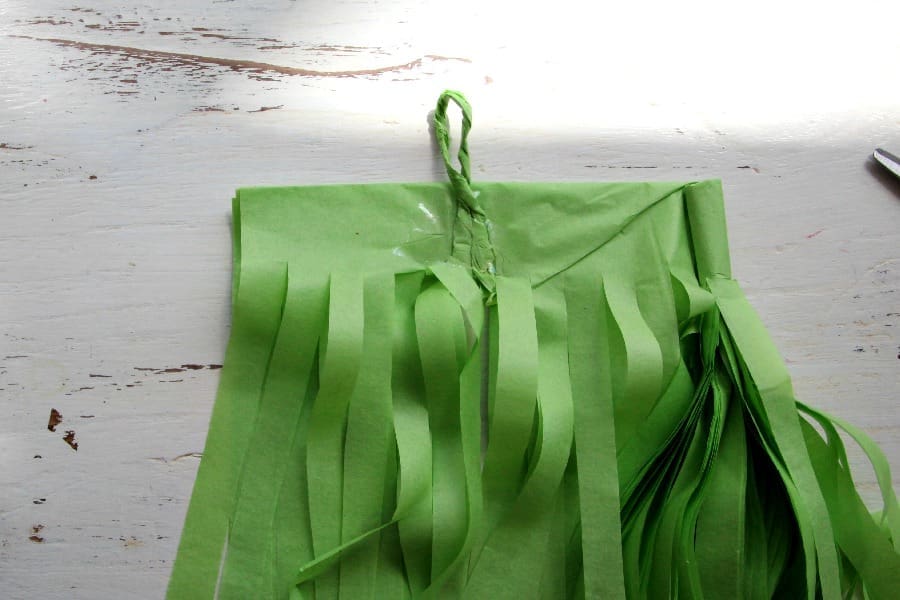
5. Finish rolling the tissue paper and staple it firmly to keep the tassel together.
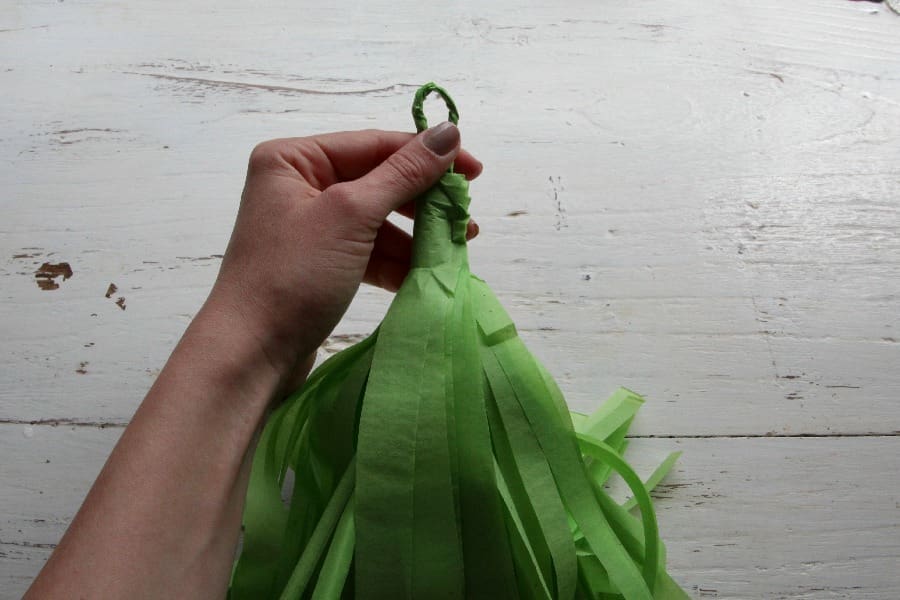
6. Create as many tassels as you like string a twine through the eye of the tassels and hang!
This DIY tassel garland tutorial is perfect for parties or to decorate a nursery! What upcoming event would you use these garlands for? Or will you put your own spin on this DIY by using a different material, like fabric tassel garlands?


These tassels are such a great way to give a room that festive feeling!