
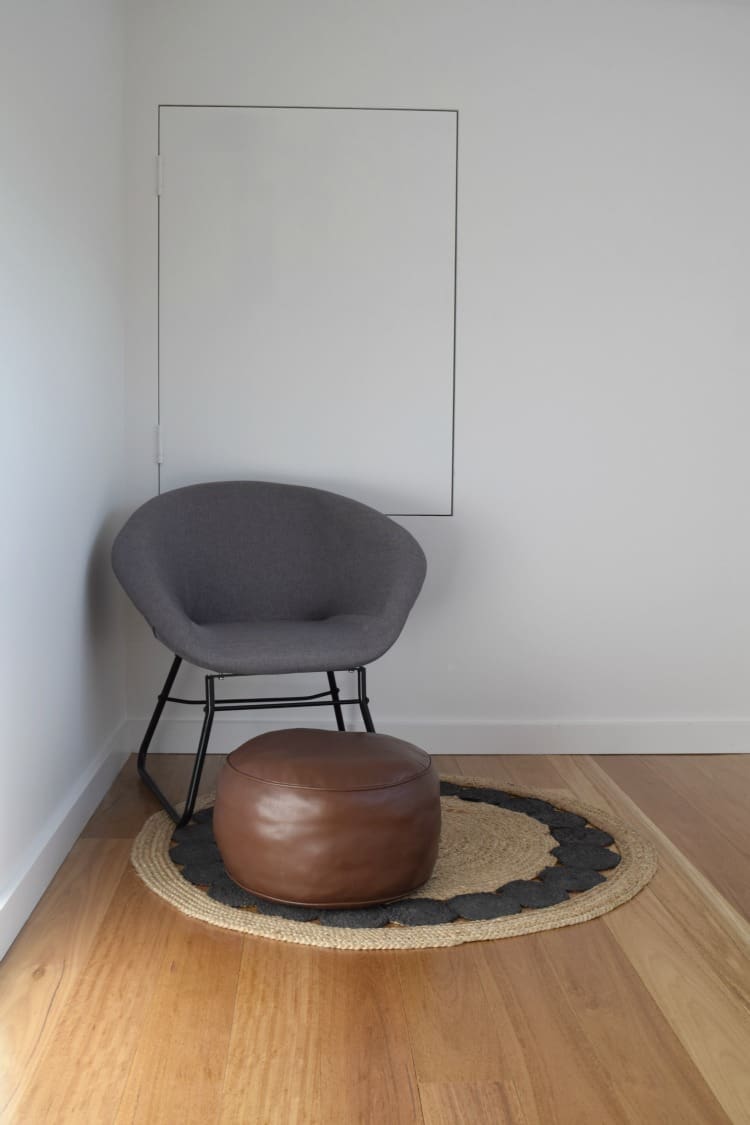
I picked up this dated ottoman from a thrift store for an absolute bargain (shocked?! I know, who wouldn’t want this gorgeous piece, ha ha) and gave it a sweet makeover for my nursery.
As I don’t know if I’m having a girl or boy, I’ve decided on a neutral colour scheme of white, grey and dusty turquoise/mint with a bit of a bear theme.
Today I’m going to show you how I revamped this old vinyl ottoman to give it a fresh new look.
Related article: DIY cross-stitch – the perfect personalised gift
Related article: 11 best DIY minimalist decor: Make trending home decor
Items you will need:
- Ottoman
- Upholstery fabric (I used a faux fur)
- T-Rex glue
- Glue gun
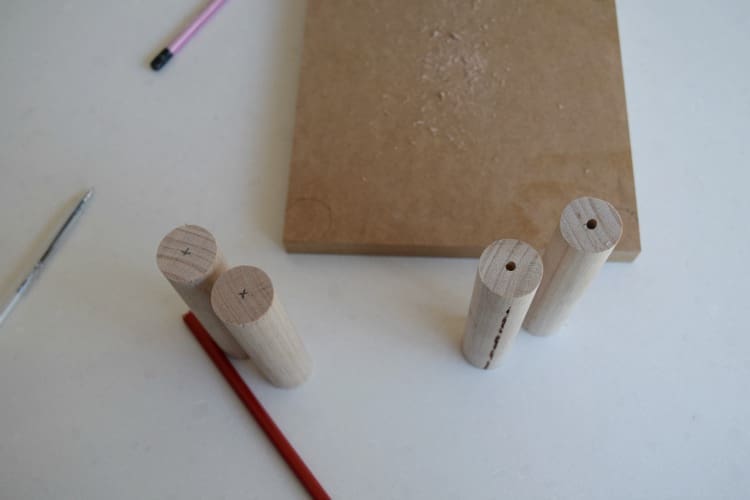
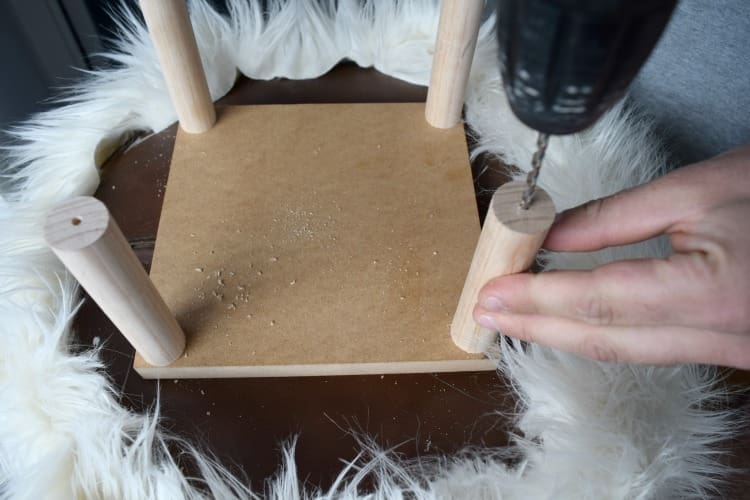
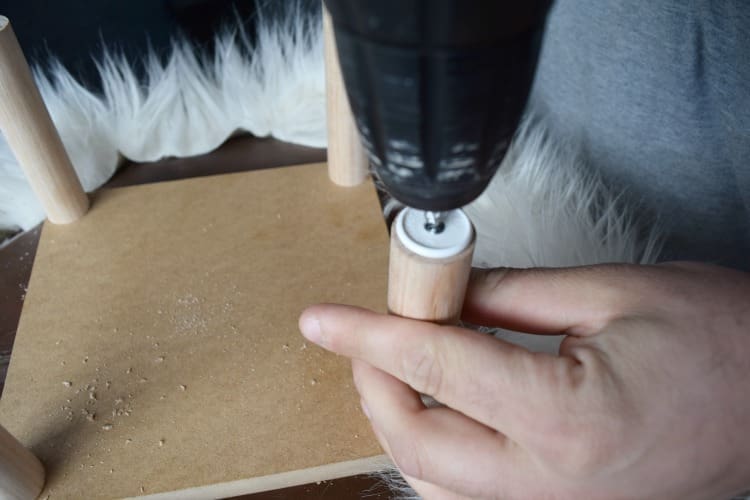
- Piece of timber board at 20cm by 20cm
- 4 dowel legs at 12cm long
- Electric drill
- Screws
- Pencil
- Scissors
- Duct tape
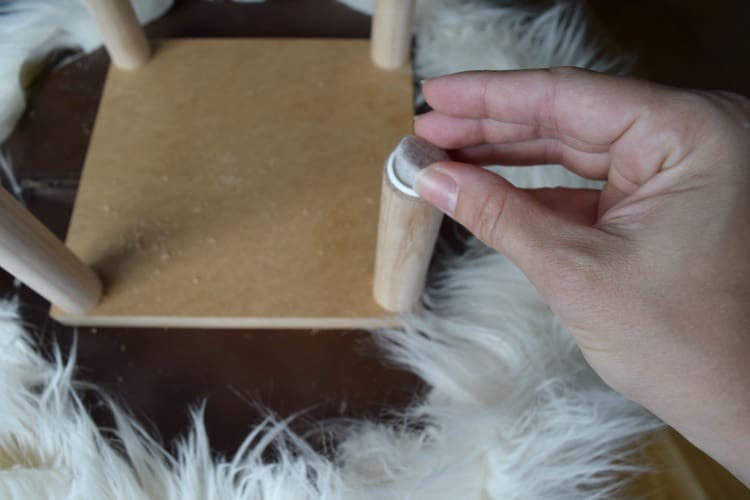
- Felt furniture feet protectors

Steps:
1. Make the timber base by screwing the four dowel legs in the corners of your timber board. Tip: it’s easier if you mark the exact centre of each dowel leg and pre-drill the holes.

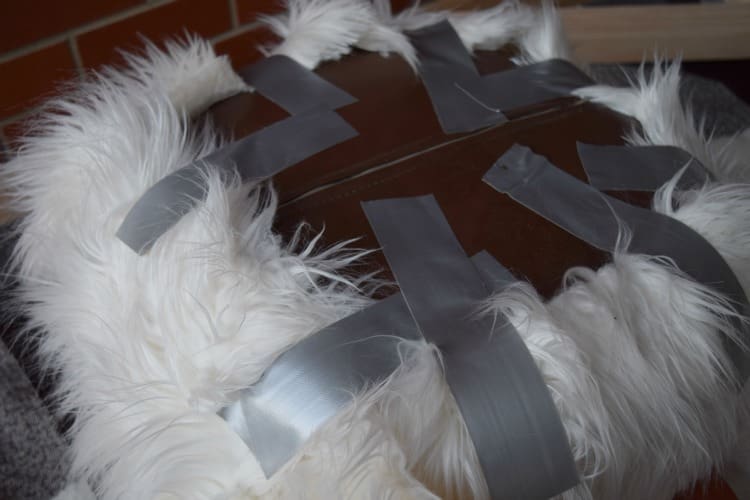
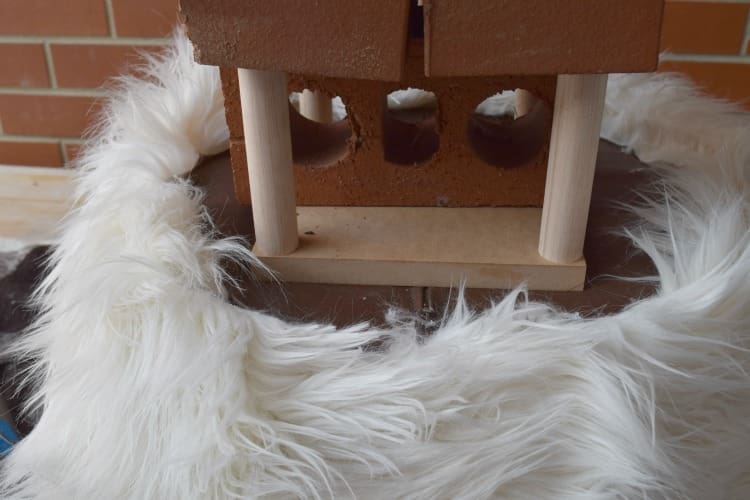
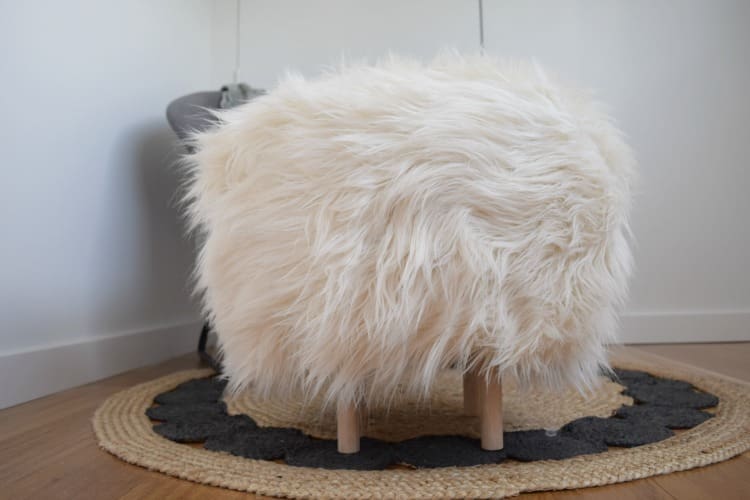
2. Cover the ottoman in faux fur. If you’re handy with a sewing machine, you could sew a slip cover by measuring the top and sides of the ottoman and creating a ‘hat’ to sit over the top. Unfortunately I was a bit short on fabric width to do this so I decided to T-Rex the fur straight onto the ottoman. This means I’ll only be able to spot clean the ottoman (rather than being able to remove the cover and wash it if I had sewed it).
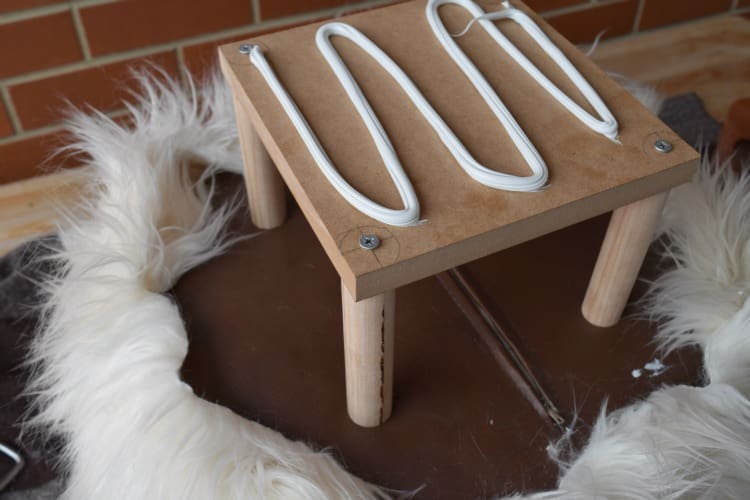
3. Glue the timber base to the bottom of your ottoman. Again I used T-Rex glue which is a commercial glue that is pretty much indestructible.
4. Apply the felt protectors to the feet of the ottoman to protect your floors (the type we selected needs a plastic base to be screwed into the base of the feet but you could just opt for stickers).
5. Turn the ottoman the right way around and fix up any odd bits by trimming excess fur and stitching/gluing down any strays.
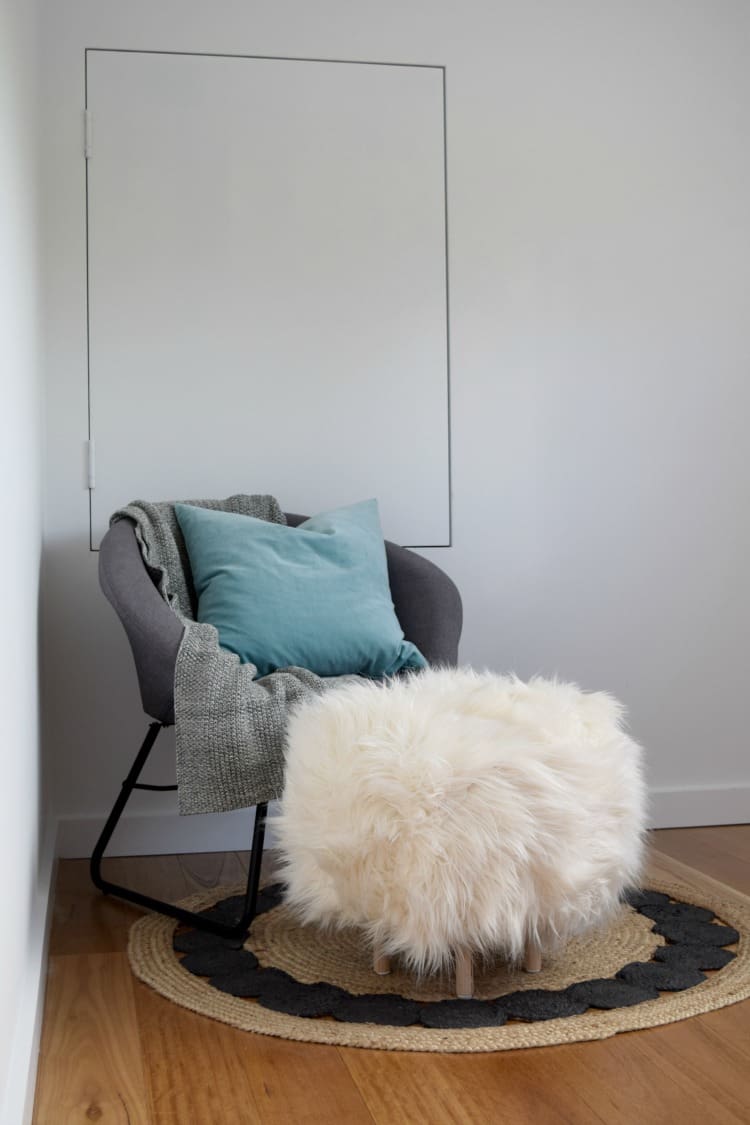
There you have the steps I used to turn this manky old brown vinyl pouf into a chic fur ottoman 🙂
Have you recently transformed an old piece of furniture? I’d love you to share it with me by emailing hello@stylecurator.com.au. Perhaps we’ll even feature it on the blog! Stay tuned for more nursery ideas soon.


Comments are closed.