
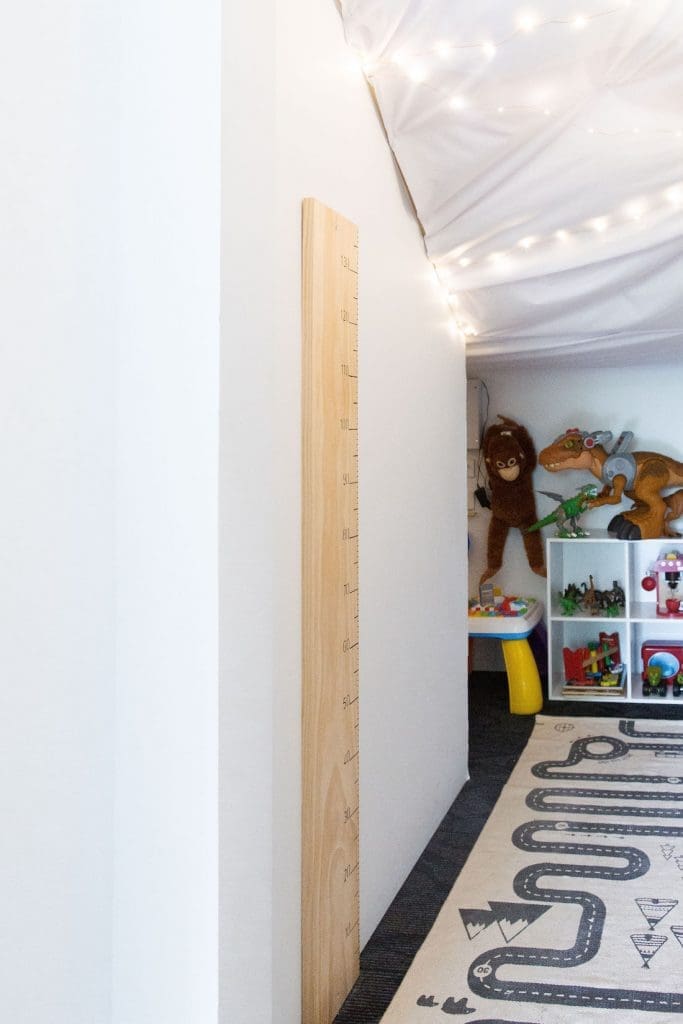
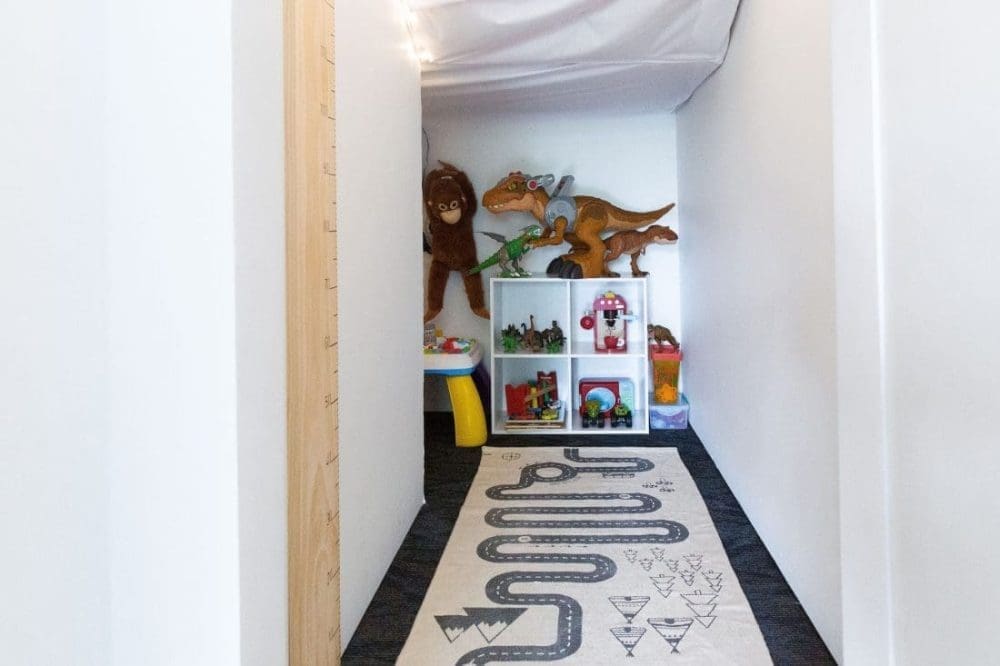
People always say it’s amazing how fast children grow but it isn’t until I became a Mum that I realised how true it is! I wanted a way to start recording my children’s growth and designed this DIY minimalist growth chart. It’s a simple project that you can take with you if you move house… unlike the door frame my parents used when I was a child!
This DIY minimalist growth chart is incredibly easy to make and you could easily personalise it to suit your space, such as painting the face or decoupaging paper or objects onto it. You could get as creative as you like!
Related article: DIY ply bear shelf
Related article: 20 of the best-ever Kmart hacks for kids
Items you will need:
- Piece of wood (our is 140cm high x 18.5cm wide from Bunnings)
- Black whiteboard marker
- Stencil
- Pencil
- Measuring tape
- Ruler
- Eraser
Steps:
1. Decide which side of the timber you will make the face of your growth chart (i.e. the nice side) and lay it down on a clean surface.
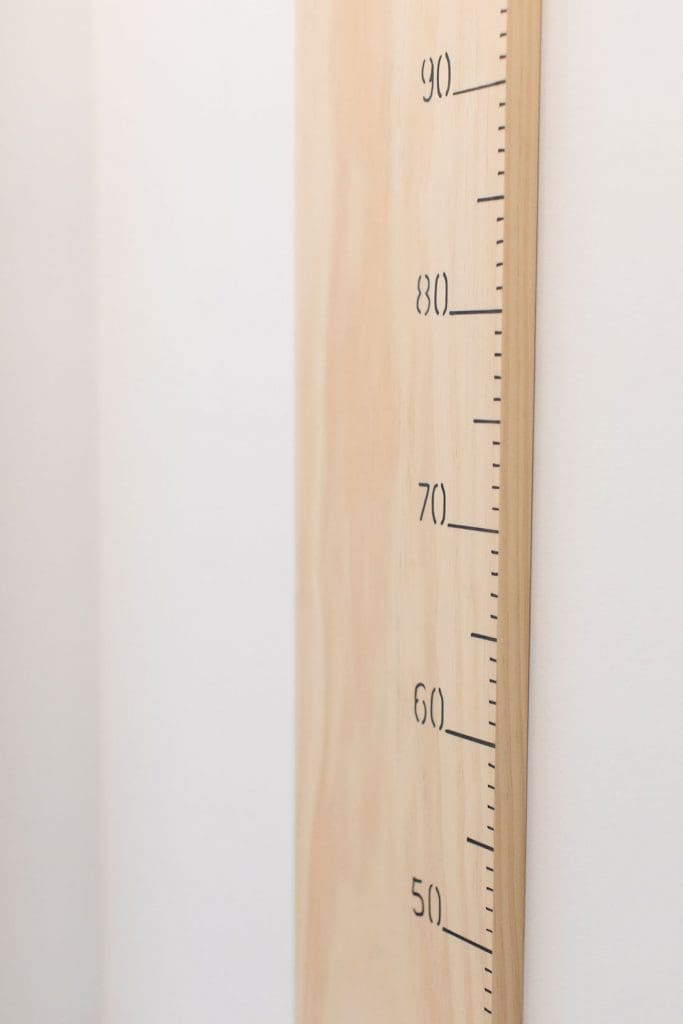
2. Use a pencil to make small marks along one edge of timber at every 1cm point. I made the lines more prominent at 5cm and 10cm as I knew I would make these lines longer.
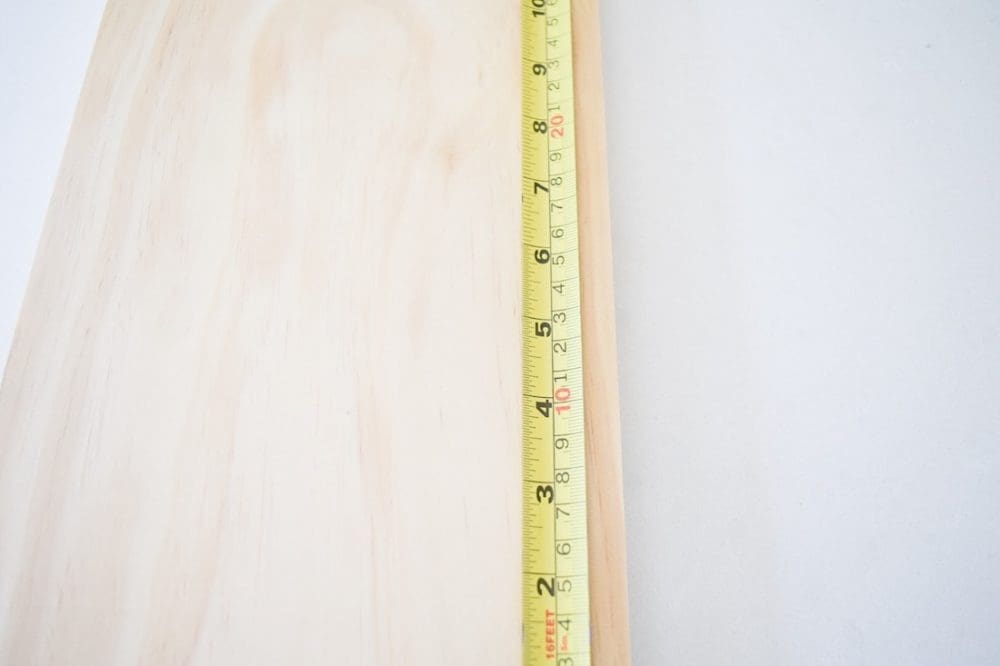
3. This growth chart uses 3mm dashes at every 1cm, 4mm dashes at every 5cm and 6mm dashes at every 10cm. To ensure these lined up properly, I measured these distances from the edge of the timber and made faint guide lines in pencil.
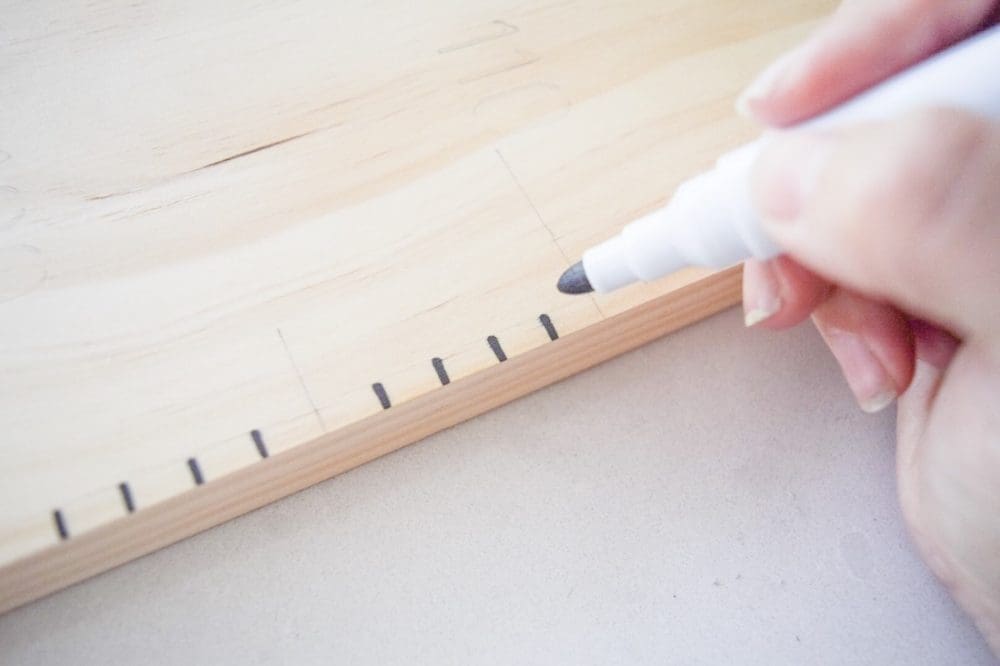
4. Next to each 10cm line, use your stencil to write the number (try your hardest to line up the numbers and keep a similar distance between the digits). Once you’re happy with the pencil outlines, use your whiteboard marker to write over the top.

5. Once you’ve marked all the lines in pencil and you’re confident you haven’t miscounted, take the white board maker and go over the pencil guides with a quick, confident hand. If you hesitate or take too long, you may find too much ink comes out and it begins to bleed through the timber.

6. Now all that’s left to do is tidy any visible pencil lines using an eraser and secure the growth chart onto the wall. You may just like to use double sided tape but my timber was a tad warped so I screwed it into the wall.
Do you think you’ll make this DIY growth chart? Save this image to your Pinterest account so you can easily find it later.
Check out more DIYs

Photography of completed growth chart by Thorson Photography
This article was first published in March 2019


Comments are closed.