Our spring stories continue and today we’re sharing how to create a simple vertical garden using reclaimed materials in under 30 minutes!
This vertical garden can be free standing on the ground leaning against a wall or mounted to a wall. It’s ideal for herbs and dripping plants, and can withstand harsh outdoor elements.
Related article: Kmart hack: Lantern into succulent garden
Related article: 20 of the coolest Kmart hacks EVER!
Tools you will need:
- Measuring tape
- Demolition bar or pinch bar
- Hammer
- Drop saw or hand saw
- Hand sander or belt sander
- Pencil
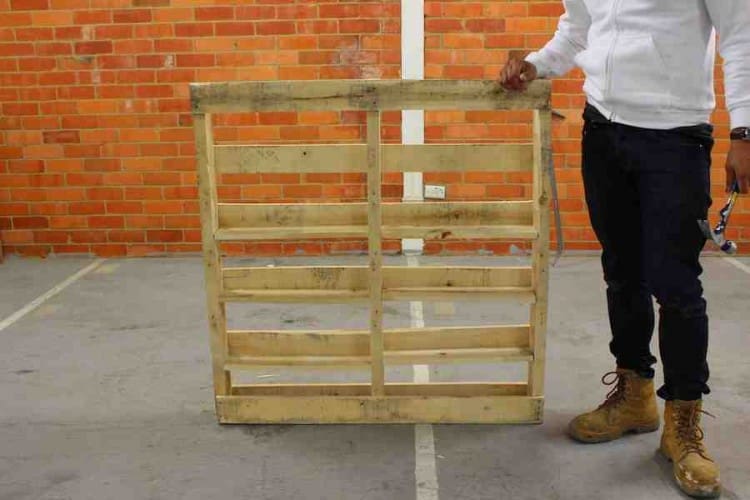
Selecting the pallet:
You can create this vertical garden with pretty much any pallet, but here we’ve chosen a pallet (heat treated of course) that is 1040mm x 1070mm.
Steps:
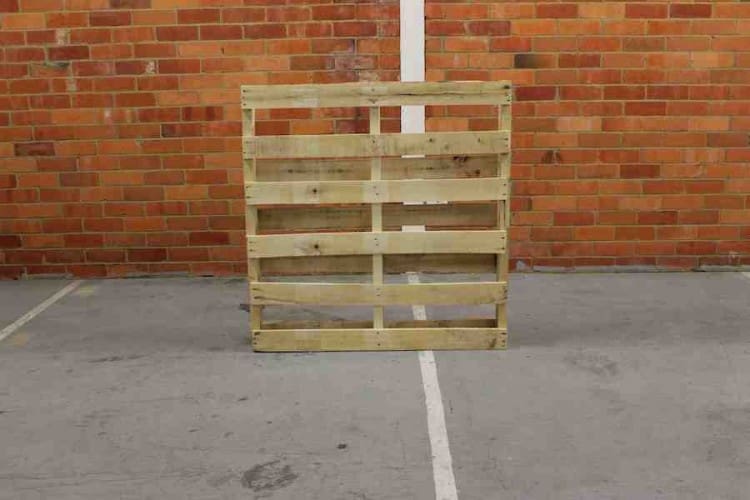
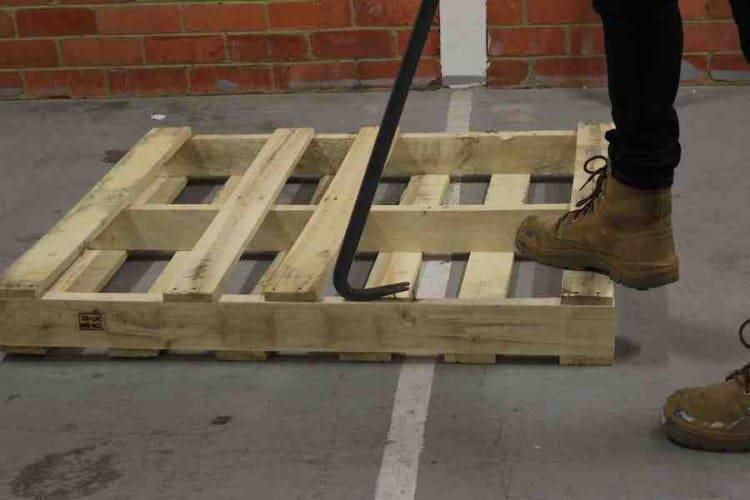
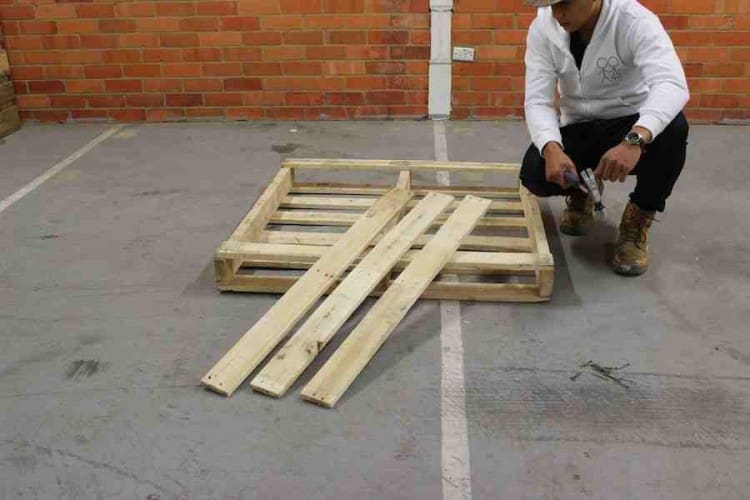
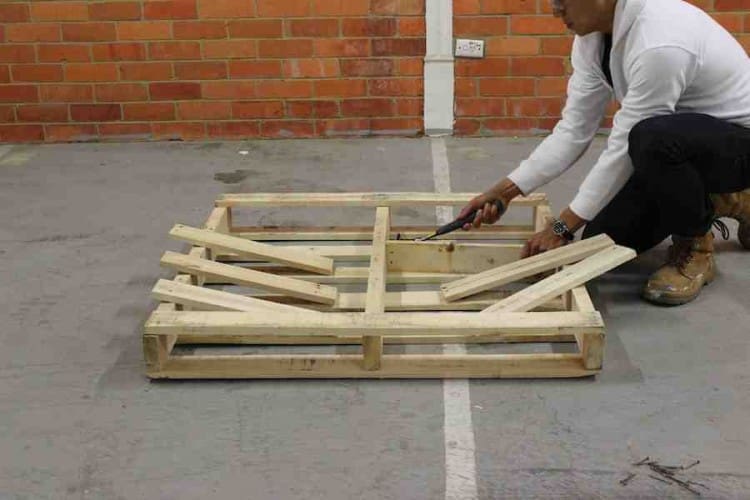
1. Flip the pallet so that the front is on the ground and detach the back three middle pieces. After detaching, you should have three pieces that you can now de-nail. Keep the nails as you’ll use them later.
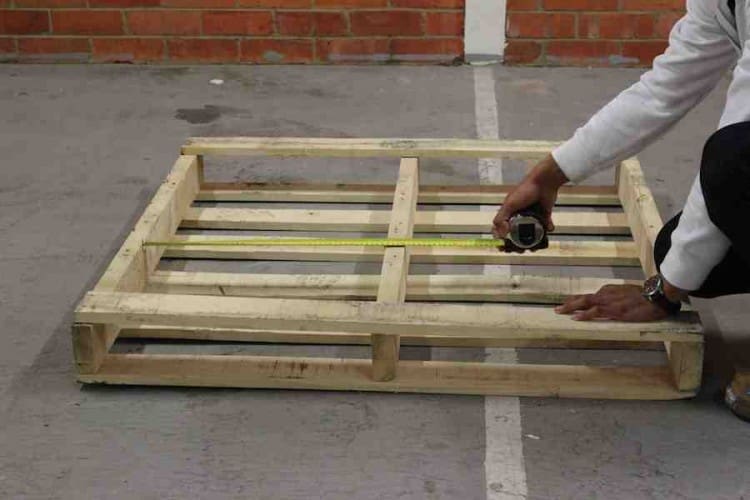
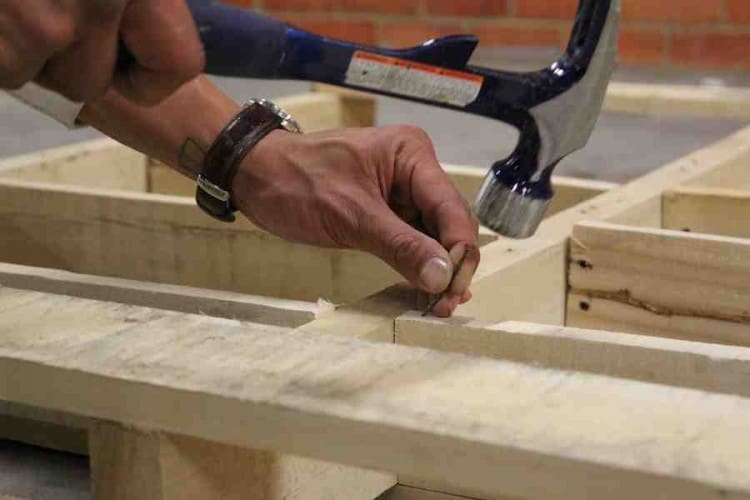
2. Measure the gaps in between the vertical planks. Mark out the measurements on each of the three back pieces you detached.
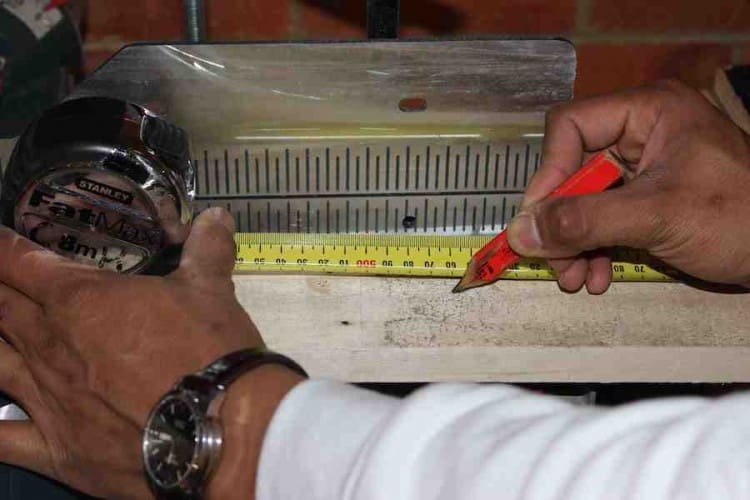
3. Cut the pieces to size with you saw.

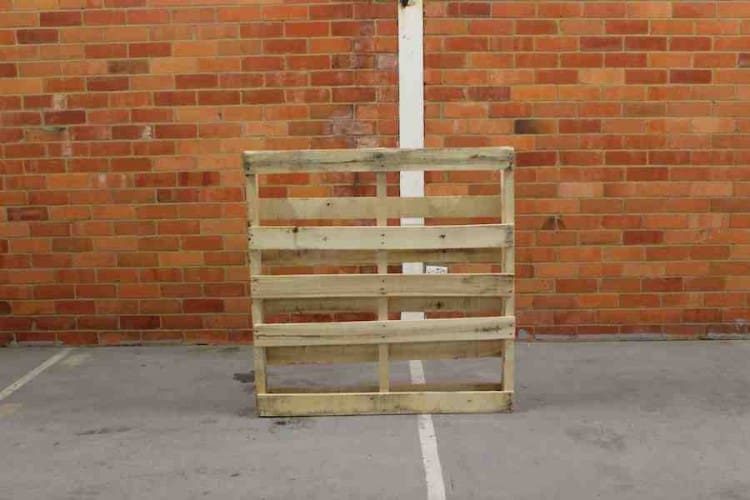
4. Layout each of the cut pieces where you want them to be positioned.
5. Knock the pieces into shape if they’re a bit tight.
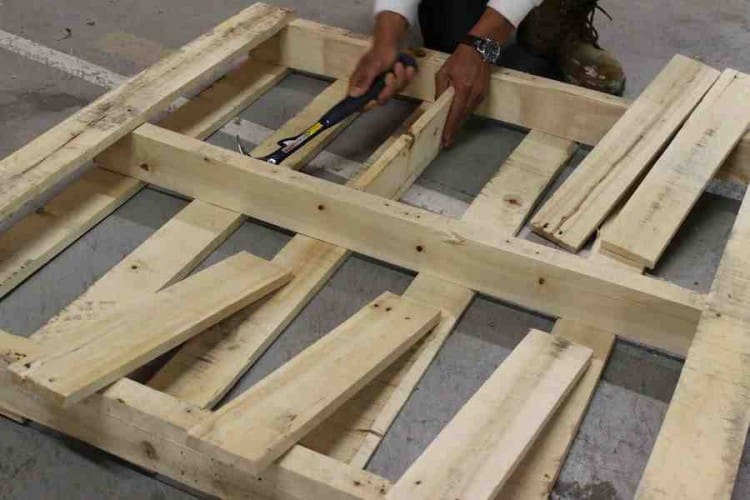
6. Use the nails you removed on the six pieces you’ve cut and nail them into place.
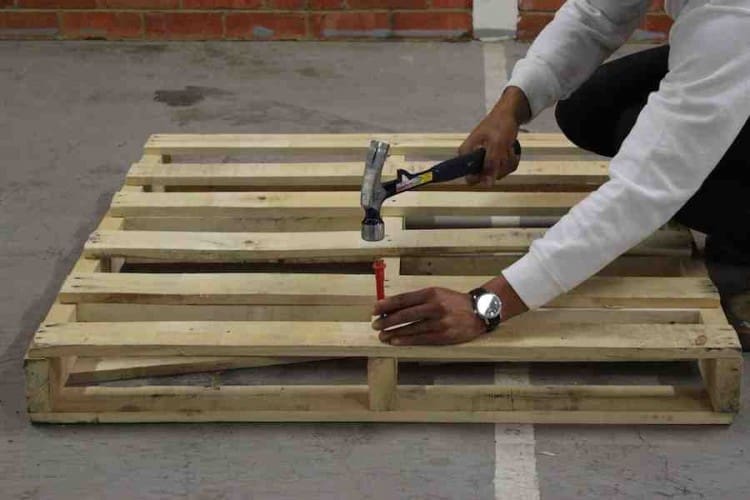
7. Once the six planks are secured, then flip it over and use the nail punch on the front side of the pallet and sink the remaining nails so the head doesn’t protrude. Only do this step if you plan on sanding the face of the pallet.
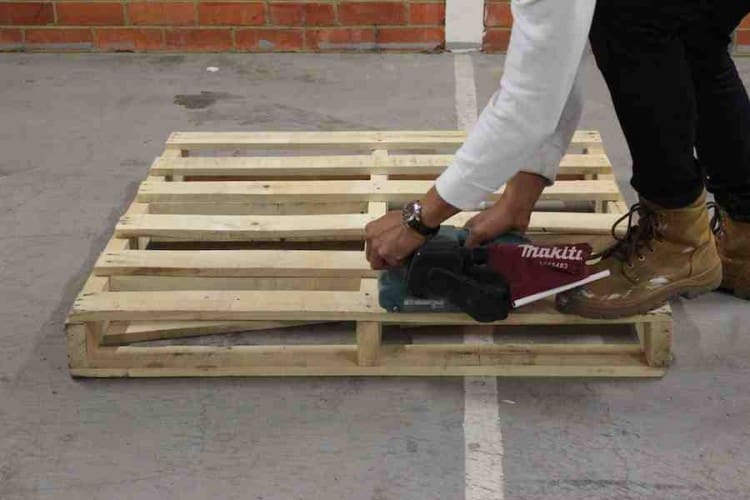
8. Sand the pallet smooth using the sander of your choice.
Optional: If the vertical garden is going to remain outside, you may want to consider using an oil to condition it, or some other protectant of your choice.
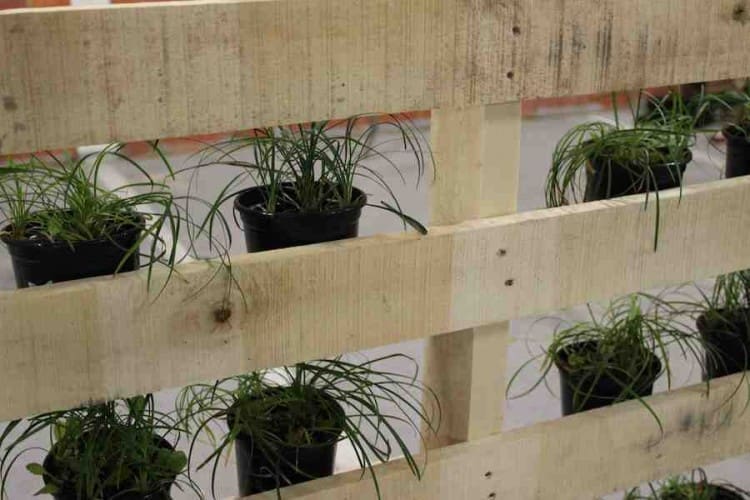
Tada! You’ve just built a simple vertical garden.