
There is no faster way to make your home look and feel more inviting than a big arrangement of beautiful fresh flowers.
Weekly visits to your florist can get pretty pricey, so we asked Chellie from CH Floral Designs for her top tips on how to create your own floral arrangement — at a fraction of the price.
Related article: How to create a gorgeous grazing board
Related article: Extend the life of your flowers with these tips!
Words by Chellie Olijnyk
Getting started
Before you even touch your flowers, it’s important to give your vase a thorough wash with detergent and warm water. A clean vase will prevent bacteria growing, meaning your flowers will last for longer. Then fill it with enough clean water — usually at least three-quarters full.
Remember, flowers with ‘furry stems’, such as poppies and gerberas don’t like a lot of water as it makes the stems rot. If you are using these flowers, it’s best to use a small amount of water and refresh it as required.
Selecting your flowers
You can usually grab beautiful fresh flowers for a bit cheaper from your local markets, as well as foraging in your own garden for greenery and foliage.
Blue gum and tree ivy work great as foliage, as well as any shrubs with a long enough stem to use in your vase.
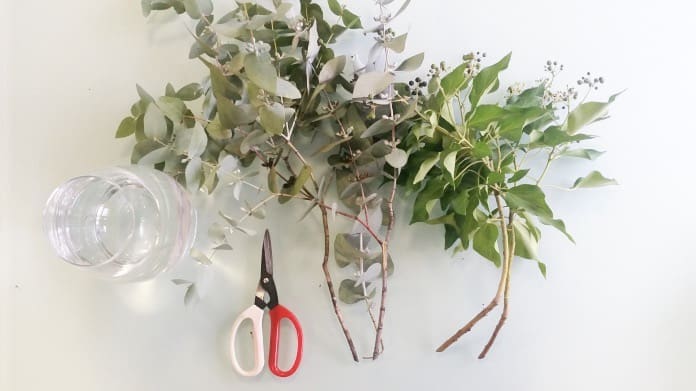
Just make sure you’ve removed all leaves from the stems or they will rot in the water, creating bacteria and reducing vase life.
When it comes to choosing flowers, it doesn’t matter if you’re not an expert. You just need think of the height and shape of the vase you’re planning to use. Having a mix of different heights, flower shape, and texture creates movement and visual interest in an arrangement.
I’ve used a combination of taller flowers with shorter focals and a filler flower in this arrangement. If you’re new to flower arranging, there is no need to feel nervous. By following my step-by-step guide, you’ll be able to build a floral masterpiece in no time.
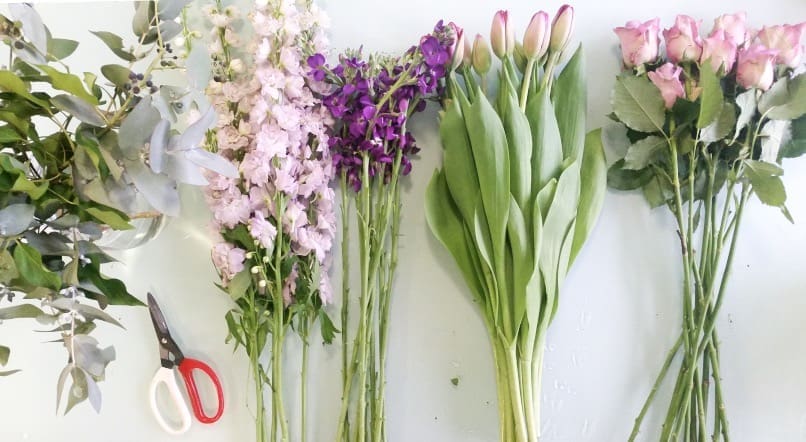
Flowers used
- Foliage – gum leaves
- Tall flowers – mauve delphinium and dark purple stock
- Small filler – easter daisy
- Focal 1 – tulips
- Focal 2 – roses
How to create your own floral arrangement
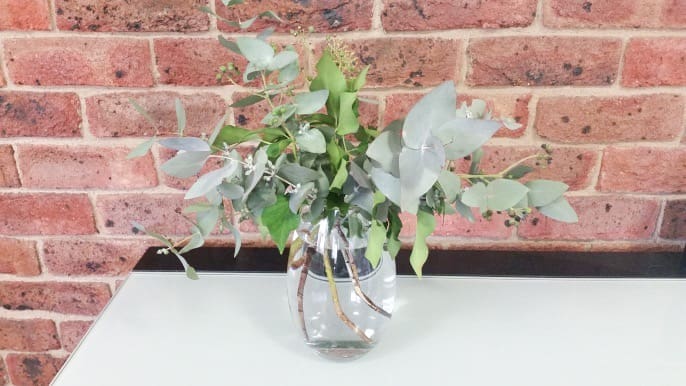
1. Foliage first
Put your foliage in first to use as a base to hold your flowers in place. Just be careful not to overcrowd your vase, as you’ll run out of space for the flowers.
2. Cut as you go
Cut your stems to length as you go, starting with your tallest flowers — in this case the delphinium and stock.
It’s really important you don’t cut the stems until you’re ready to put them into the water or they will form a seal on the ends which means they can’t drink the water up through the stems.
Cut the stems on an angle so they can draw water easily in the vase. To figure out what length you need the stems, hold them up next to the vase as you cut.
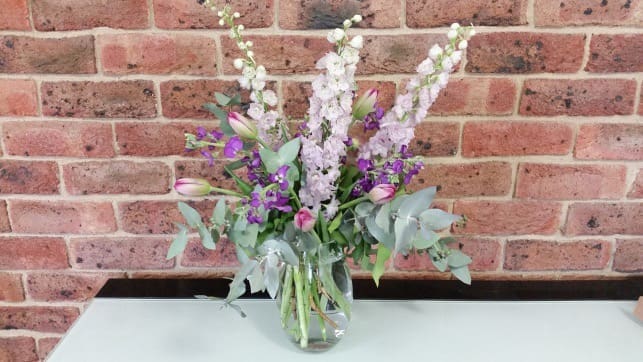
3. Start with your tallest stems
Put your tallest stems in the centre of your arrangement, unless you are creating something which can only be viewed from one side. In this instance, they should be at the back of the arrangement, but still centred in the vase.
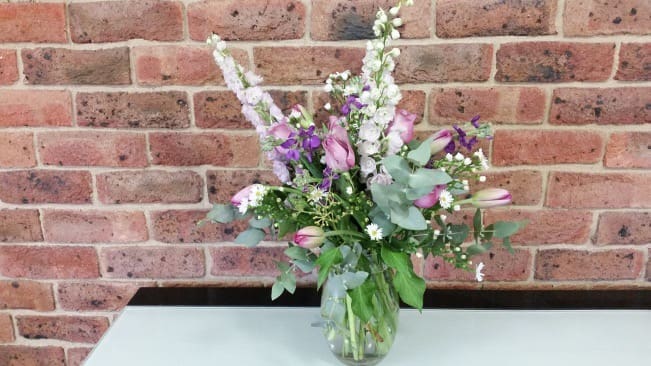
4. Fill up with focals
Once you’ve got your tall flowers positioned, start adding your next ‘focal flower’ — in this case, the tulips.
Before you move onto your next focal, add some of your small filler (I used easter daisy). This helps to bring all the elements together and start to fill the gaps.
Don’t use too much though as you’ll overpower your focal flowers. Other good small filler flowers are Queen Anne’s lace, babies breath, misty, or natives such as wax flower.
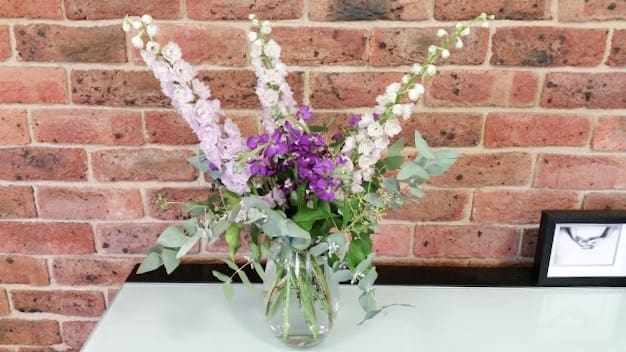
Finally, you’re ready to add your final focal flower (we used roses) to the arrangement, filling in the gaps as you go.
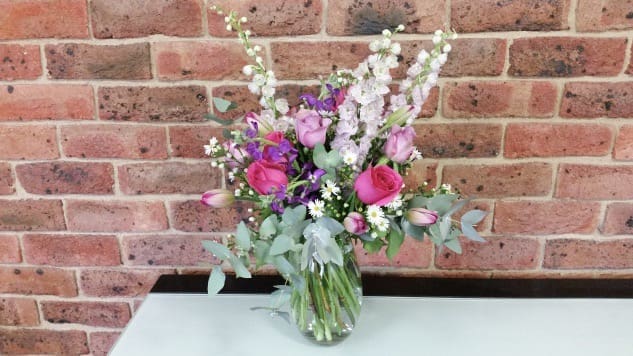
5. Step back for a better look
If you think you’re finished, make sure you step back to look from a distance. It’s easy to miss gaps or uneven distribution from up close.
If you’re making an all-round vase like this one make sure you turn your vase as you make the arrangement so you get even distribution.
Thank you Chellie for sharing your tips on how to create your own floral arrangement! Now you don’t have to wait for someone to spoil you with fresh blooms — you can treat yourself with a customised arrangement of your favourite flowers.
Find more entertaining ideas here
About the author

Based in the Snowy Mountains, Chellie is a floral expert with more than 15 years experience in the industry, specialising in creating stunning flowers for weddings and special events.
Web: chfloraldesigns.com
Facebook: facebook.com/CHFloralDesigns


")