
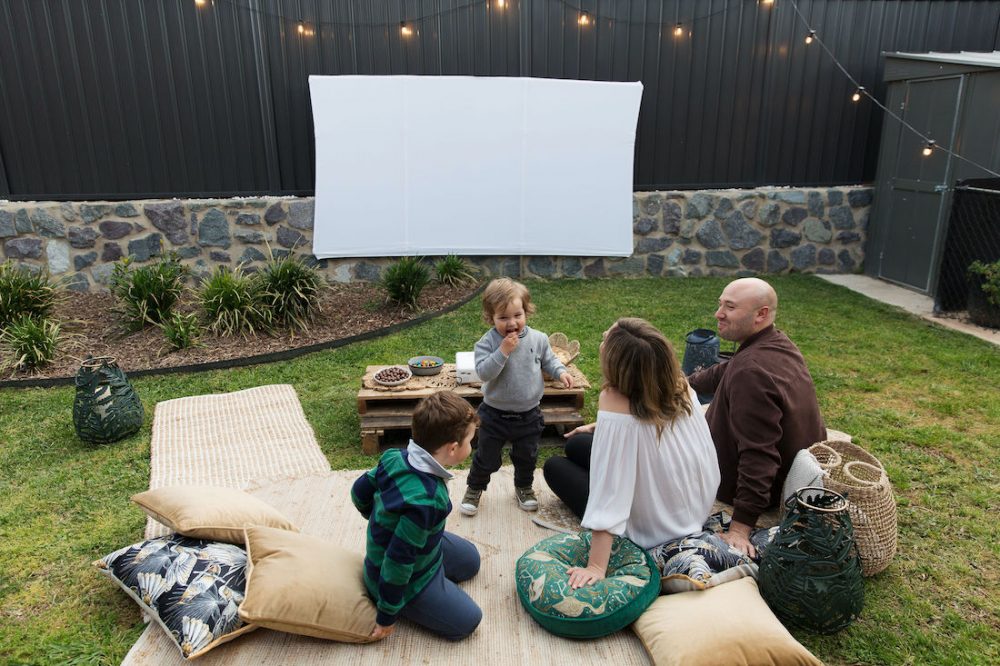
You may have seen I recently shared how to create an outdoor cinema in your own backyard where I mentioned I created that huge outdoor cinema screen for under $100.
While you could simply string up a sheet or find a cheaper smaller screen online, I love this outdoor cinema screen as it offers fabulous picture quality results and the structure makes it more wind-proof than other screens I found online. The whole thing also easily dismantles so you can pack it away when it’s not in use.
Related article: How to create an outdoor cinema
Related article: 10 contained, cosy and private gardens
Items you will need:
Your exact product list will depend on the size of screen you create. My screen is 2700mm wide x 1500mm high. If you increase your screen size, you will need more pipe (and I would also suggest increasing the diameter size of the pipe for greater stability) and if you opt for a smaller screen, you won’t need as much pipe or fabric.
- 12 x 1m lengths of 20mm plastic pipe (enough to build the frame with two supporting arms down the centre)
- 4 x straight pipe connectors (to add extra length to the 1m pipe as the screen is 1.5m high)
- 4 x L-shape pipe connectors (for all 4 corners of the frame)
- 2 x T-shape pipe connectors (for the top of the frame to connect to the supporting arms down the centre)
- 2 x cross shape pipe connectors (for the base of the frame to connect to the centre supporting arms and allow an opening to secure to the ground)
- 5m of a bright white stretch fabric (enough to be doubled over to create a ‘slip’ cover)
- Measuring tape
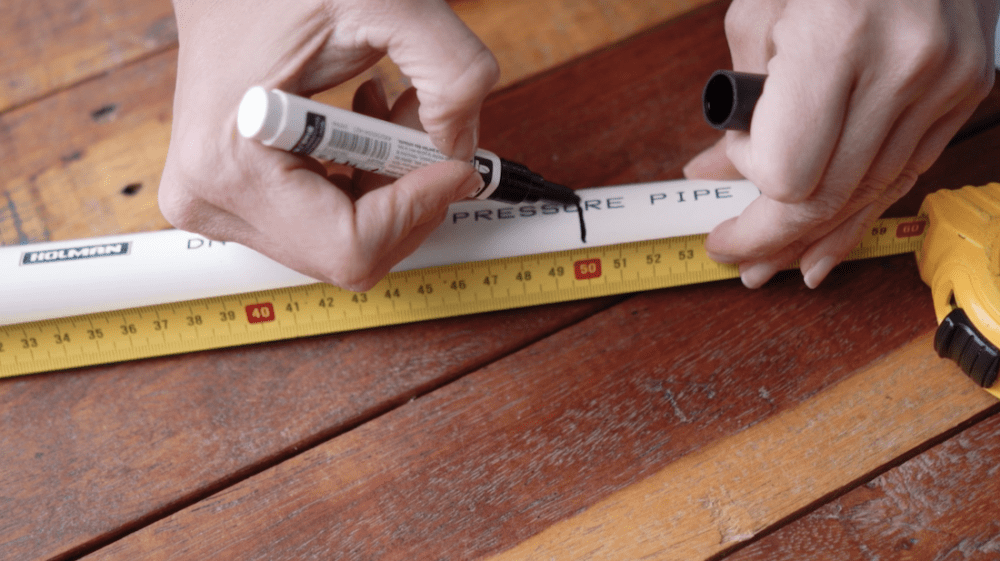
- Permanent marker
- Handsaw
- Hammer
It’s a good idea to watch the video above to see how I created the screen and you can continue reading for detailed steps.
Steps:
Step 1: Decide on your screen size
The first step is to decide on your outdoor cinema screen size. Most projectors have a standard picture format of 16:9. You can build your outdoor screen as big or small as you like, keeping this ratio in mind.
I opted for a 120 inch screen which is 266cm wide by 149cm high.

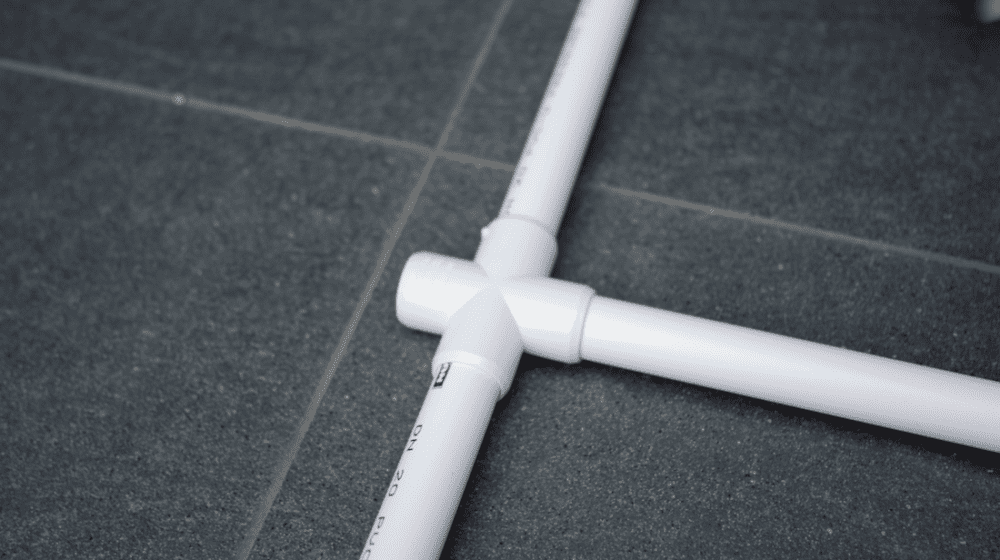
Step 2: Create the frame
Now it’s on to building a frame. I wanted a frame that was easy to construct and take apart when it isn’t in use.
For this, I used a range of plastic pipes and fittings from the hardware store as they can be cut down to size and connected together to create any size screen you want. Refer to the product list above for all the details on the materials I used.
I designed a simple ‘goal post’ frame with two supporting arms down the centre to prevent the fabric from dipping and distorting the picture.
To secure the frame into the ground, I’ve used two cross brackets at the base. This allows me to slot the frame onto stakes in the ground and there’s more info about this at Step 4.

Step 3: Add the fabric
Once you’re happy with your frame, it’s time to add the fabric. I purchased a bright white stretch fabric as this came recommended when researching how to make the best outdoor movie screen online.
I bought almost twice the length I needed (5m) and stitched the two ends together so it can stretch over the goal post frame. To prevent it slipping down the frame, I also sewed the top length of the screen. This trick avoids the need to add eyelet hooks or other fixings to the fabric and helps to create a completely smooth and even screen.


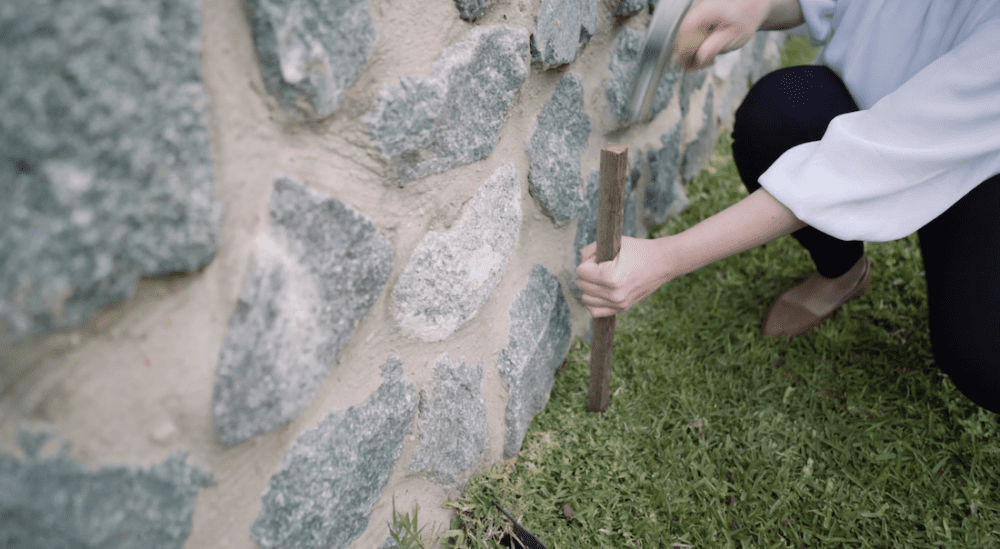
Step 4: Secure into ground
Now that the screen is finished, it’s time to secure it in place. I hammered two timber stakes into the grass the same distance apart as those cross brackets on my frame. If you don’t have grass, you could use two large pots filled with sand or try a slightly different leg design that’s self supporting.
Securing it into the ground to make it as wind proof as possible.
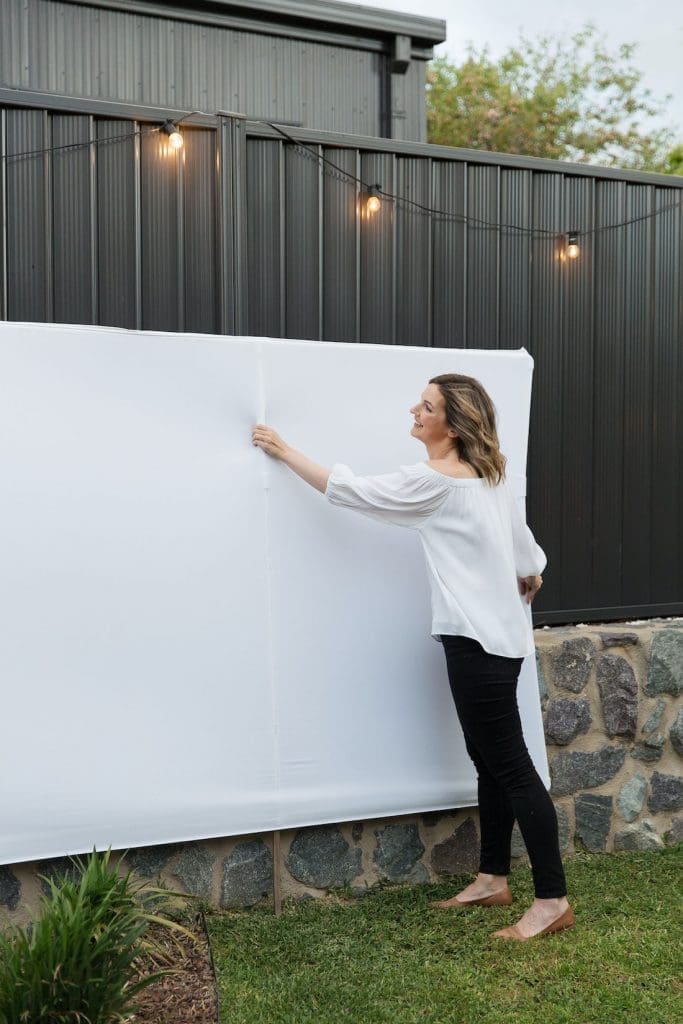
Step 5: Slip the frame onto stakes
Carefully carry your frame over to the stakes and slot it in place. You may need to hammer it down slightly to get an even screen.
All that’s left to do is decide what movie to watch and set up your projector. Continue reading this article on creating an outdoor cinema for all those tips and more!
Do you have any questions I didn’t cover in this tutorial on how to make an oversized outdoor cinema screen? Leave a comment below and I’ll get back to you asap!
More DIY ideas
This article was first published in November 2021 and has been updated for relevance.

