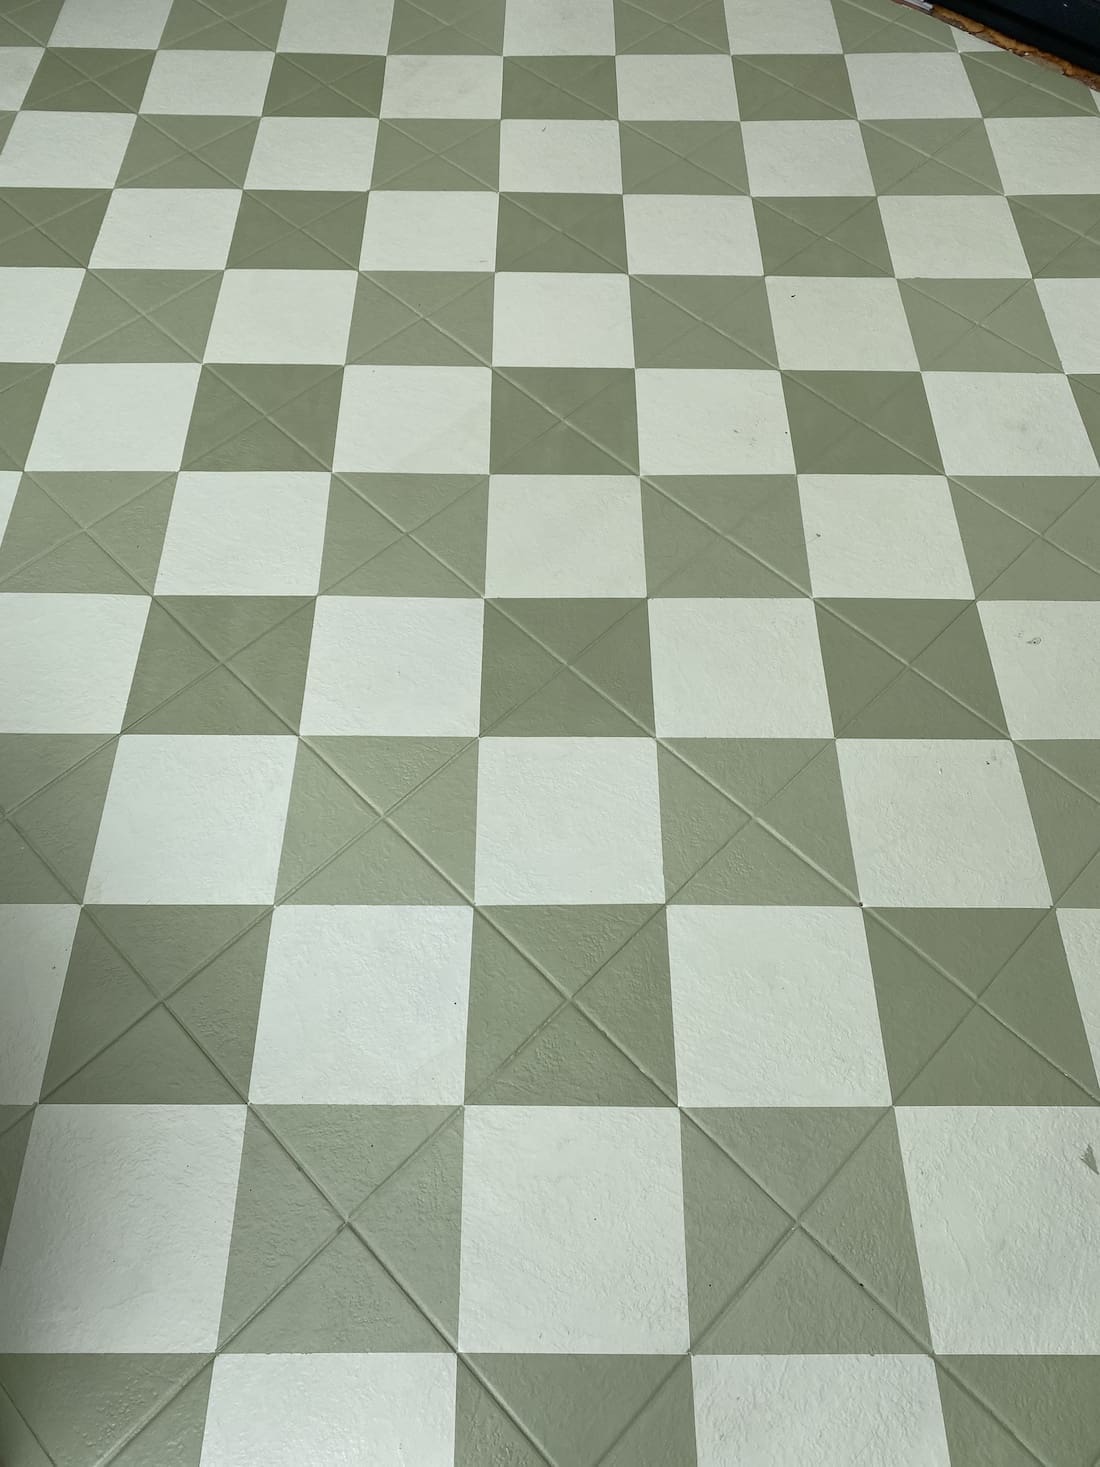
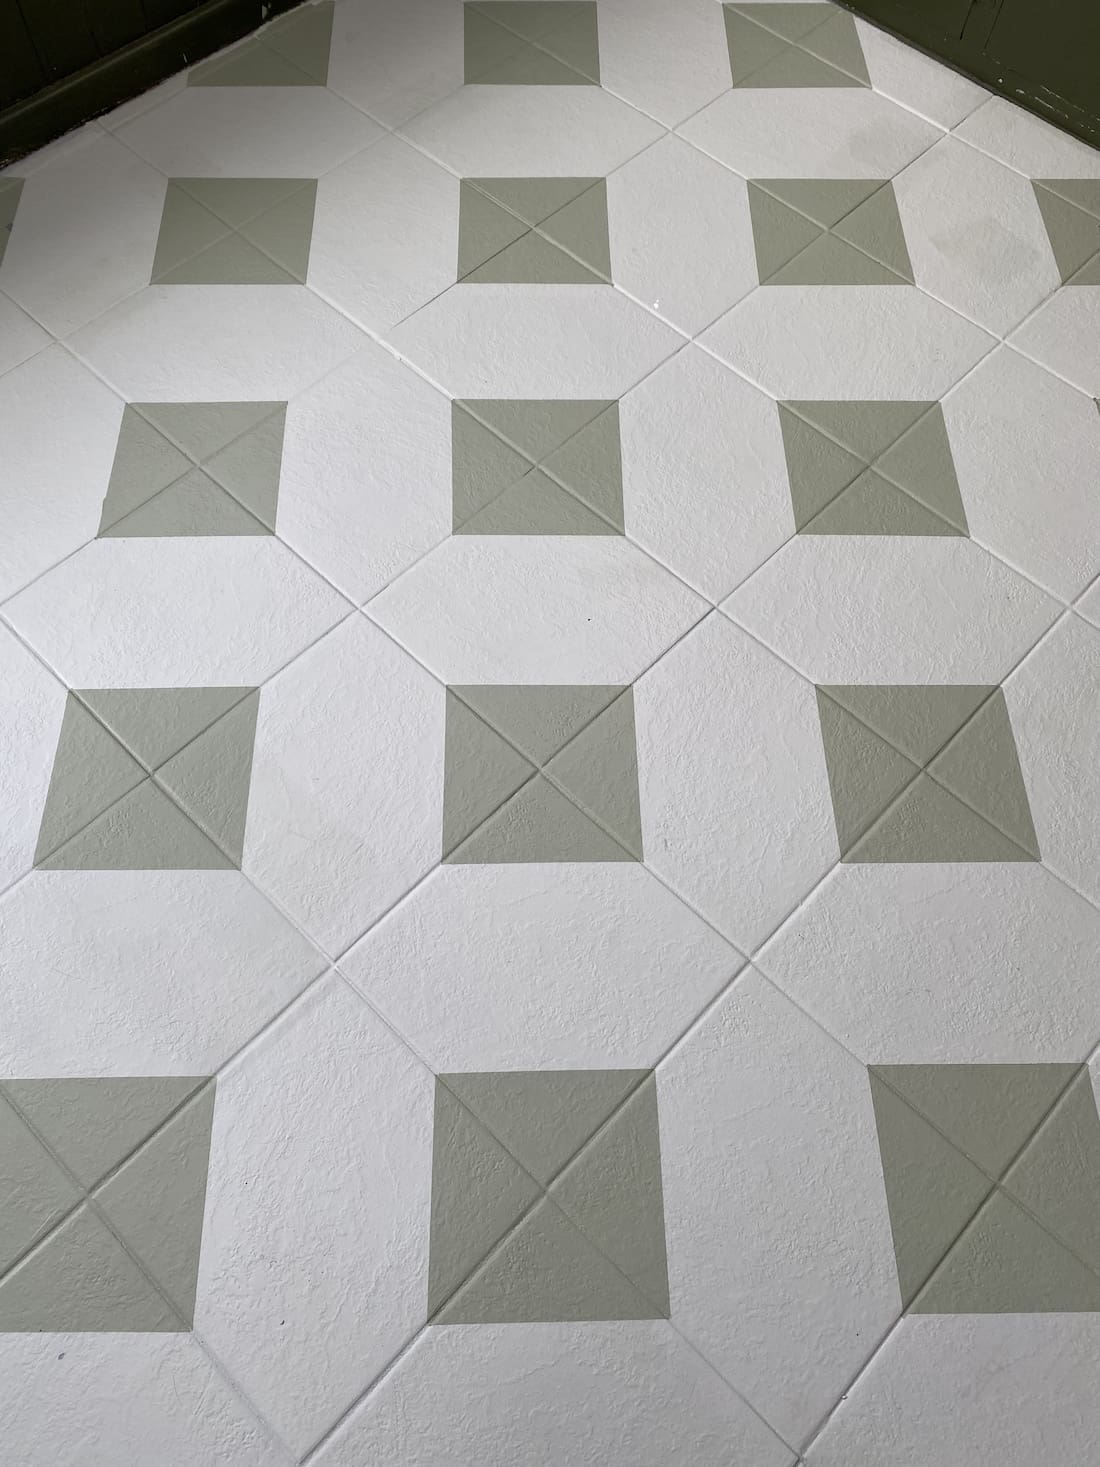
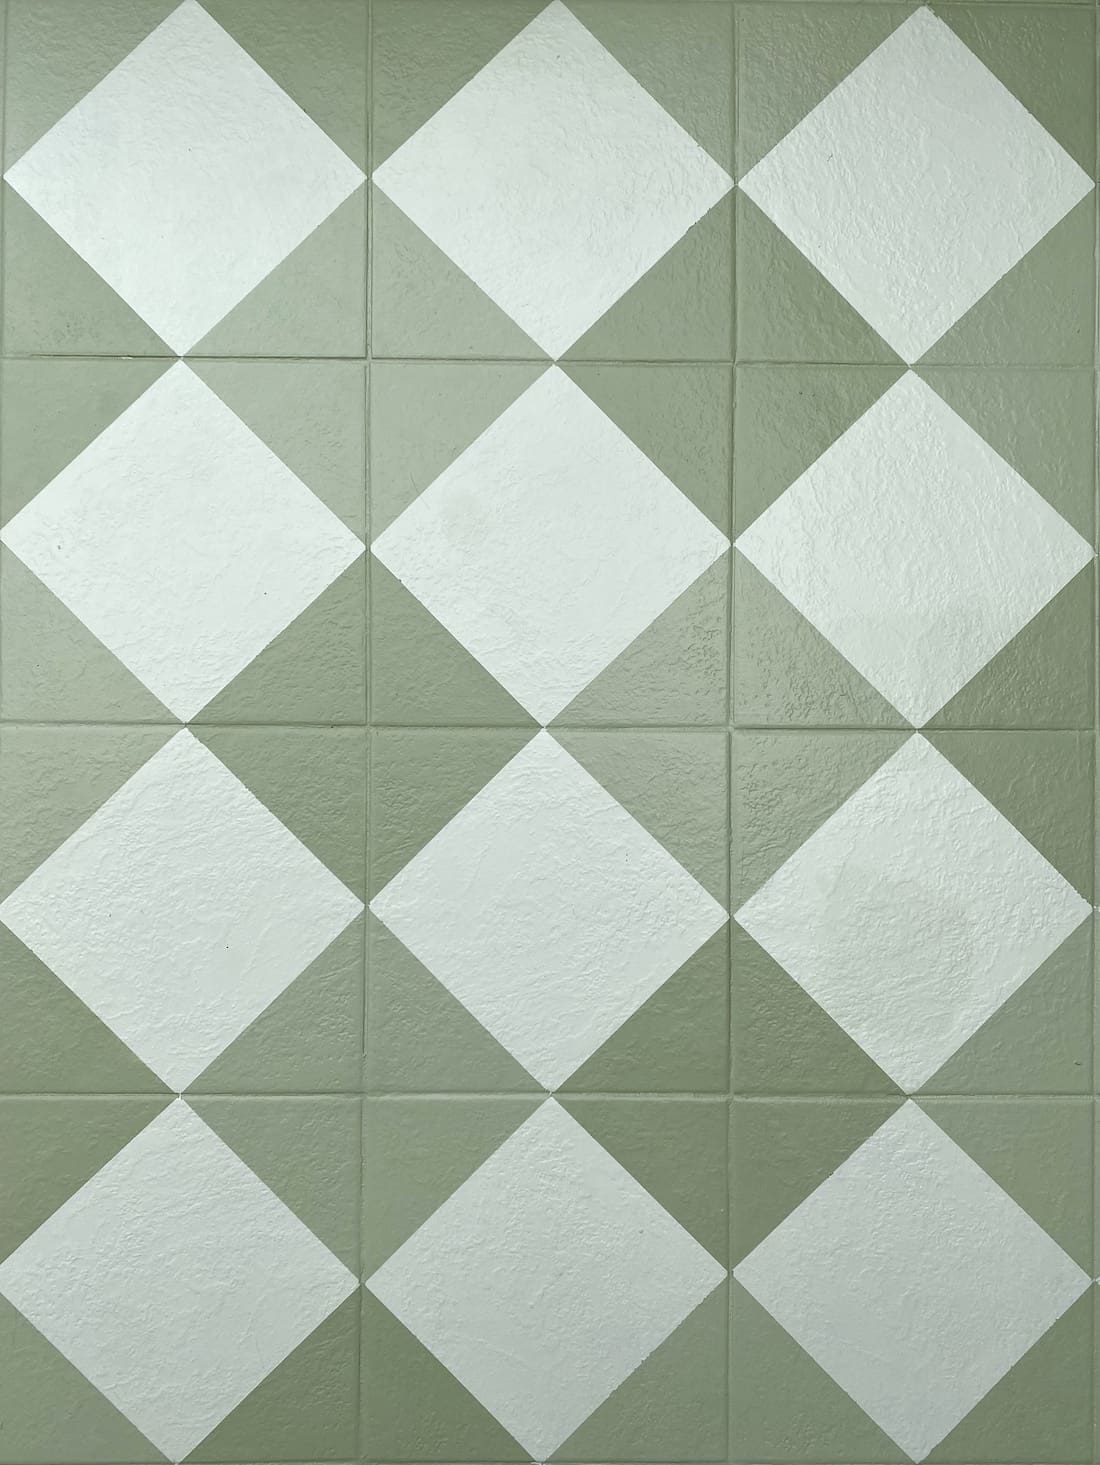
Checker is in and Instagram DIY-er Gemma from @lets.stay.at.home has gone viral with her stunning green checkerboard floor. When we saw this DIY come across our feed, we knew we had to share it with you all right away.
While checker is trending this year, the print has never truly been out of style. From checkerboard flooring to gingham cushions, the incredible versatility of the print is the perfect pop of pattern to any interior style.
So if you’re thinking of adding a more permanent checker print to your home, look no further than this do-it-yourself checker design idea! Read on to get all the in-depth details, tips and tricks to this super easy checker floor DIY from Gemma.
Related article: Check home decor trend: Checkered home accessories and where to find our favourites
Related article: From drab to fab: The easy budget alfresco makeover DIY that will transform your outdoor living space
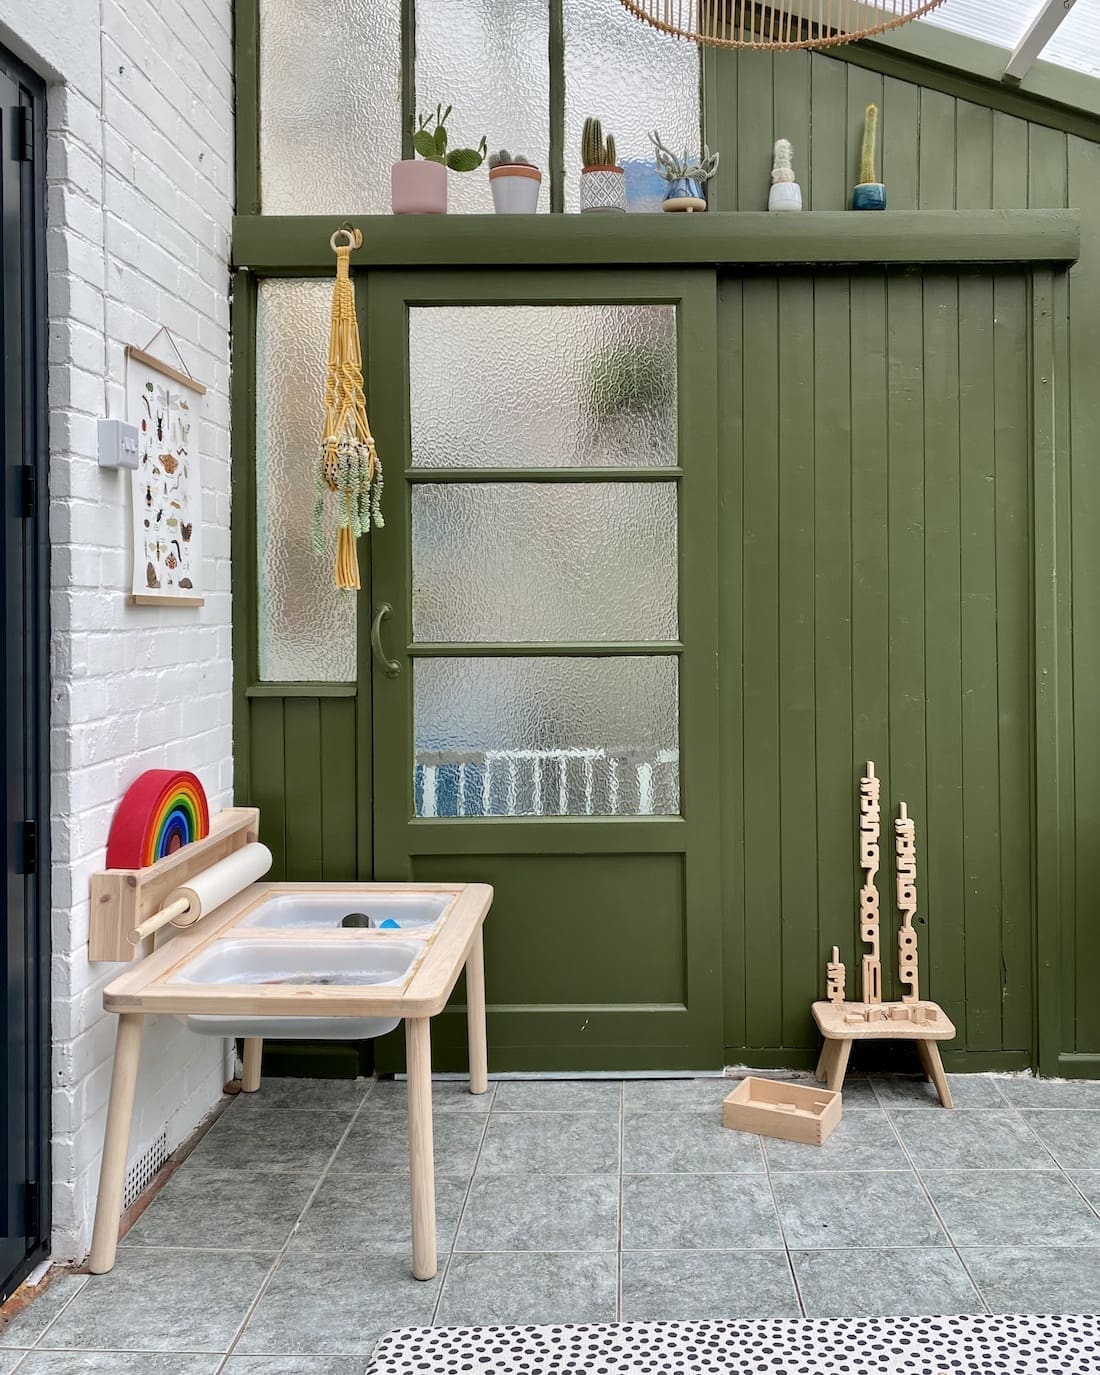
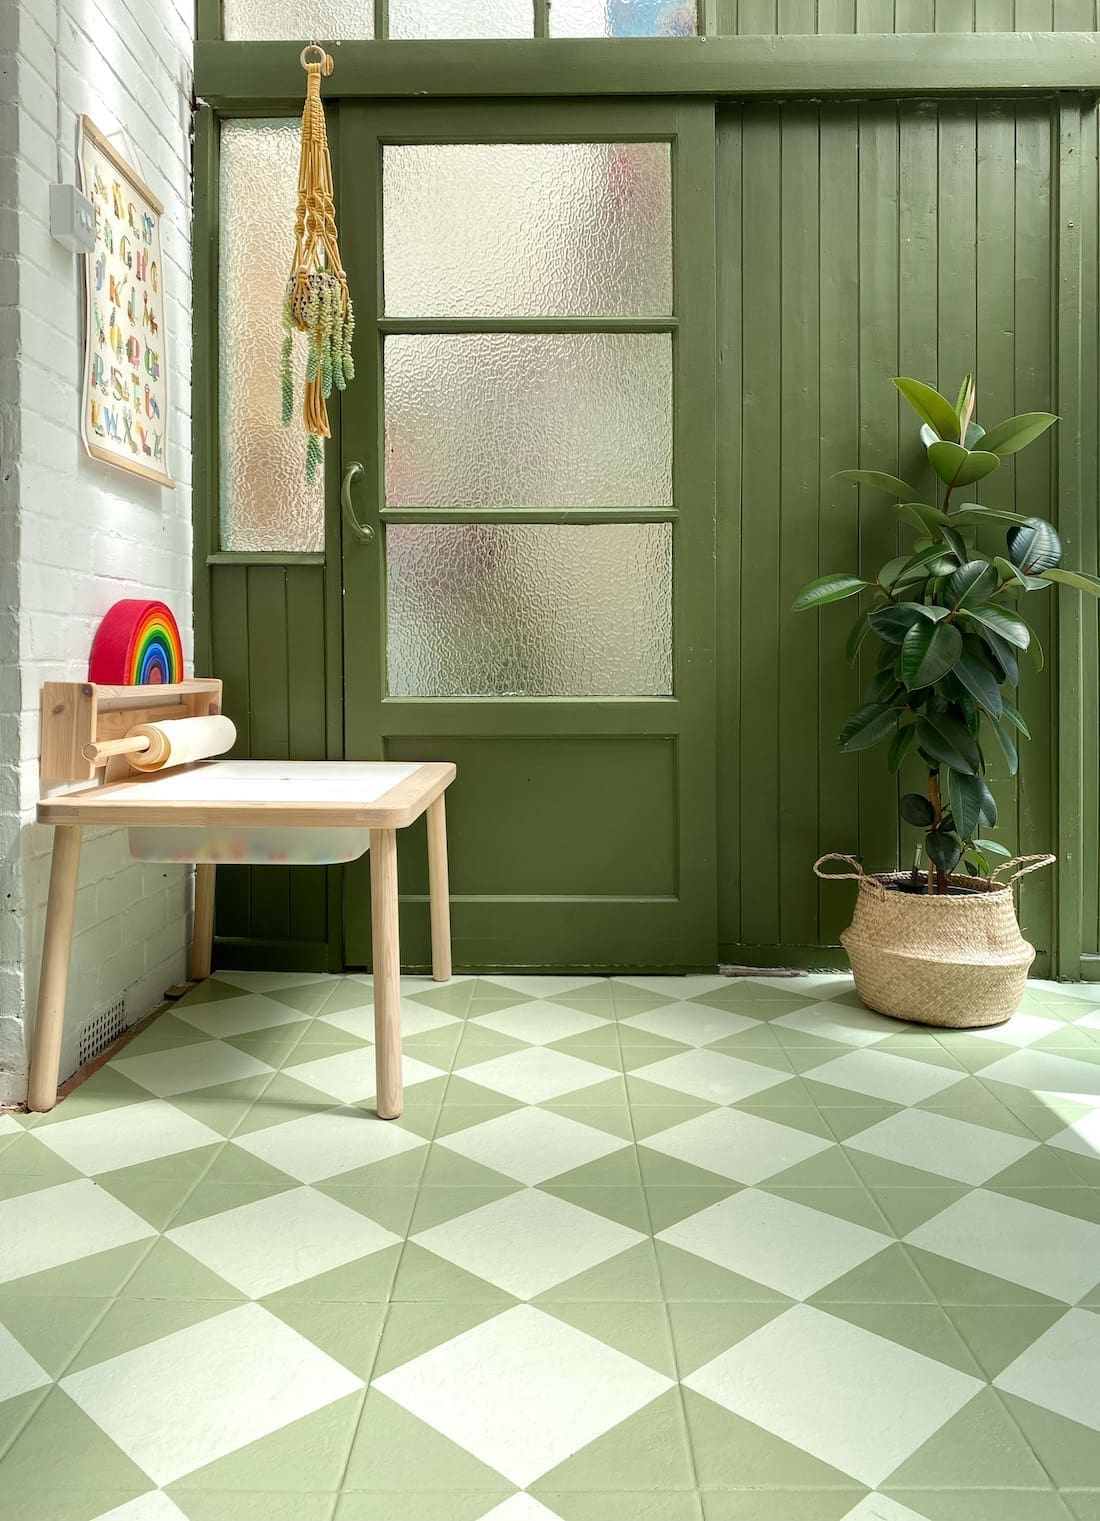
Gemma needed a chic, versatile floor to match her dark green conservatory walls and decided to do it herself!
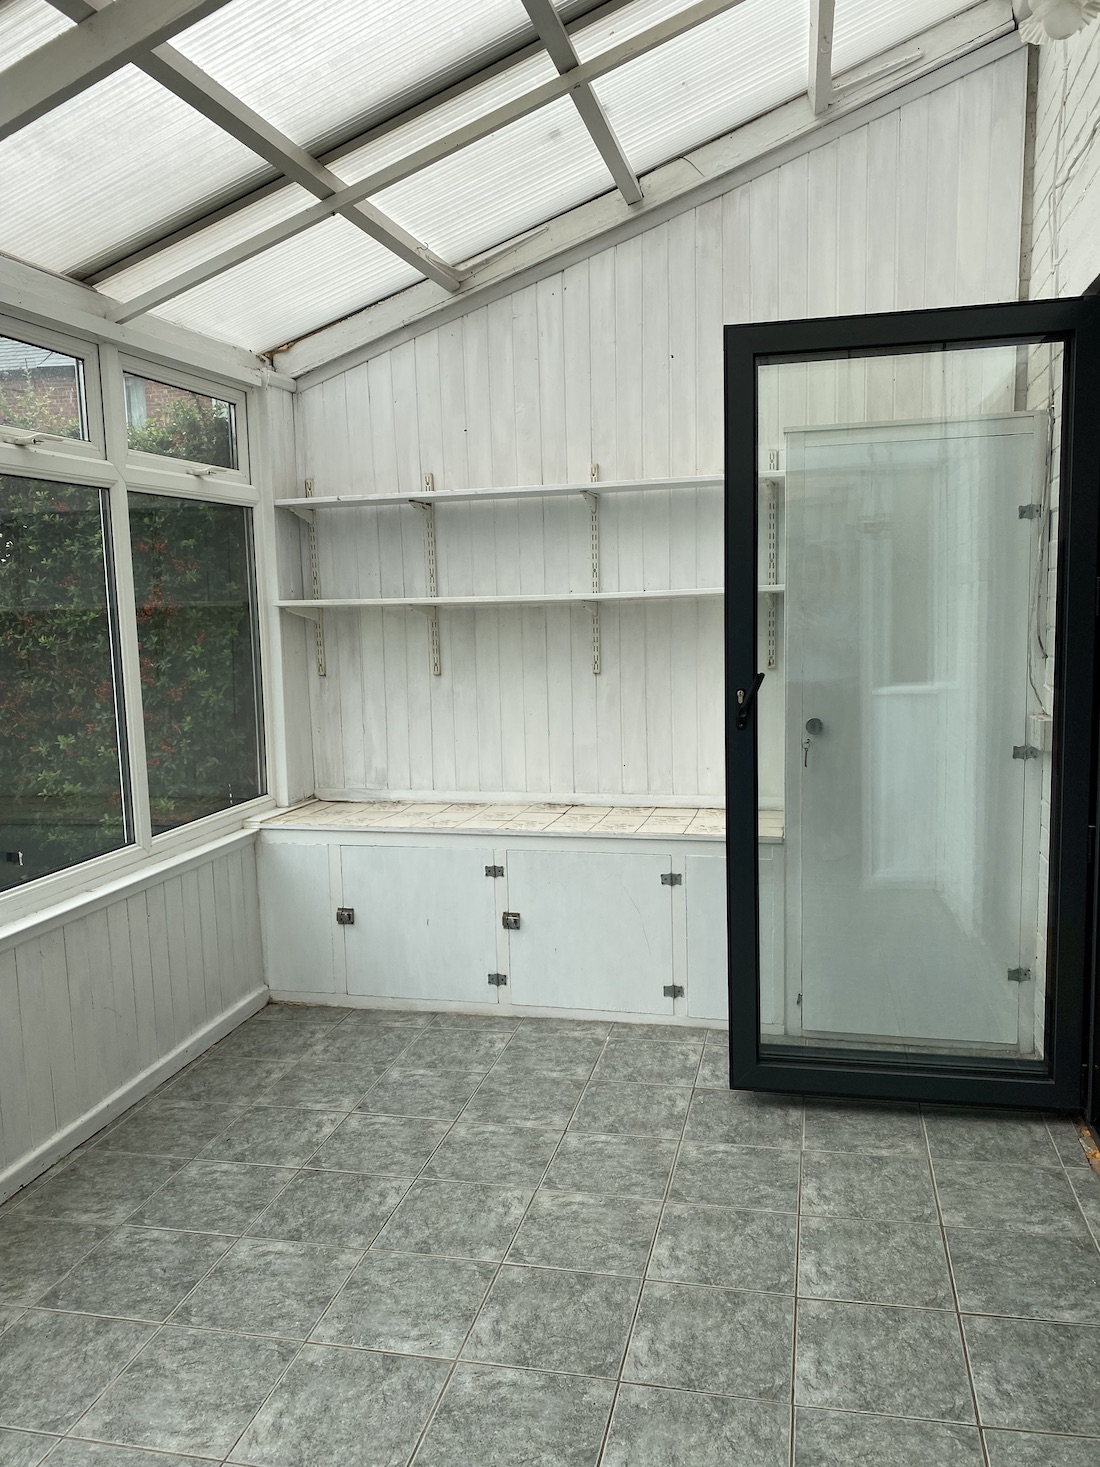
“When we moved in, the conservatory walls were white and the floor tiles were a light grey concrete paint. I wanted to make the space more homely so I decided to paint the walls a lovely warm green. It just clashed with the floors.
“After trying some peel and stick floor tiles, I decide to paint the whole room in the same colour palette. There was loads of paint left over from the wall. As we’re demolishing the room in a few years time, I wasn’t worried about messing it up.
“I follow a couple of Instagram accounts who have painted their floors, so I knew it could be done. I just needed a pattern. In the end, I used some images of encaustic tiles I liked and shared them with my followers who voted for their favourite!
“I also made the lighter colour! I used a white interior eggshell paint as a base, adding varying amounts of the green wall colour until I was happy with the final result.”
If you’re unsure about painting your tiles another option is to use high quality sticker tiles. Using a simple peel and stick method, you can achieve similar results in a fraction of the time. Check out Sticky Tiles and other reliable companies to see the range of tile colours and shapes available.
DIY painted checker floor tiles
Items you will need:
- Paint (2 shades)
- Masking tape
- Paint brush
“I used a water-based interior eggshell paint because that is what I had at the time. It’s taken really well but it will also depend on your floors.”
Getting started
“I always recommend doing a tester patch with your paint first. Paint it on, leave it until fully dry and then try to scrub or scrape it off.
“If the paint comes off then it’s not going to be suitable for that surface so you might need a different paint.”
Step 1
Clean the floors with sugar soap and rinse it well.
“Clean the floors really well — the last thing you want is any dust or dirt messing with the completed project.”
Step 2
Paint the entire floor with two (or more if necessary) coats of paint. Allow it to dry thoroughly for about a week.
“This ensures the masking tape won’t pull off this layer when you paint the pattern later.”
Step 3
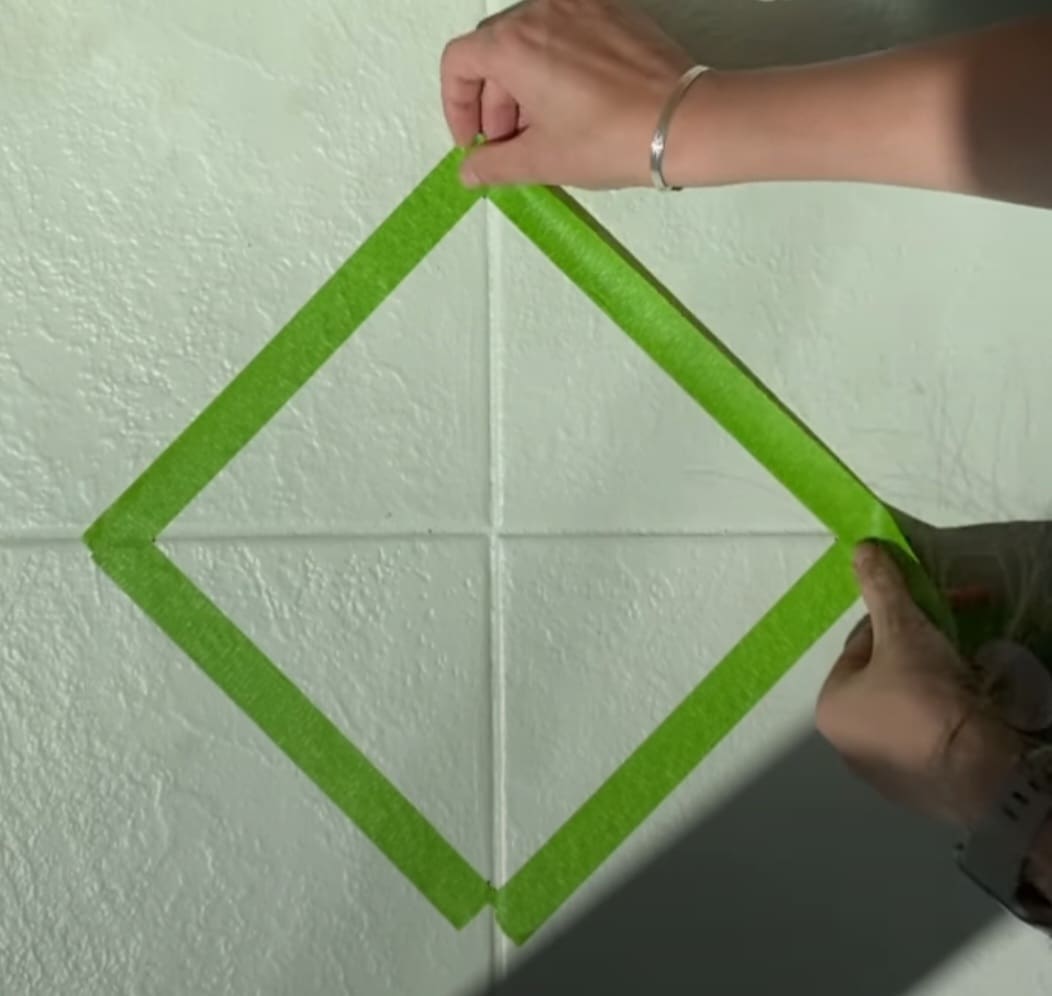
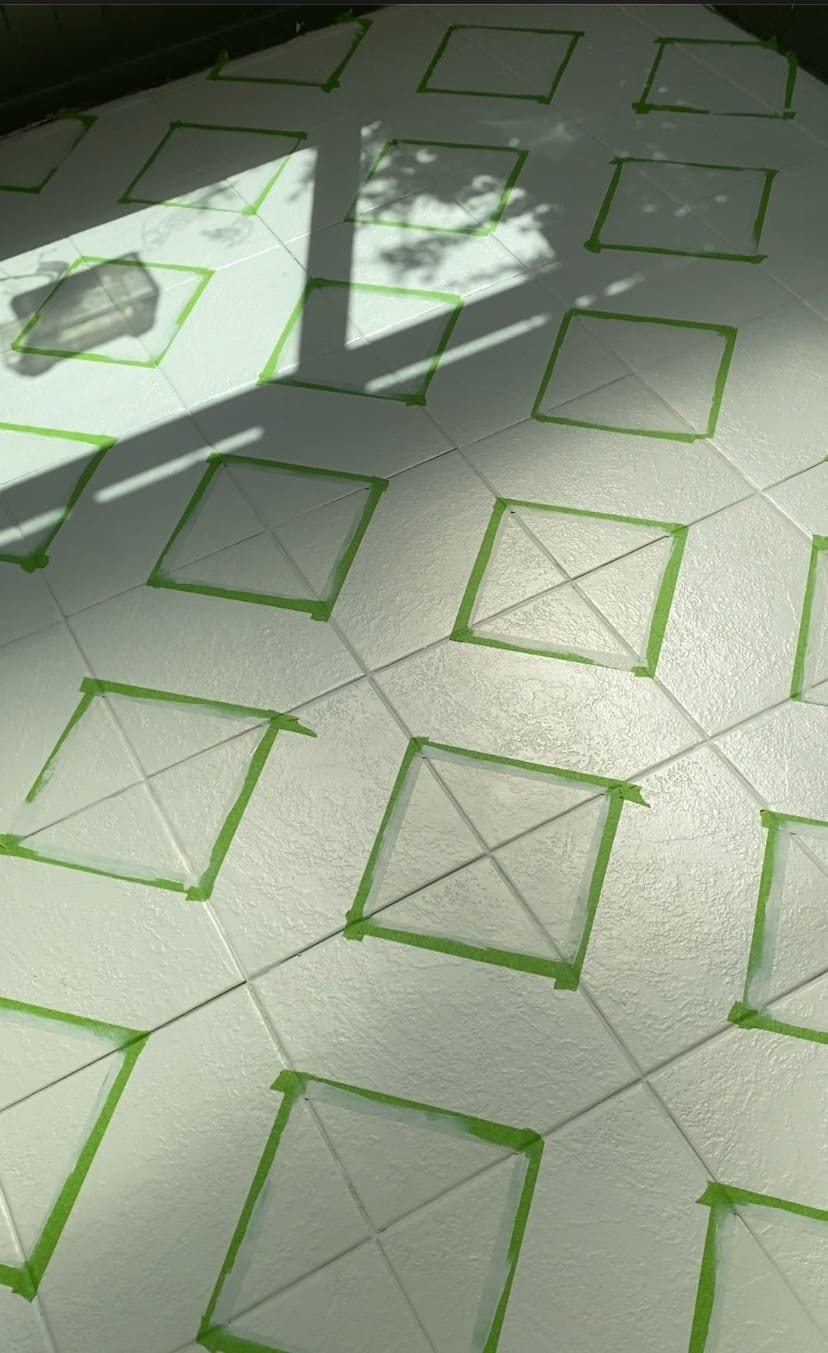
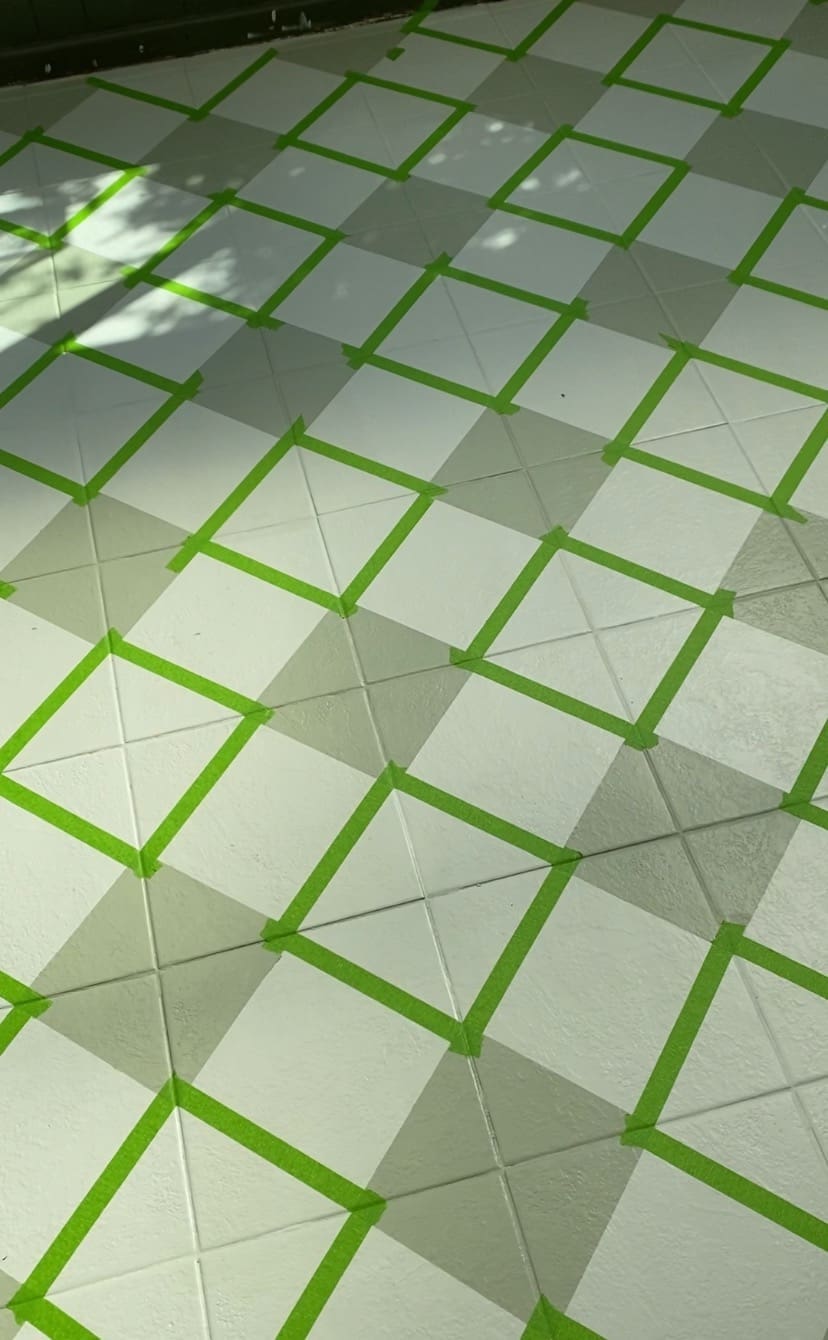
Use masking tape to mark out squares. Gemma used her floor tiles as a reference, measuring halfway along each tile and marking them with a pencil.
“You will start off taping alternate squares as you eventually want the corners to touch. The tape blocks you from doing this so ultimately you’ll do two rounds. Check out my reel above if it doesn’t make sense.”
Step 4
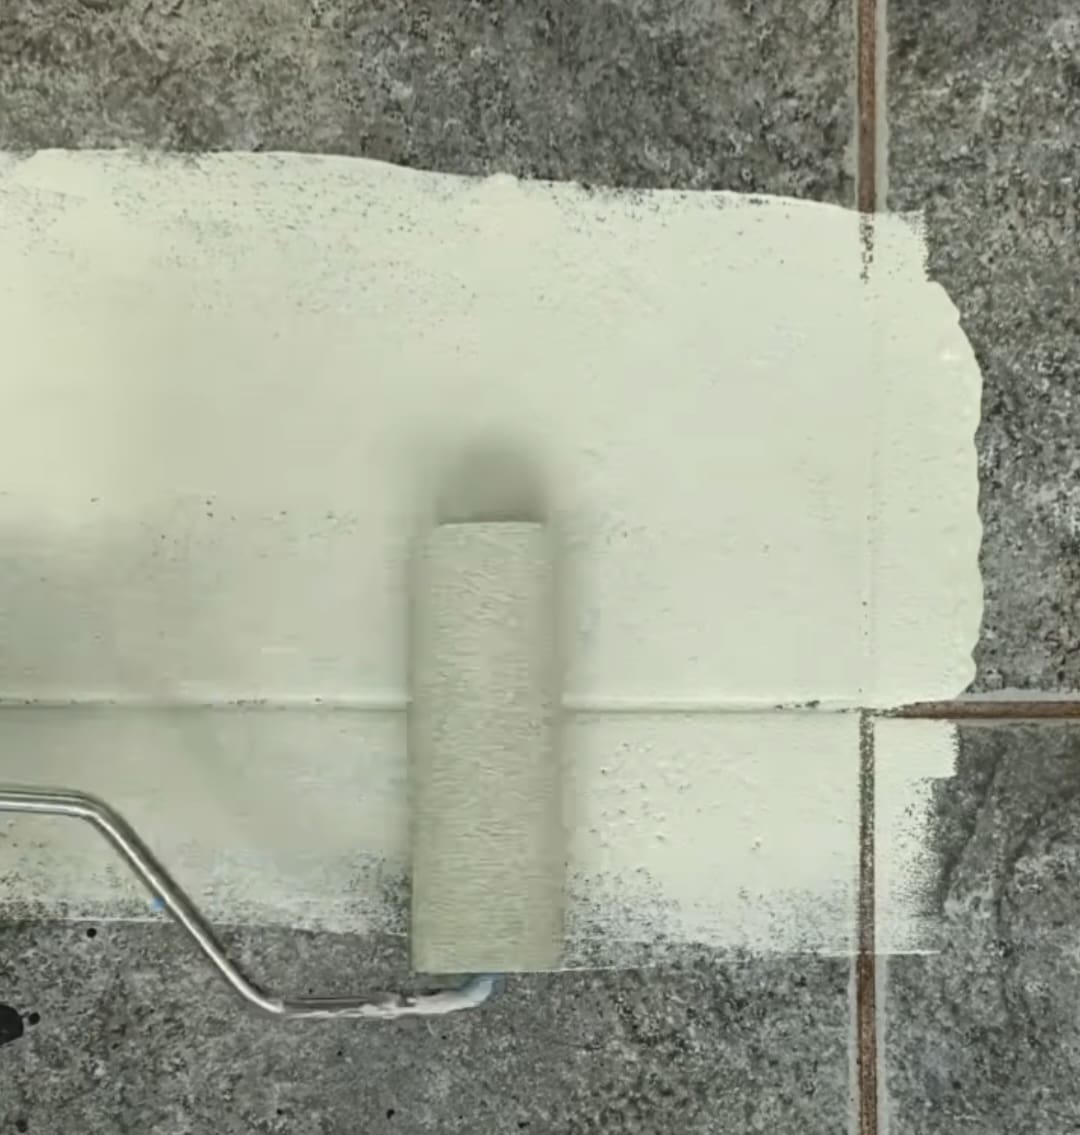
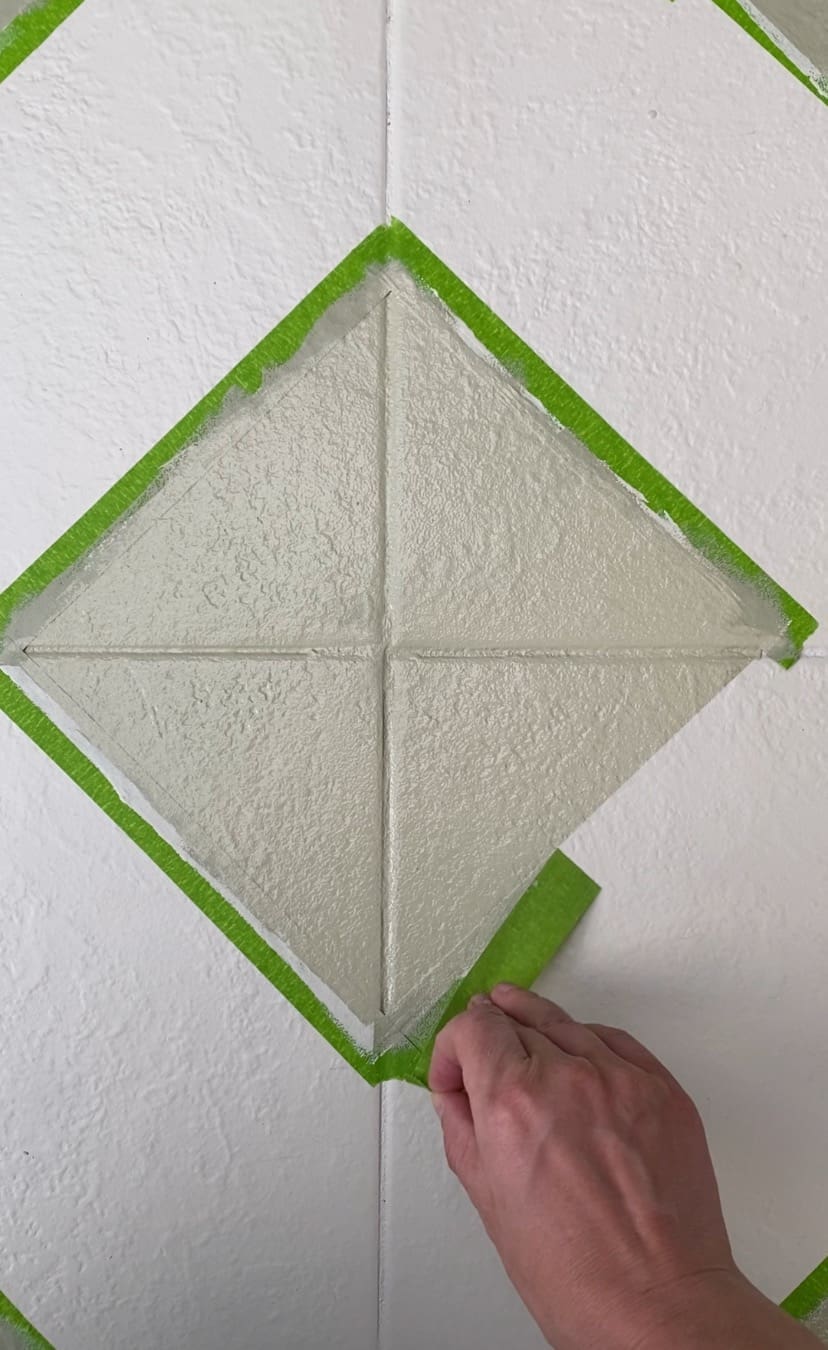
Paint along the edges of the masking tape in the original base colour.
“It may feel like an unnecessary step but it’s important when using masking tape, especially on a textured surface. This will prevent the second colour you use from from leaking under the tape. The end result is a nice crisp line.”
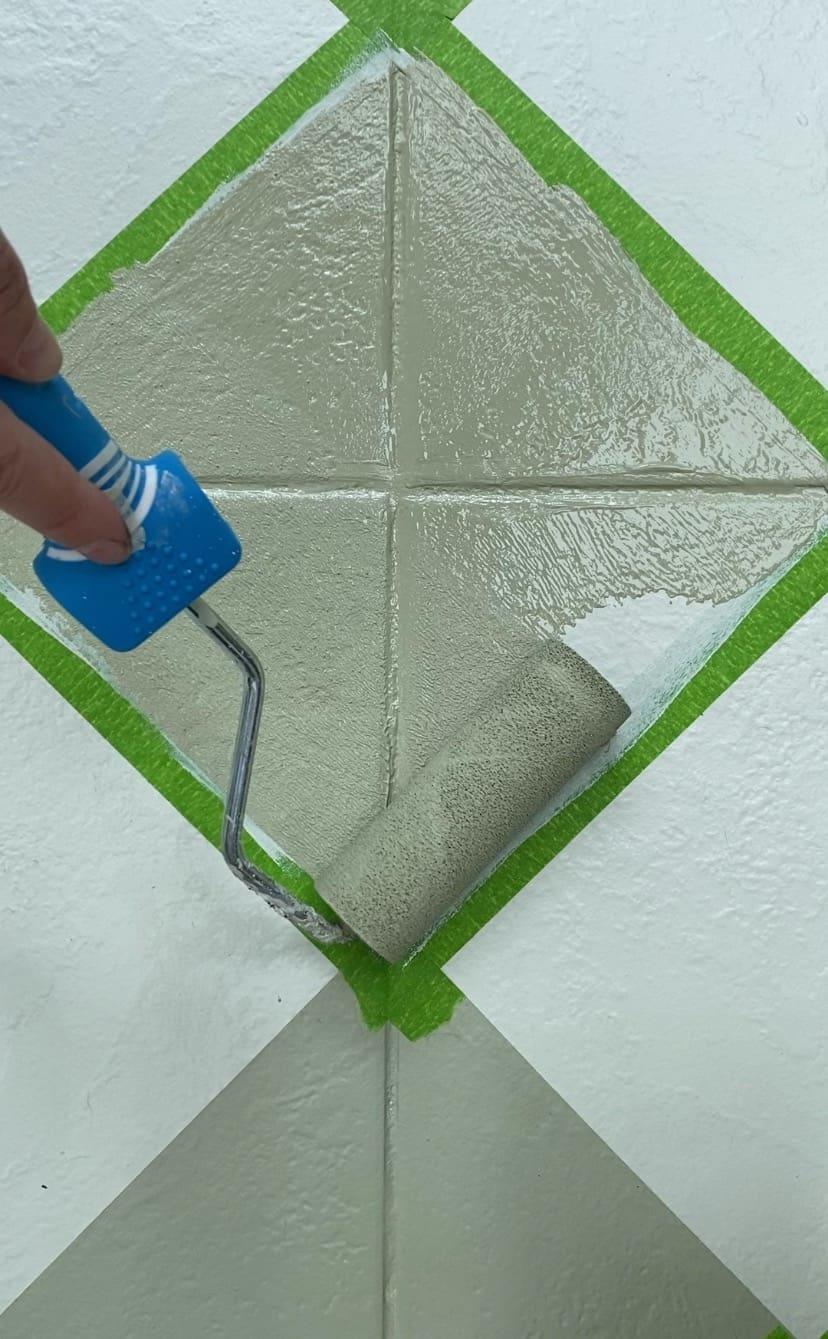
Step 5
When the base colour paint is dry, it’s time to start painting your squares. Go over the squares with two layers of your second colour, removing the tape as soon as you’ve done your final layer, before the paint is dry.
Step 6
When these squares are full dry, repeat the masking and painting process to fill in the gaps.
“It’s the most time-consuming part of the DIY but I wouldn’t do anything differently next time.”
Step 7
Seal the floor with the appropriate product.
“I used a polyurethane tile sealant, but you may have a product that’s better suited to your floors.”
We’d like to thank Gemma from @lets.stay.at.home for sharing her checker floor DIY with us! Be sure to give her Instagram a follow to keep up-to-date with her latest DIY projects. Are you keen to try this DIY? Or do you have a checker DIY you’d like us to feature? We’d love to hear your thoughts on this checker floor DIY in the comment section below!
Find more DIY inspo here