
Felt is one of this season’s hottest materials. It’s stylish, cozy, inexpensive and easy to work with — what more could we ask for?
Today we’ve got an easy DIY felt stitch cushion tutorial that requires no machine sewing and just a handful of materials.
Related article: Make your own dip-dyed felt vase
Related article: Woven planter cosy tutorial: Make a pot plant weave
Items you will need:
- Grey felt (we bought half a metre from Lincraft)
- White wool
- Scissors
- Large needle
- Sewing pins

Steps:
1. Iron your felt to remove all creases and cut out two 50cm by 50cm squares, pinning the squares together so the ‘good’ side faces outwards.

2. Using your large needle and wool, begin stitching around the cushion using the stitch illustrated below (essentially you need to stitch to the left and always pick up the last stitch to carry a border line around the cushion).

3. Once you have stitched 3 sides of the cushion cover, insert your cushion and pin the top in place before also stitching it with your needle and wool.
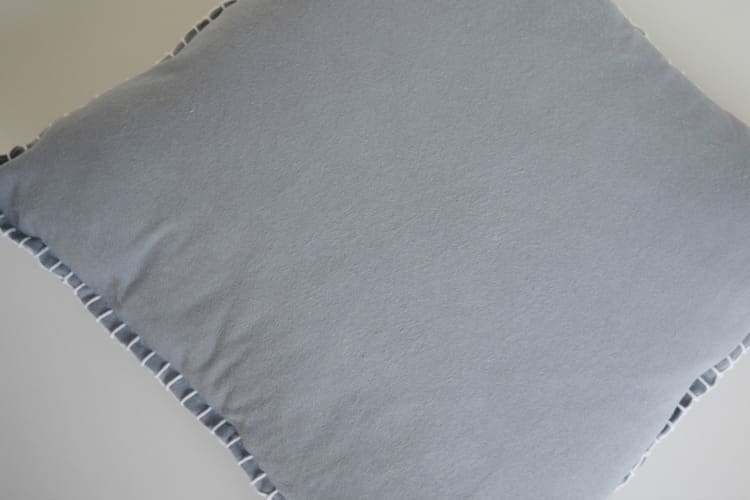


There you have it, a really quick and easy tutorial that’s perfect for winter.
Do you like the look of this DIY felt stitch cushion? What colour would you make yours? Tell us in the comments below!

