
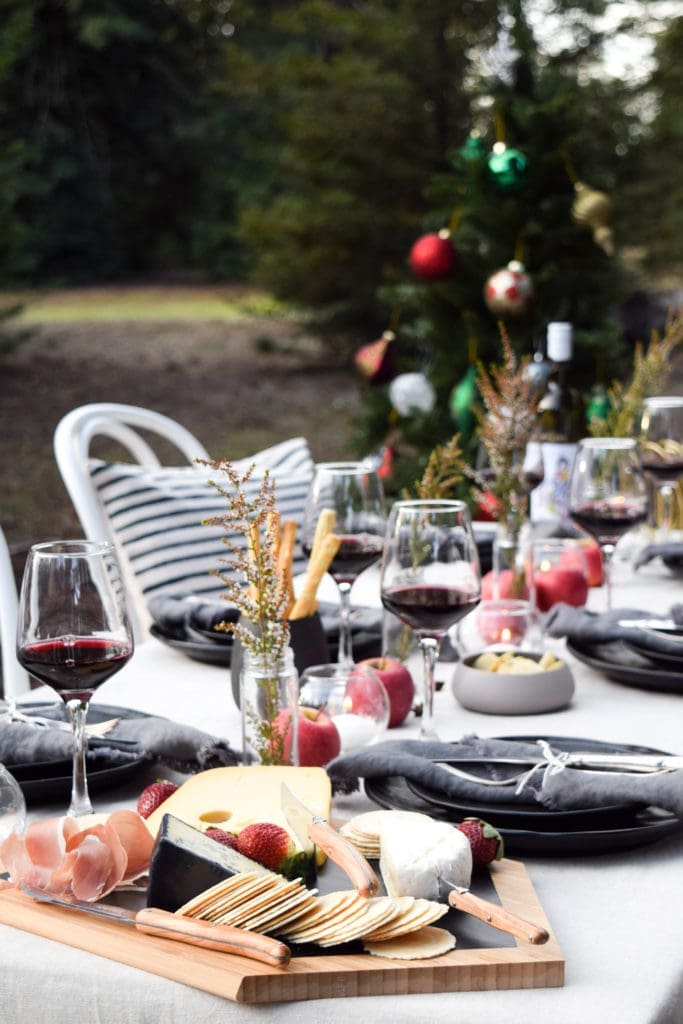
We love creating cheeseboards — particularly when entertaining — and there’s no shortage of ideas to put on the perfect spread! Check out our tips here to create a beautiful cheeseboard.
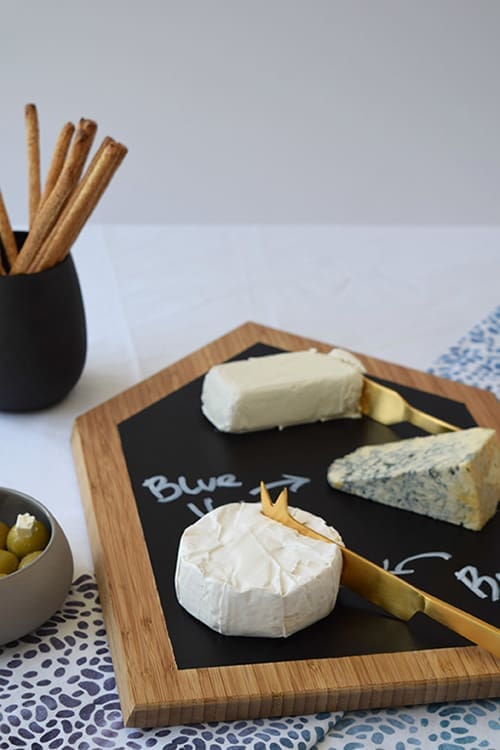
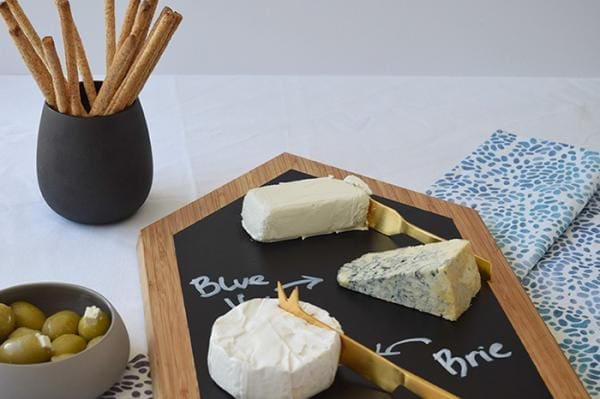
For our most recent project, we were inspired by summer entertaining and our love of cheese, and created this simple DIY Nordic house cheeseboard.
Related article: How to create a gorgeous grazing board
Related article: Quick and simple guide to a stylish table setting – every time!
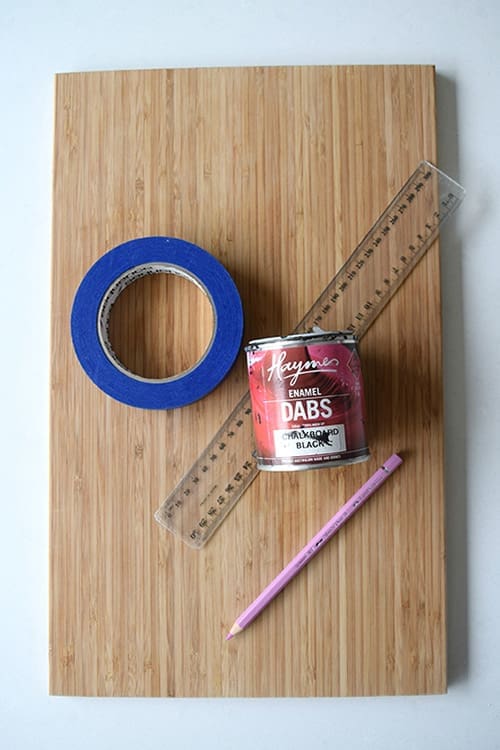
Items you will need:
- Plain rectangle cutting board (this one is from IKEA)
- Saw
- Haymes Chalkboard paint
- Paint brush
- Ruler
- Pencil
- Masking tape
Steps:
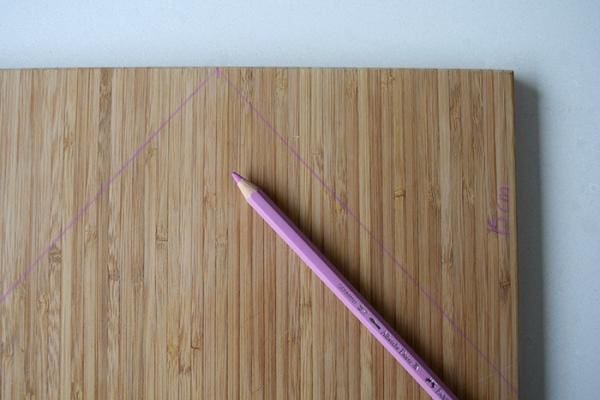
1. Measure 15cm from the top of the board on the left and right side and draw a line from the centre top of the board to those points, creating the roofline of your house cheese board.
2. Use a saw to cut along your roofline.
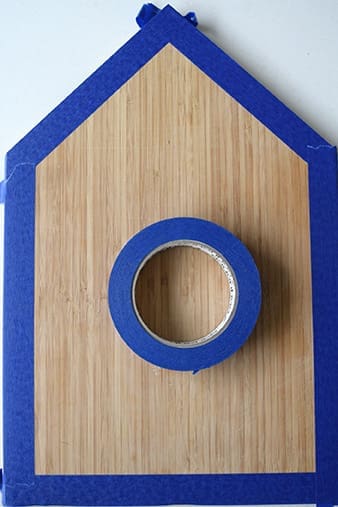
3. Create a border of masking tape around the house-shaped board to leave an exposed timber border.
4. Paint the face with blackboard paint and allow to dry well. Depending on your finish, you may need to paint a second coat.
5. Once dry, wash well and then place your favourite cheeses on top. You can use a chalk texta to write the names of the cheeses like we did.
We hope you’ll be inspired to create a DIY Nordic house cheeseboard too! If you do, be sure to share pictures with us by either emailing them through or tagging us @stylecuratorau when you post them online 🙂
More DIY ideas


")

