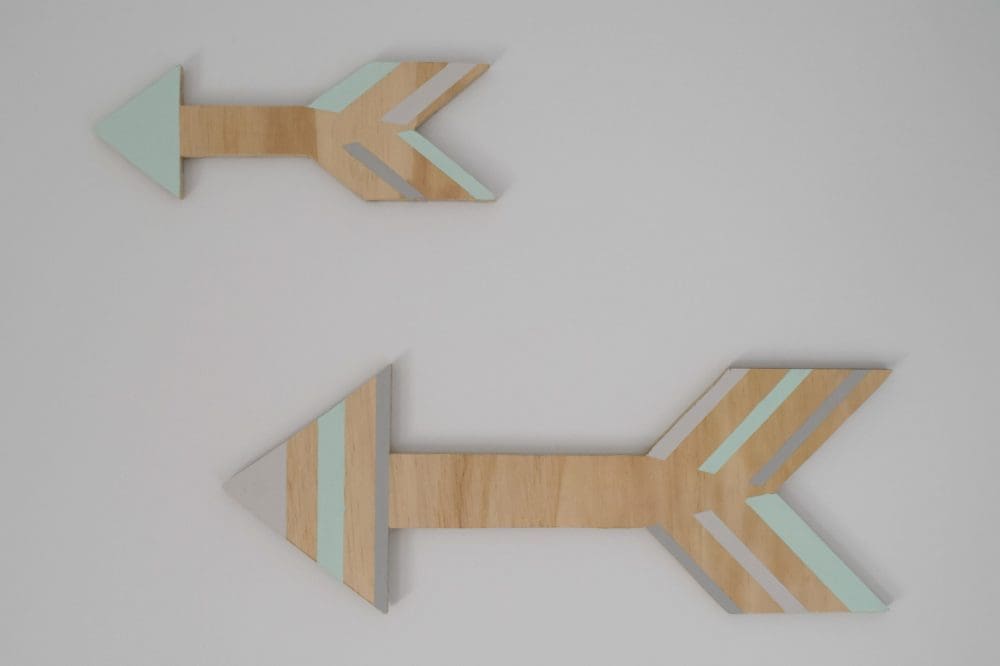
A trend taking over nursery interiors is arrow wall art! Today we’re sharing our take with a DIY ply arrow wall art tutorial.
Arrows are a stylish option for gender-neutral nurseries and can be personalised with paint colours to suit your colour scheme.
Related article: DIY floral monogram wall art
Related article: DIY baby play gym: Make a stylish timber play gym
Items you will need:
- Plywood
- Jigsaw
- Paint (we used Contemplate, Spearmint and Ash Grey by Haymes)
- Masking tape
- Paint brush
- Ruler
- Pencil
- Sandpaper
Steps:
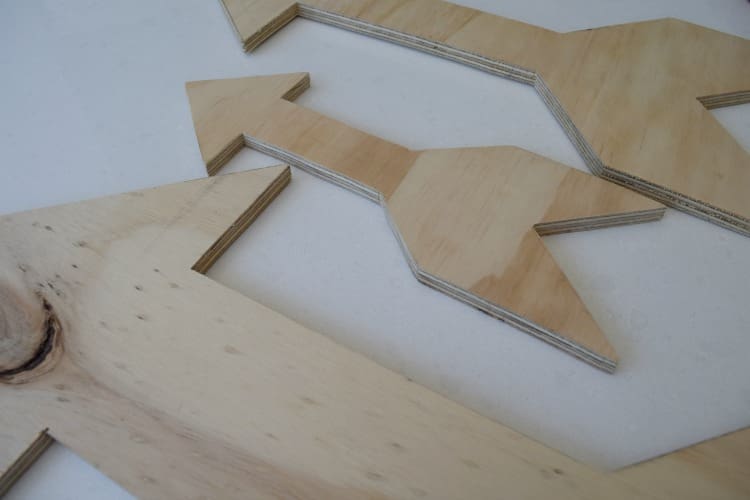
1. Draw out several arrows in various sizes on your plywood. Tip: the larger you make your arrows, the easier they will be to cut.
2. Use your jigsaw to cut out the arrows. Depending on how neat your cuts are, you may need to lightly sand your arrows.
3. Create patterns on your arrows using masking tape — be creative and try mixing stripes, block colour and other patterns.
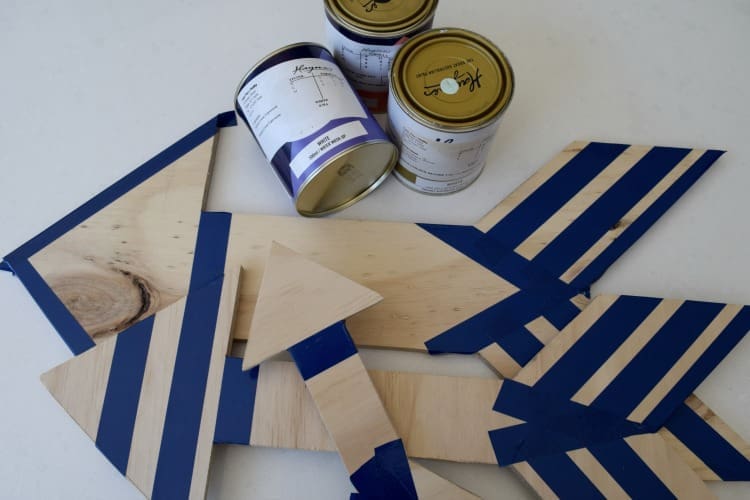
4. Paint the arrows in colours to suit your nursery scheme — it looks great to leave a mix of natural ply too.
What do you think of this arrow wall art idea? Have you been inspired to give it a try?
If you like this plywood nursery DIY, you might like to also check out our DIY bear wall shelf here.
More nursery DIYs