
When it comes to planning a kitchen remodel there are so many considerations, where do you even start? Is it with the cabinetry finish, the appliances, the layout, tiles….? In this post I’ll share the chronological design and build process for anyone thinking about embarking on a kitchen renovation. Whether it be a part of a whole home reno or an isolated spruce up, follow this kitchen renovation checklist to create your dream kitchen.
Related article: The kitchen design measurements you need to know — from an Interior Designer!
Related article: What you should consider before choosing a cooktop
Words by Jen Jones
Plan, plan, plan
Like any other part of a home renovation, the most important step is to PLAN.
Don’t launch straight into demolition without knowing exactly what it is you’re going to do next. Particularly, if your kitchen is currently closed off from the rest of your home and you’re looking for a more open-plan solution.
Why?
Well often the wall between a kitchen and adjacent dining room serves more than just the role of a room divider. In fact, it might be partially responsible for holding your roof up!
Before ripping it out, I recommend asking a local tradesperson to come and take a look. Do it as part of your due diligence process! You may need to hire a structural engineer if the divider wall is what we call ‘load-bearing’.’ Load-bearing means it is carrying part of the structural load of your home.
A structural engineer will complete some fancy calculations. They will specify the exact size and material for the structural beam and possible posts that are going to replace that wall.
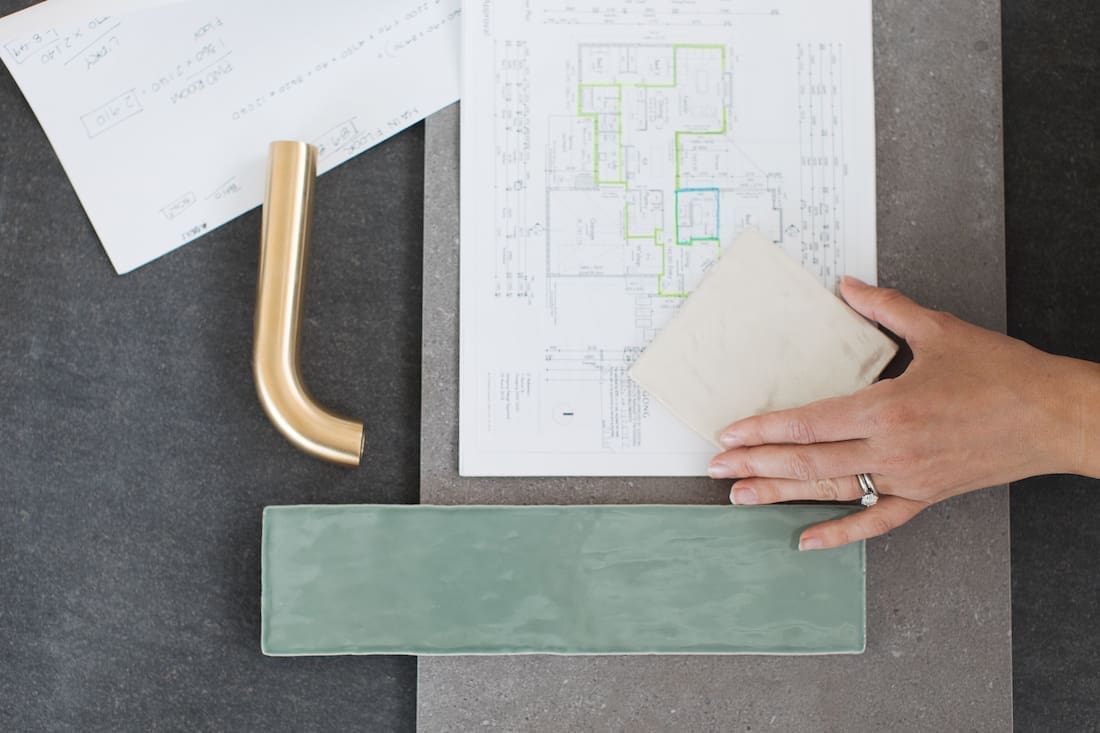
Conceptualising the kitchen design
If you’re working with a kitchen consultant or interior designer, the first thing you are likely to receive is a concept layout plan. Popular layouts include: galley style kitchen or an L or U shape kitchen. Read more about different kitchen configurations here. The best layout will depend on your brief and the space available.
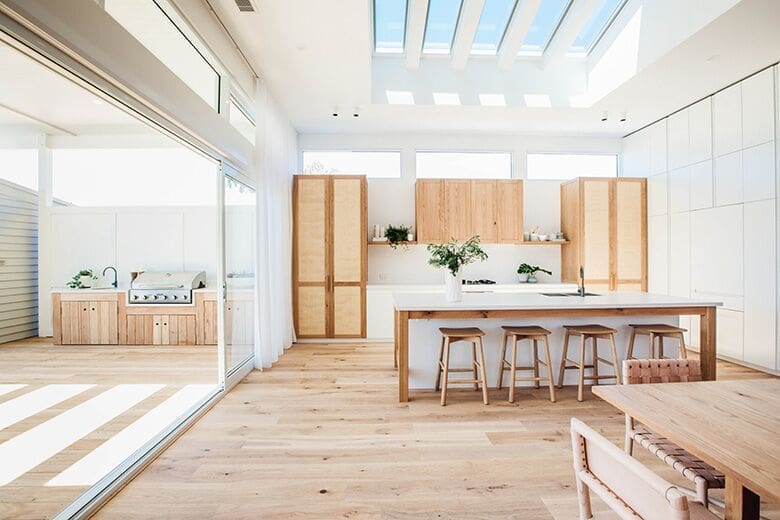
If you’re lucky, you might get some concept images as well. These are renders of the design. It’s likely at this early stage that you get photos of kitchens that have been taken for design inspiration.
You don’t necessarily need to work with a kitchen consultant or interior designer to create your dream kitchen. With the fabulous range of do-it-yourself solutions on the market now, you can achieve a designer look for less. But don’t skip this step of conceptualizing your kitchen design! It’s easy to create your own mood board using images from Pinterest and material swatches you’re planning on using. And if you feel like flexing your inner designer, there are free tools like SketchUp. Use these tools to create 3D models of your design.
If you’re already feeling overwhelmed then don’t worry! There are likely some limitations to your space that will narrow down the range of options (trust me, this makes it easier!). The next stage of the kitchen design process is to figure out the combination of kitchen cabinets. Be it cupboards, drawers, larders or shelves; and where your cooktop and sink might go!
Laying out your kitchen
Have you heard of the ‘golden triangle’? It’s a decades old theory. In theory, the kitchen’s three main work areas will form a triangle if an invisible line was drawn between them. The idea is that if you’re cooking you need quick access to ingredients from the fridge/pantry and sink. So these three ‘work areas’ become the three points of the triangle.
There are always exceptions to the rules (i.e. single wall kitchens). However it’s a great starting point and a no-fail way to think about your kitchen layout. Gina shares more on this under the ‘function first’ section of her blog post 10 tips for successful kitchen planning.
Depths, heights and distances
Much like the golden triangle, there are also guidelines you can follow for the overall size and position of your kitchen cabinets. Consider this the ultimate kitchen design cheat sheet!
Interior Designer Melissa Lunardon shared her top tips on all the kitchen measurements you need to know here. It’s a fabulous guide to follow to ensure you get a designer look kitchen — and more importantly, one that functions well.
Cupboards, drawers, shelves and larders
When it comes to figuring out what combination of kitchen cabinets to put where, I suggest you start by auditing your existing kitchen. What is and isn’t working? Do you have too many cupboards with frustratingly hard to reach pots and pans in them? A bunch of drawers that are too deep for cutlery but too shallow for anything else? Believe it or not, there is a bit of a fine art to getting the combo right!
The best way to start, is to plan out where everything will go with a quick bubble diagram. It’s a simple way of mapping out where different purpose areas will go. Every kitchen will have at least the following three purpose areas, as they form the points of your golden triangle.
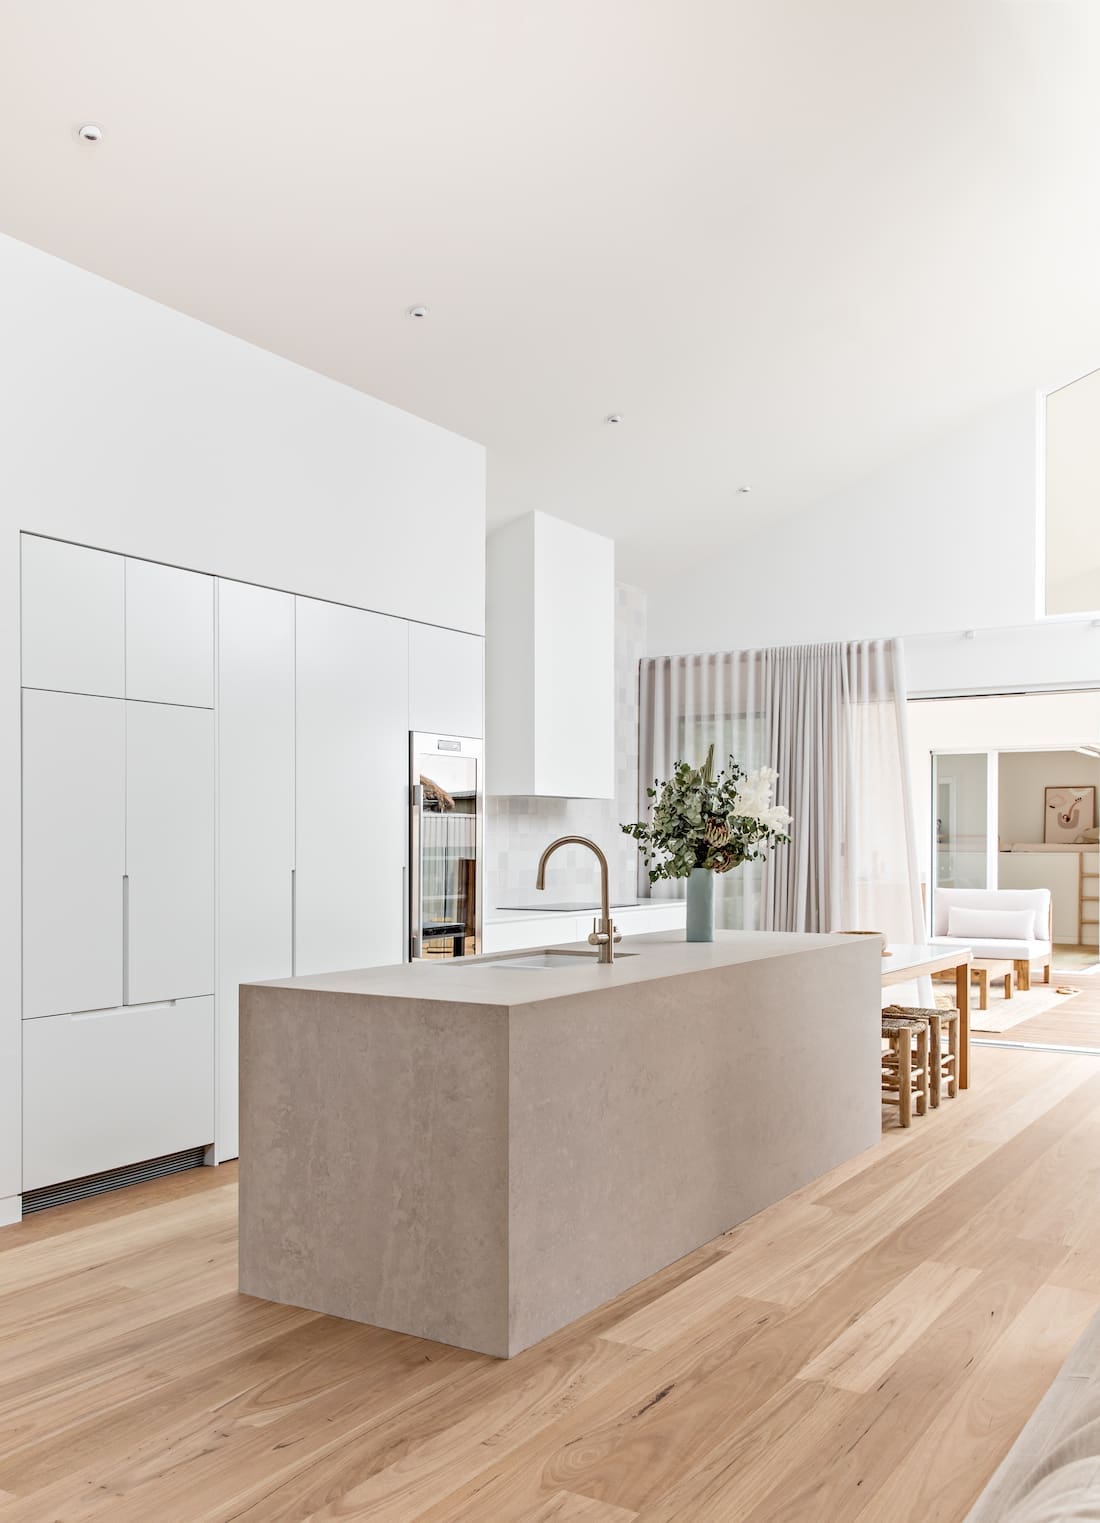
Food storage
The fridge/freezer and pantry should be positioned next to each other if possible, so all food is in one location, regardless of how they’re stored. Ideally there will be a stretch of clear bench space between the pantry and sink for food preparation and so you can easily drop dishes into the ‘clean-up’ area before starting cooking.
Clean-up
The sink, dishwasher and draining board plus adequate storage (usually an under-sink cupboard) for cleaning supplies is all you need in the clean-up zone. Ideally positioned between the cooking area and food storage area as explained above.
Cooking
An oven positioned either under-bench with an on-bench hob and adjacent work area. An oven on the wall with an adjacent cooktop and bench space is all you need here functionally speaking. The surrounding kitchen cabinets should be used to store pots, pans, casserole dishes, baking trays and utensils. Sometimes herbs and spices are located in the cooking zone as well. These are generally used to season food as it’s cooked. It makes more sense to store these in the cooking area rather than food storage area.
If you’re lucky enough to have a roomy kitchen or an adjacent walk-in pantry or scullery, then you might also find the following purpose areas as well.
Baking
A mixer, dry ingredients, utensils, baking trays etc in one dedicated location, usually in a scullery if applicable.
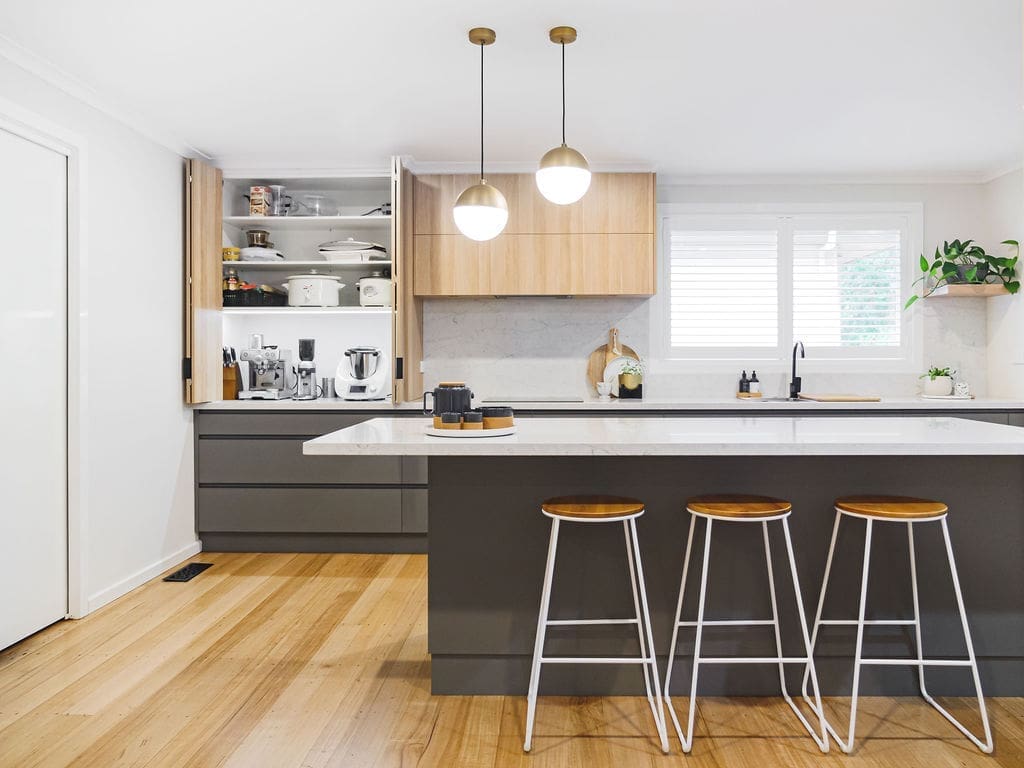
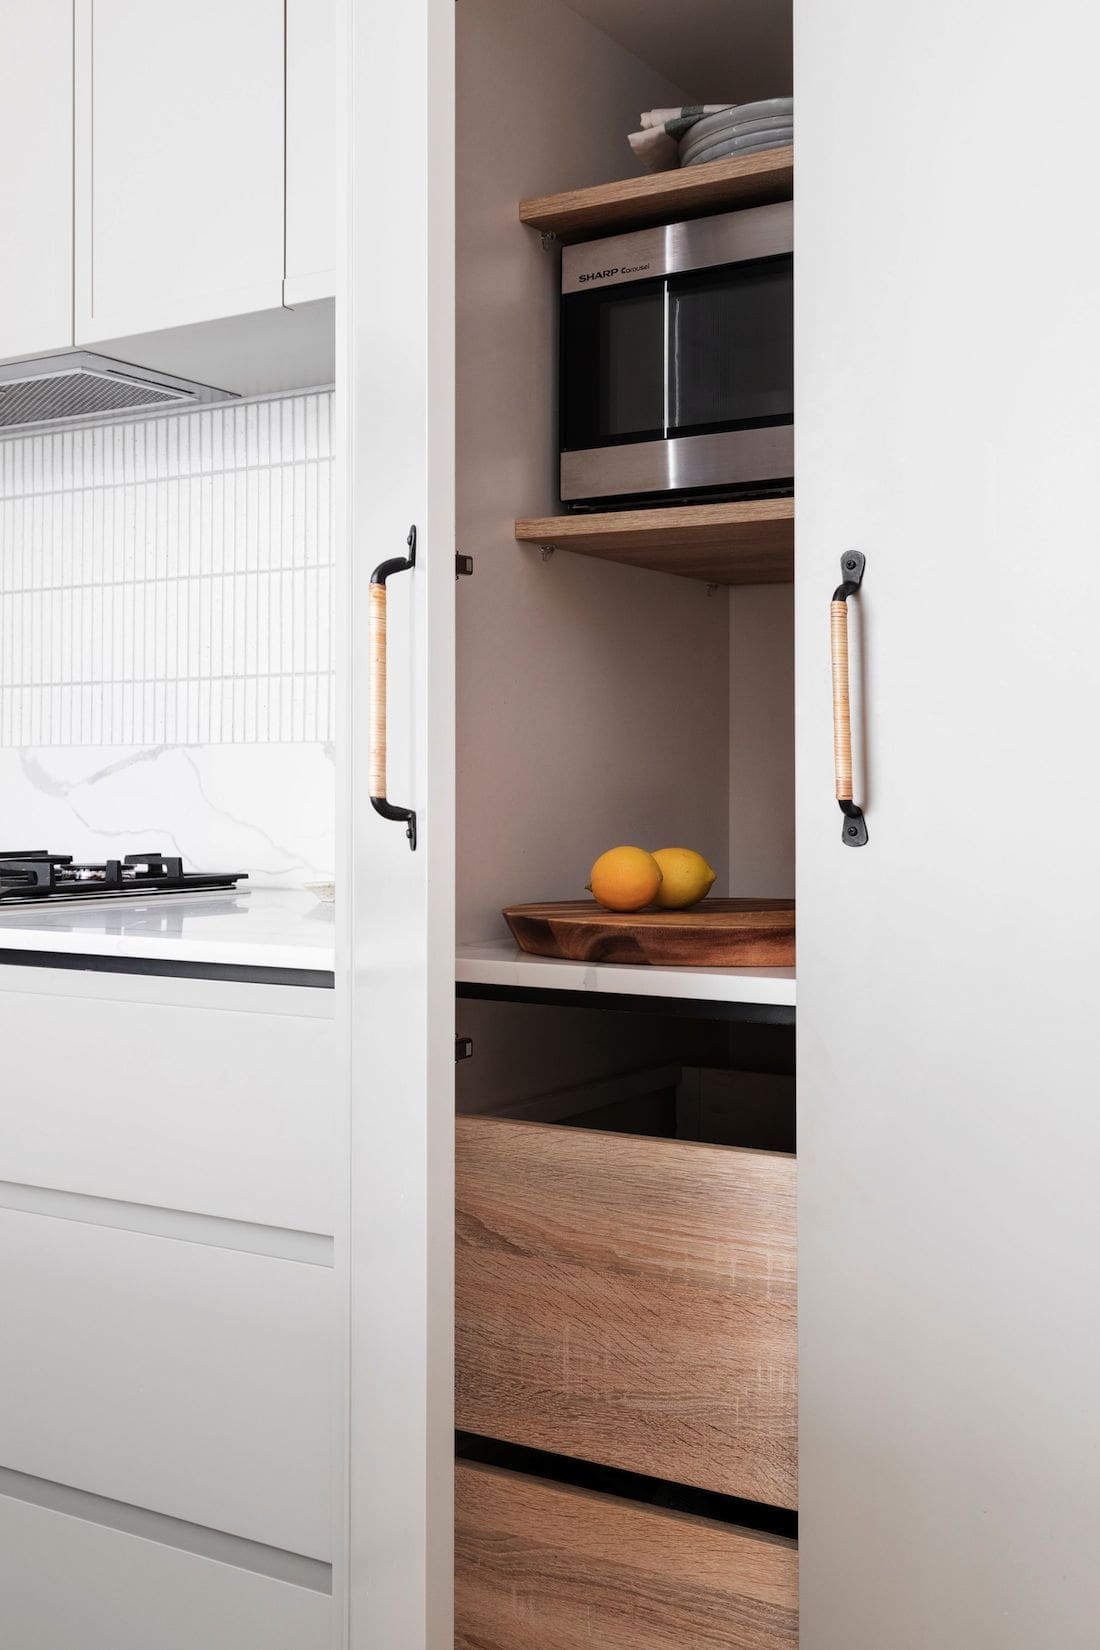
Small appliances
Also often in a scullery or walk-in pantry, or sometimes an on-bench concealed cupboard — the toaster, kettle, slow squeeze juicer, coffee machine, blender etc.
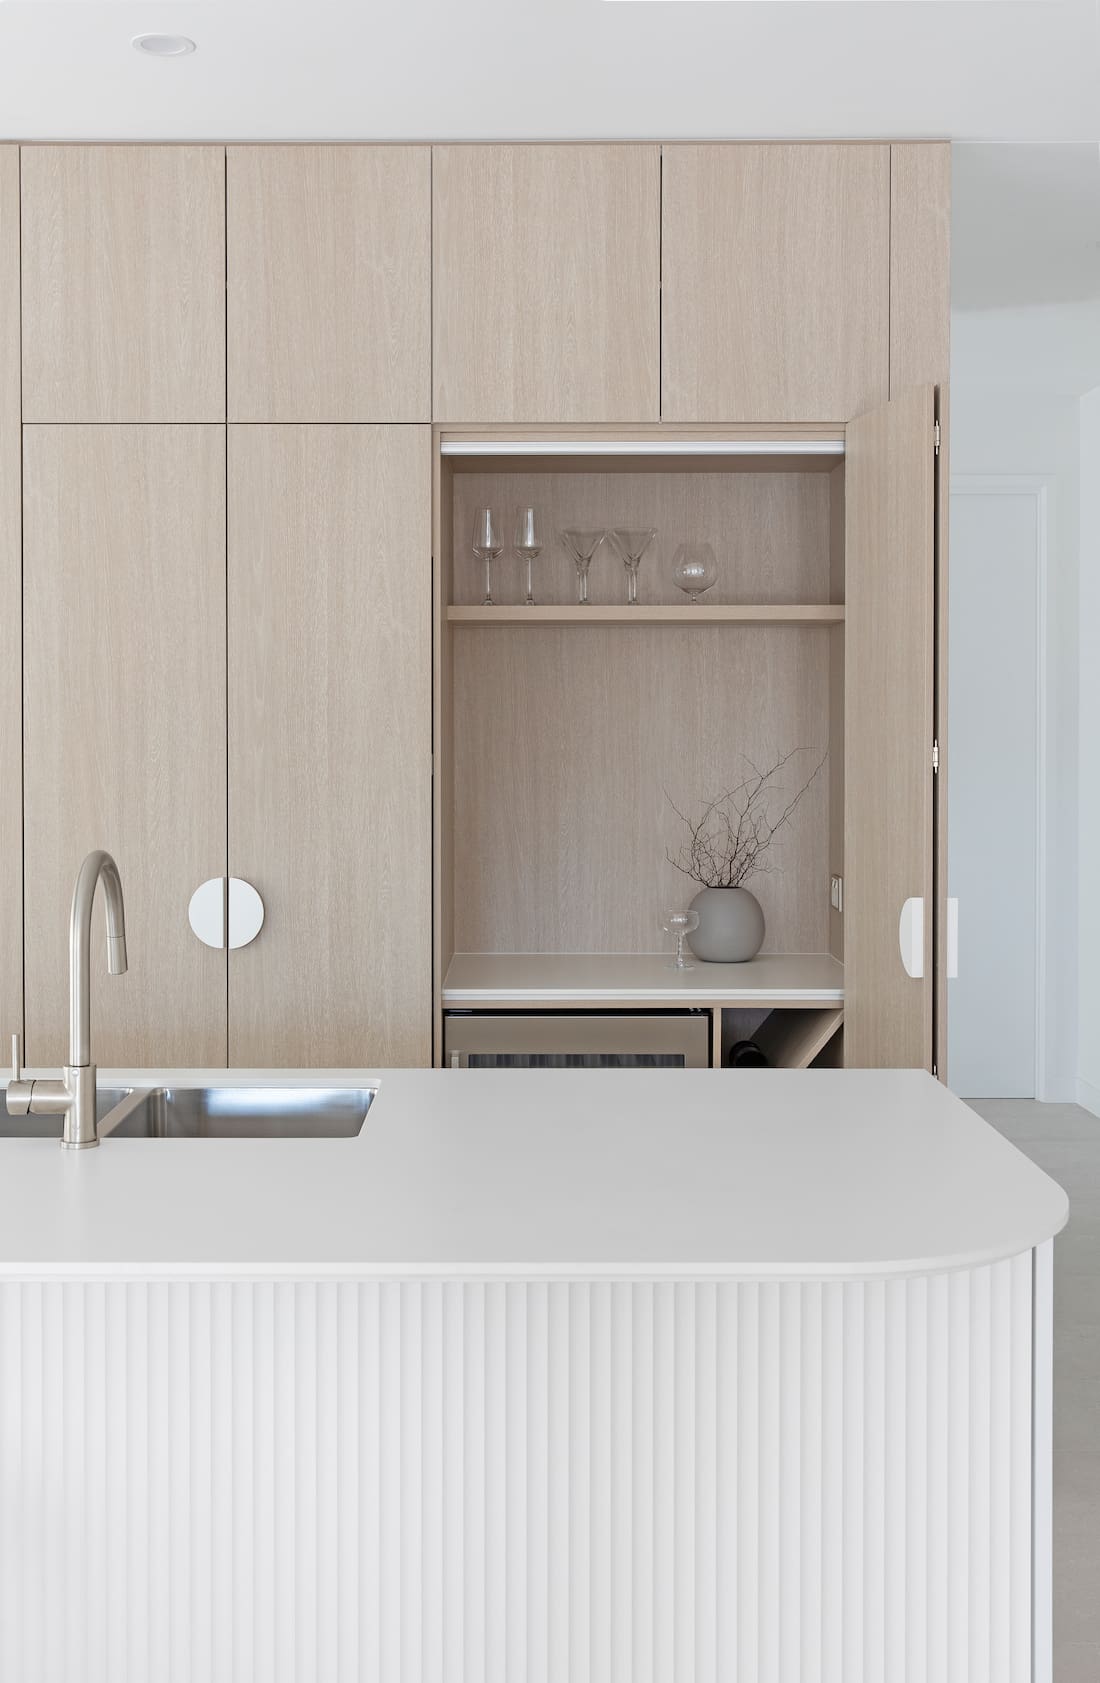
Entertainment
A mini bar or drinks station, possibly positioned near the breakfast bench if there is one (not to say drinks are had for breakfast though!).
Household
A location for letters, bills, a phone (where landlines still exist!), pens and paper, recipe books etc.
Now that your purpose areas are sorted, you can shortlist what will be stored where. Decide the combination of cupboards, shelves, drawers and larders you want in each area. It’s important to get the function of your kitchen design right. Once you do that you can into the fun part: choosing your cabinet finishes, tapware, hardware and adjacent wall and floor finishes.
What is your new kitchen going to cost?
There’s no ignoring the reality of budget and needing to create your dream kitchen within certain budget constraints.
The costs of materials such as benchtops, cabinetry, and hardware can vary significantly. Laminate cupboards vs painted, natural stone or terrazzo benchtops vs engineered or laminate, and standard tapware vs specialty finishes… the list goes on.
So before you get too excited by beautiful finishes, you’ll want to get some preliminary pricing for your kitchen. This includes any builder’s work or services (such as plumbing and electrical) and finishes (like splashback, paint and flooring). Understanding the requirements for obtaining builders licences is crucial for anyone looking to undertake construction projects.
If you’re working with a kitchen specialist or interior designer, then it’s possible they have connections to other trades. Potentially they can offer a complete design and build service. If they can’t however, you’ll need to find a builder who can. Ideally one contractor who can coordinate all of the other subbies (plumber, sparky, tiler, painter) for you.
When the first quote comes in, make sure you check it over thoroughly and ensure it covers the entire scope — is the splashback missing? Is the kitchen tap and sink included? How about the door hardware? Anything that is missing now is only going to surprise you later, and no one likes the kinds of surprises that come with an extra cost!
If the quote is more than what you’ve budgeted for, and there’s no room to move, then you might need to revisit the design. Consider these cost-saving tips:
- drawers cost more than cupboards
- open-shelves above-bench are more affordable than cupboards
- profiled cabinetry (shaker, v-groove, finger pull) is more expensive than flush cabinetry
- integrated appliances add a lot of cost — both for the appliance itself and the additional joinery
- add-ons like soft-close, pull-out larders and carousels for your corner cupboards are practical but costly.
As well as the above items, your selected finishes will also have an impact on the cost – but as the aesthetic component of the kitchen, perhaps you’re less willing to compromise on that than the functional components within?
This is also a good time to think about appliances. You will need the specs of each to finalise your design for production so don’t delay this decision. There are two schools of thought when it comes to appliances — some believe they are the workhorse of the kitchen and should be one of your biggest splurge items, and others will hold onto existing appliances where possible to help with a kitchen reno cashflow. Whatever you decide, it’s important to have the long-term goal in mind. If you decide to keep your existing fridge for now, make sure the cavity is large enough to fit your dream model down the track when you can afford to upgrade.
Bringing your design to life
Are you renovating or remodelling an existing kitchen and it’s destined to remain in the same location? The first thing your builder (or an enthusiastic DIYer) will do it demolish the existing kitchen. Before you start swinging your sledgehammer though, be sure to safely disconnect all of the services. You will need to get a plumber and electrician to site. You can reach out directly to businesses like Proud Plumbing and Gas to get your plumbing and gas fitting requirements dealt with straight away.
Once everything old is out, you or your builder can start making way for the new. This might mean removing a wall to open a space up (be mindful of whether it’s load-bearing and a Building Permit trigger) or framing up a new wall for the elusive walk-in pantry or scullery you’re finally going to get.
If you are removing a load-bearing wall, then the structural design will have specified something like a laminated timber beam that gets installed in the ceiling to bridge the space that was once a wall. This may or may not be connected to some steel or timber posts either end (concealed in the walls). In either case, you will need to temporarily prop the existing structure. Then the wall framing is removed and the new beam is installed. Depending on your local Council rules, this work might need to be undertaken by a suitable licensed builder.
Before the walls are lined with plasterboard, all of your services will need to be run inside the walls to their new locations — think kitchen sink, oven, rangehood, fridge / freezer, various small appliances — anywhere you will need a tap (or waste) and anywhere you’d find a double power outlet handy. If your renovation requires a Building Permit, then the local inspector might want to inspect everything at this point too. But rest assured a qualified and licensed builder will sort that out for you.
This is also a great time to install some extra framing in the walls to fix your overhead cabinets or open shelves into!
When the services are in place, line, stop, sand, and seal the walls for paint, tiles, and kitchen cabinetry. If you’re doing something with your flooring, you might opt to sort this before your new kitchen cabinets go in as well, just in case anything changes in the layout in the future.
Next in your kitchen renovation checklist is to sort out your painting and flooring. Then the cabinetmaker will likely come to site and complete a measure ready for producing Shop Drawings. Ensuring the original design fits in the space, or determining necessary changes, is an important part of the kitchen manufacturing process. Sometimes this might be as simple as adding a filler panel or extending the width of your fridge alcove by 20mm to fill the space.
Before you engage any contractors, make sure they are suitably qualified and have the necessary insurances in place, and don’t forget to check that your own house and contents insurance covers the renovation as well!
Once your renovation is complete, decorate your kitchen with modern kitchen accessories to add that final layer of style. You can find plenty of kitchen styling tips and tricks here.
What were you thoughts on this kitchen renovation checklist? Has it helped you with your reno? What are you planning to do? Let us know in the comment section below!
More kitchen inspiration
About the author

Jen Jones is an Auckland-based project manager with over 10 years’ experience in the commercial construction sector. She set up her business Nine Yards Consulting with the goal of bringing this expertise to homeowners and rookie renovators who need help achieving their dream home goals without all of the unnecessary stress, timeline overruns and budget blowouts they normally come with. Jen has a range of free ebooks and renovation resources available on her website to give you all the tools you need to kickstart and complete your home renovation with ease.
This article was first published in July 2021 and continues to be updated with latest information.

