
The other day I received an email from a reader who was about to start renovating two houses, with different objectives, and described herself as feeling overwhelmed with a serious feeling of WTF. She wanted to know where I started when designing and building our new home.
If you’ve been following along with my home build journey, you would know we’re also building two dwellings — a house for ourselves and a smaller granny flat to rent — so I can relate to this reader’s situation well.
Knowing many of you are also building or renovating, I thought I’d share my experience with all of you…
Related article: Katie’s top 10 tips on building your first home
Related article: My advice for completely overhauling your interior style
The very beginning
Going back, way back, back well before we demolished our house… we were actually planning to do further renovations to our old house and potentially buy an investment property.
After getting some quotes to do the renovations we wanted and scoping out investment properties, we did the maths and realised we would have been paying a bomb only to end up with a solution we weren’t 100% happy with.
Then one day Bruno came home with an idea — to knock down our house and build a new house with a granny flat we can rent out (the zoning of our property doesn’t allow subdivisions). To be honest, I wasn’t sold on the idea at all. I hated the thought of someone else living right above or below us and I thought we were way too young to do it… I was actually pretty scared thinking about it.
Sure he was onto a good thing, Bruno suggested we start meeting with architects and that’s when we eventually found Rob Henry.
Working with our architect
From the first moment I met Rob, I was confident he would come up with a winning design. He is amazing.
We started with an initial meeting about what we were looking for — a house for ourselves, a granny flat to rent (but away from our house!!), number of bedrooms, bathrooms, one storey or two etc. He asked about the style of house I liked and armed with my Pinterest board I showed him my inspiration pictures like this gorgeous house!

Rob then worked away on a design and came back to us with a concept sketch of the floor plans. Immediately we both loved what he suggested, with the split levels, entry space, separation of the master bedroom from the others. We would have been happy to give him the go ahead then and there but he told us to sit with the designs for a few weeks and really think about how we will live in the space, reminding us it’s easier and far less expensive to make changes now than later on in the process.
I’m glad he gave us that advice because there are a few things we changed like the original design had the garage sitting right on the boundary line… but how was Arnie supposed to spy on what was happening on the street? He loves watching all our neighbours and their dogs go past and I didn’t want him to miss out on this so we pushed the house over to allow a walkway down the side of the house.
We also turned what was going to be the laundry into a study because it was such a great space with lots of natural light, and we moved the laundry into the extended garage space. We’re SO glad we did this because then during the build we decided we wanted to make our dining room bigger and did away with the study all together (if we’d put a laundry in, we would have had the issue of plumbing to sort out).
Once we finalised the floor plans, Rob worked on the outside design and again, we loved it! He nailed the angles, positioning of windows, and balance of cladding.
The only things we changed externally was swapping timber cladding for red bricks as we wanted the house to be low maintenance and reference the other houses in our neighbourhood. He also suggested adding bright pops of colour around some of the windows but we decided to keep things simple and just rendered those areas.

Approvals
With the designs finalised, it was time to start all the dreaded approvals.
Fortunately Rob offered to liaise directly with ACT Planning on our Development Application (DA). We supplied him with all sorts of info, including a detailed landscape plan with the species name, common name and planting quantities (no joke, that was a requirement), and he helped coordinate a smooth approval.
During the approval process, it went out to neighbourhood consultation and thankfully there were no objections so after a couple of months, we were approved!
I’ve seriously simplified this step, partly because it’s not very exciting and partly because it was such a stressful time that I’ve blocked it out of my mind a bit, ha ha.
Of course it wasn’t just the building approval we needed, there were all sorts of insurances we had to take out and the big one — getting a bank to approve us.
Building
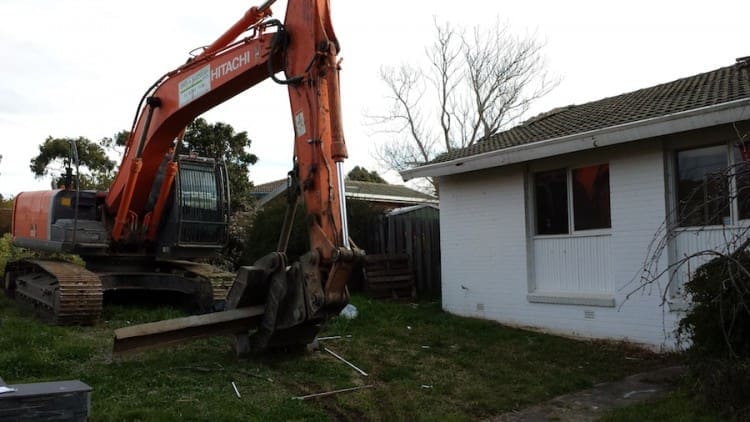
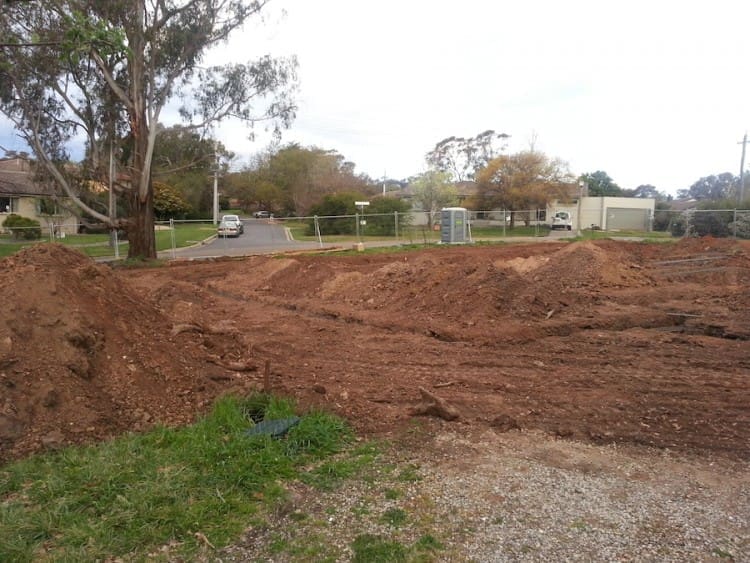
Once all the approvals were ticked off… about 18 months after Bruno first had the idea to do this… we were ready to knock down our house and start the build.
I’ll never forget the totally surreal experience of standing on our vacant block after demolition, a blank dust bowl ready to take shape.
I’ve been sharing regular progress updates of how that’s been going, including some of the more challenging points like picking windows, so I won’t go into that again here 🙂
Designing interiors
Now this is the part where our reader really wanted advice — how do you pick all the finishes? Is it just a matter of collecting photos of things you like?
My problem with interiors is that I like many styles from hotel luxe to eclectic, so if I didn’t have a clear vision of what I wanted our house to be, it would have ended up like a hodge podge mess of all sorts of wonderful things that absolutely did not work together.
Before selecting anything, I thought long and hard about the type of interior I wanted to create and gave myself a brief to work with — luxe industrial/commercial with Nordic influences.
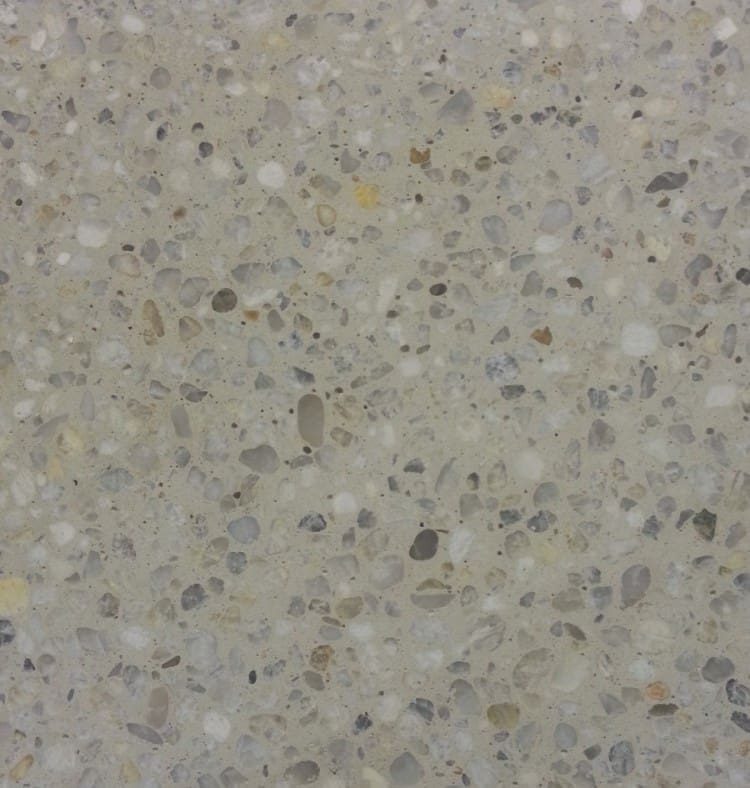
To me this brief means selecting some commercial materials, like the metal cladding, oversized windows and polished concrete, but using higher end products such as a white concrete with light pebbles rather than standard concrete. I’ll also bring in some luxe with a few touches of metallic, marble and other materials I love. The Nordic influences is about keeping things simple and refined, clean lines, and a colour palette of black, whites and greys.
With this clear vision, I then started creating a mood board to gather inspiration (I found mine in magazines, interiors books, Pinterest, Instagram, catalogues like from bathroom showrooms, and started taking photos of things I liked while out and about) and to this day still have those images pinned up in our dining area. Having a moodboard is a great way to experiment with different looks without committing to them, you can also add and remove things as your ideas evolve.
Unfortunately it’s not just a simple matter of finding things that fit the brief… there’s also that dreaded B word — budget!
Unless you’re in a lucky situation where you don’t have to consider spend, every decision you make will ultimately come down to budget. There are some things I loved and had to have, like the light polished concrete but that meant forgoing things in other areas.
This is where I found having a moodboard is really helpful — it helped me see the look I wanted to achieve so I could research and find more affordable options where needed. For example, in our rental rather than using hardwood floors (like in our house) we opted for bamboo which is harder wearing and less expensive.
Another example is pendant lights… I had to buy 6 pendant lights for our new home (2 in master bedroom, 2 in guest bedroom, 1 in powder room and 1 in dining room). If I bought all the lights I loved, it would have blown our budget so I decided to consider where the pendants would have the most impact and splurge in these spaces and save in others. I opted for the dining and powder room pendants I loved, and in the bedrooms found a more basic pendant that had similar colour, shape and finish but for a fraction of the cost.
I will carry this same approach of splurging and saving where it makes sense to finish picking the internal materials and then eventually when selecting soft furnishings, furniture and decor which hopefully won’t be too far away so stay tuned for a Part 2 of this post in a month or two 🙂
I’d love to hear from you about how you’re finding your renovation or building experience, or if you’d just like to share any tips or comments below.

