
For months we’ve been busy renovating every square centimetre of Bonnie’s house and we’re so excited to say we are finally 100% DONE! Hoorayyyy!
Her original ’80s townhouse was crying out for a refresh and while we were at it, we thought we’d also totally gut and replace several zones that just weren’t functional or had excessive damage. Along the way we’ve been sharing updates of these projects, such as her new bathroom and Trex deck, but we wanted to provide a full before and after snapshot and make it easy for you to find all these projects in the one place.
Let’s start from front to back of her property!
Related article: Your dream kitchen renovation checklist: Easy steps to create a stylish and functional kitchen
Related article: The ultimate guide to choosing the perfect tapware for your home renovation
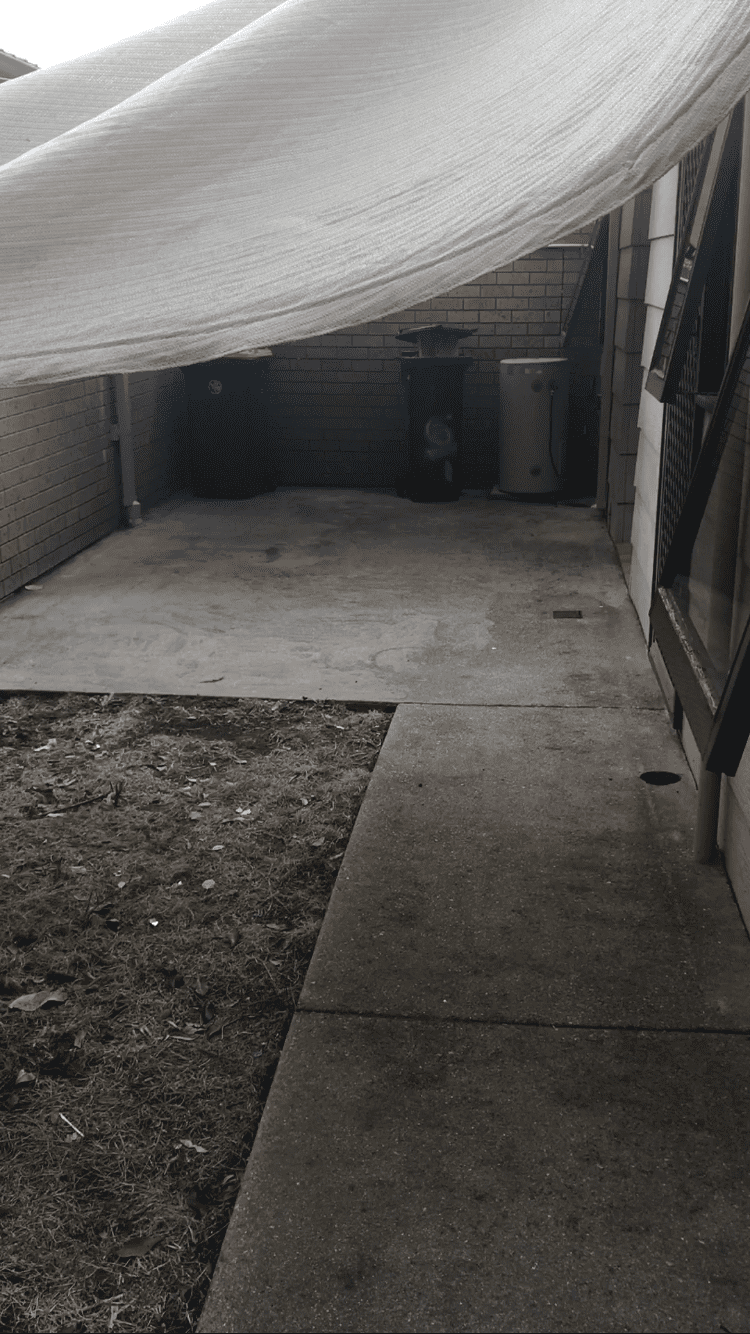
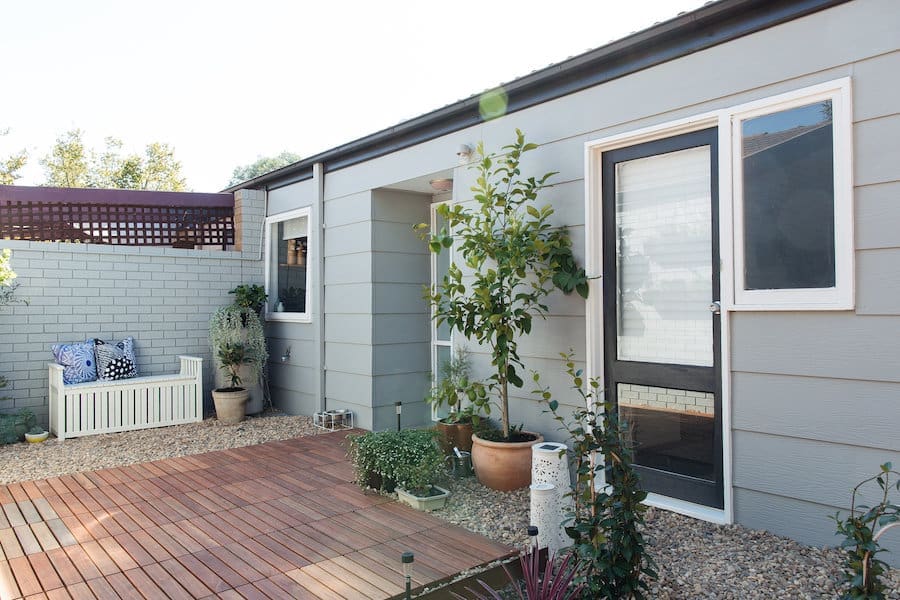
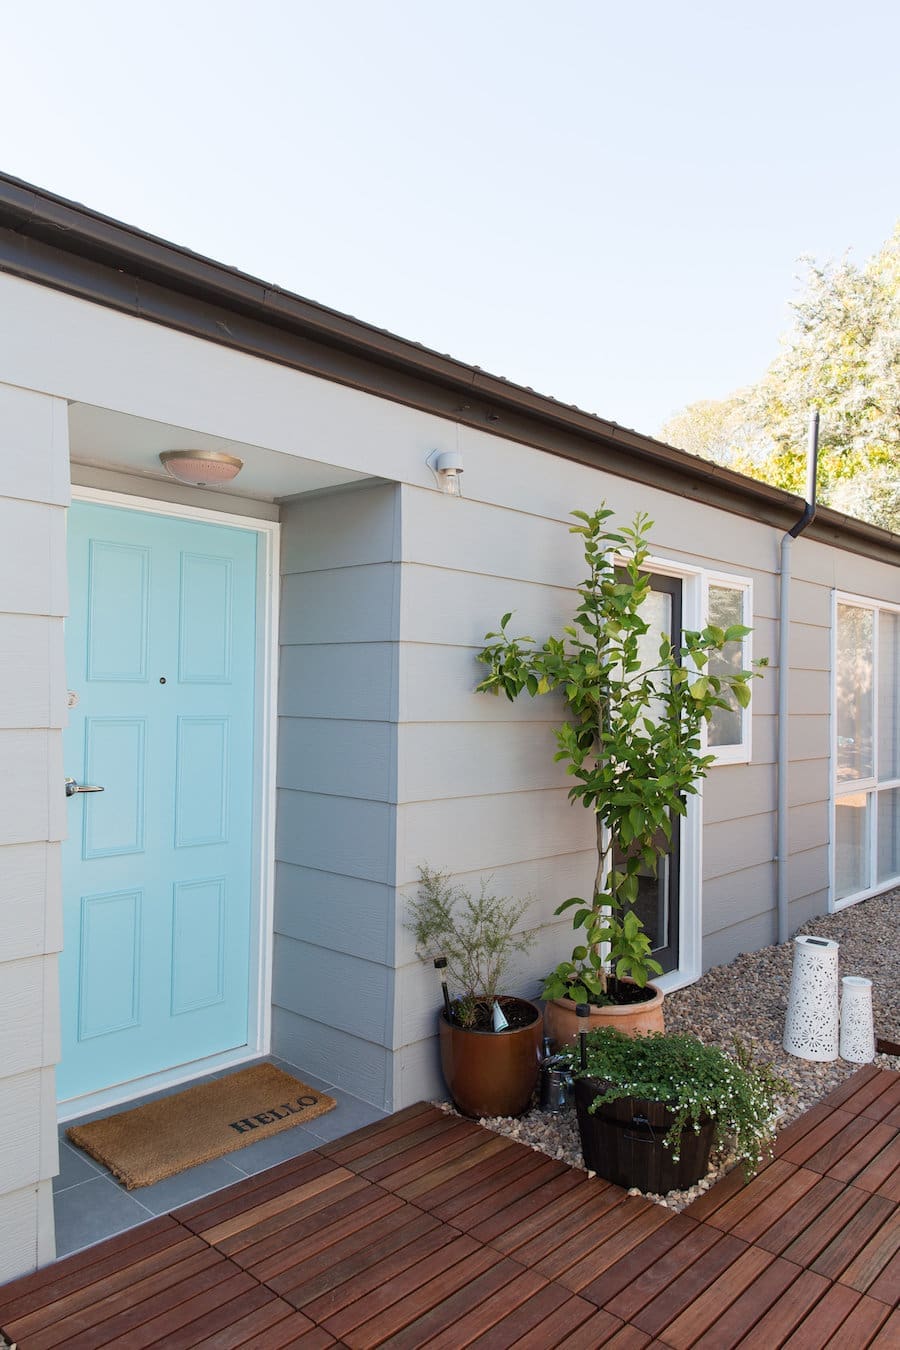
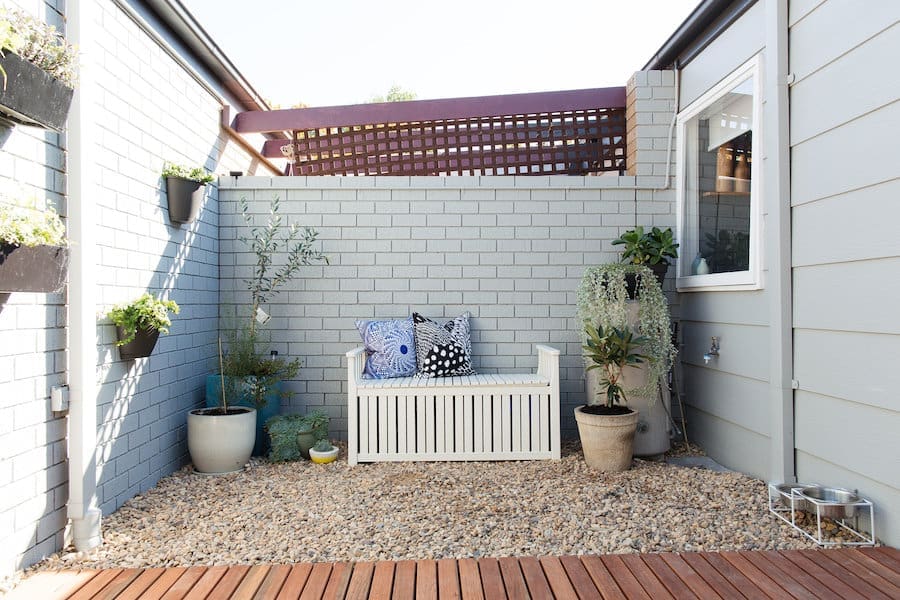
Front courtyard
We haven’t shared any photos of this zone yet but this space was a maze of shade sails and had zero appeal when Bonnie first moved in.
Creating an inviting first impression was so important to Bonnie but she needed to find affordable ways to do this.
Repainting the front facade was one of the most cost-effective updates we made. The colours we used are Colourbond ‘Monument’ for the eaves, ‘Castle Grey’ by Wattyl for the walls, ‘Marble Mist’ by Haymes for the window trims and ‘Coastal Views’ by Wattyl on the front door. This crisp colour palette instantly updated the space and we just love the fun pop of colour on the door.
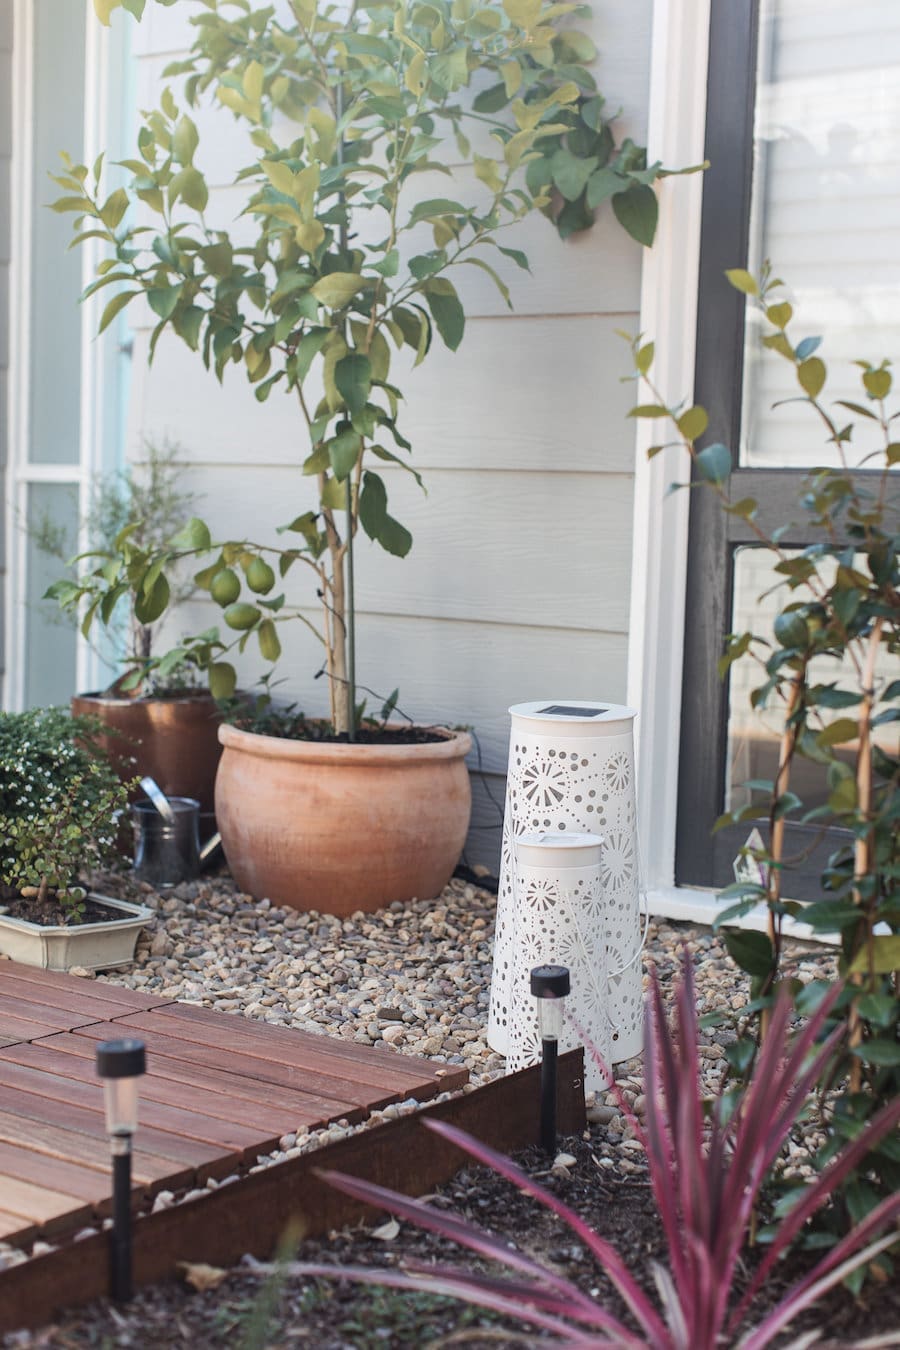
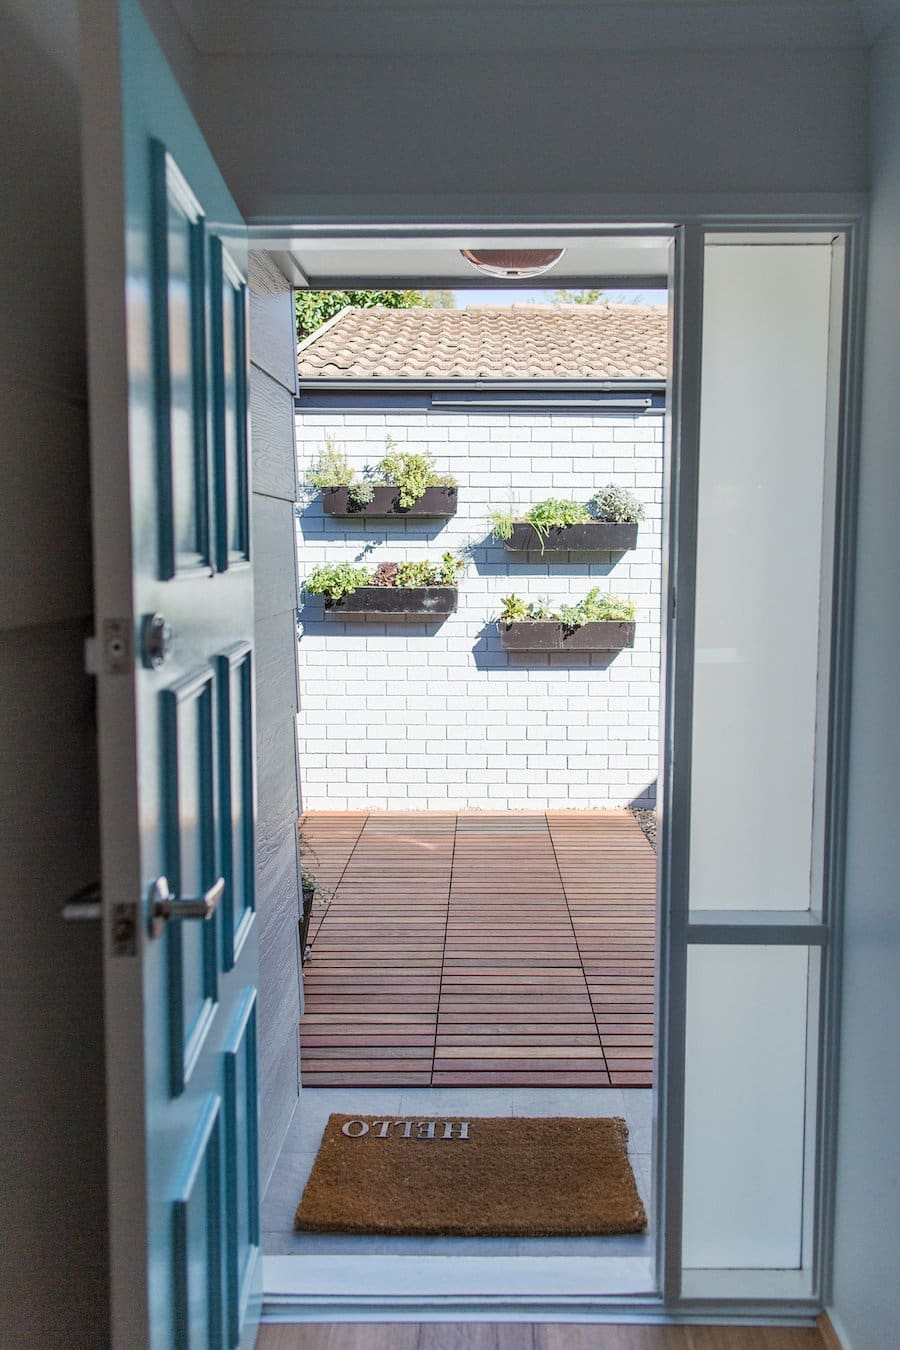
Replacing the old concrete path with a modern aggregate mix was out of our price range so Bonnie explored a lot of different options out here including stamping the concrete or tiling over the top. Ultimately she decided on timber decking tiles from Norther Rivers Recycled Timber as they soften and add warmth to this space, and are an easy-to-use product that could sit over the top of her existing concrete.
She created a garden bed using steel garden edging from EverEdge and filled between the timber decking and garden beds with small pebbles. Ambient solar lighting, vertical gardens and a mix of plants in pots finish this space.
Before
We’re the first to admit the quality of these photos aren’t great and the space looks even worse with all the mess during construction, but these are the only photos we have to give you an idea of the nasty old concrete and brown colour scheme out here.
After
Now you’re greeted with a modern timber deck, contemporary colour palette and beautiful garden beds.
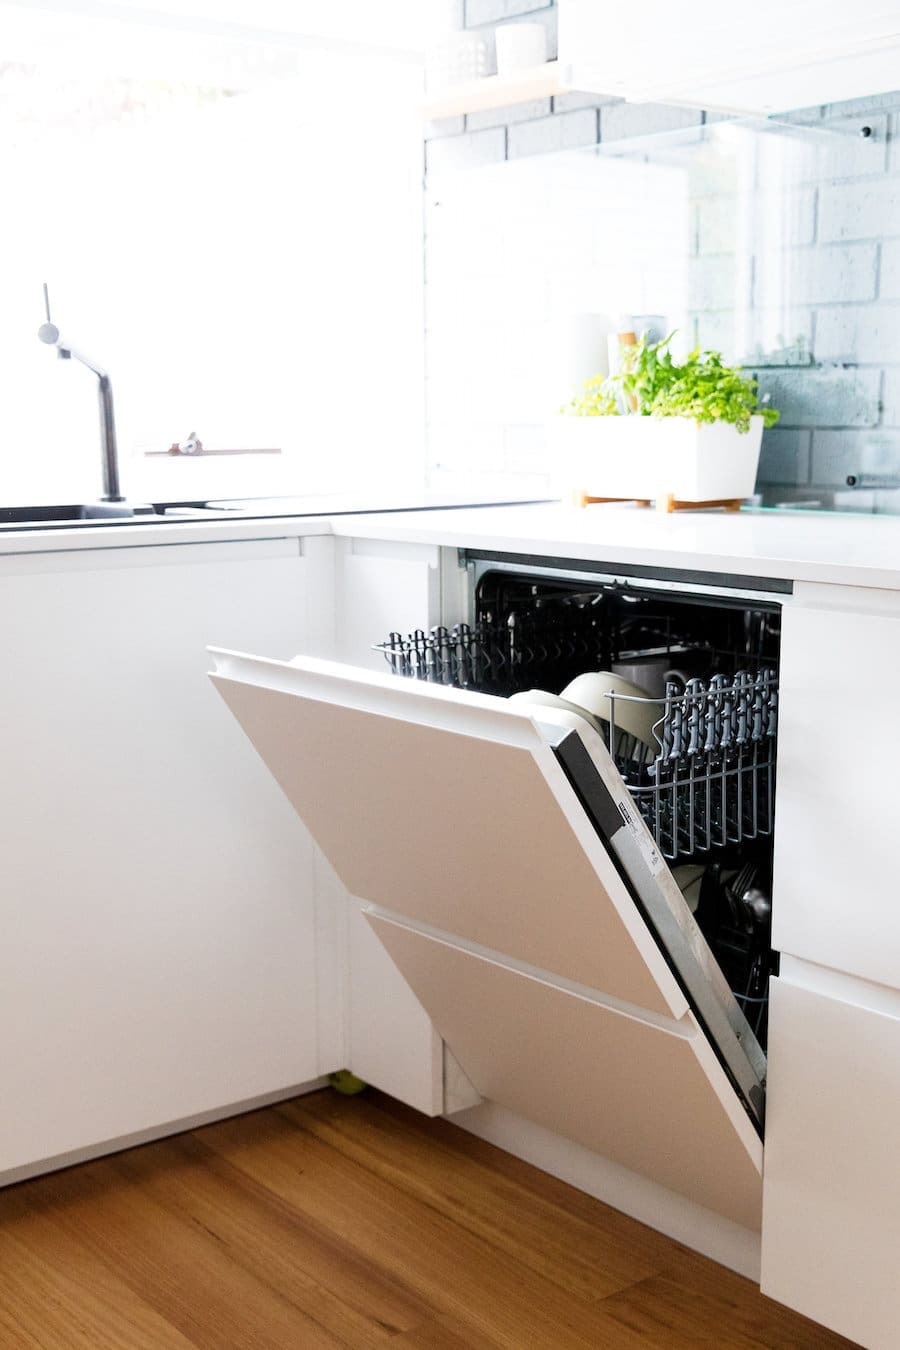
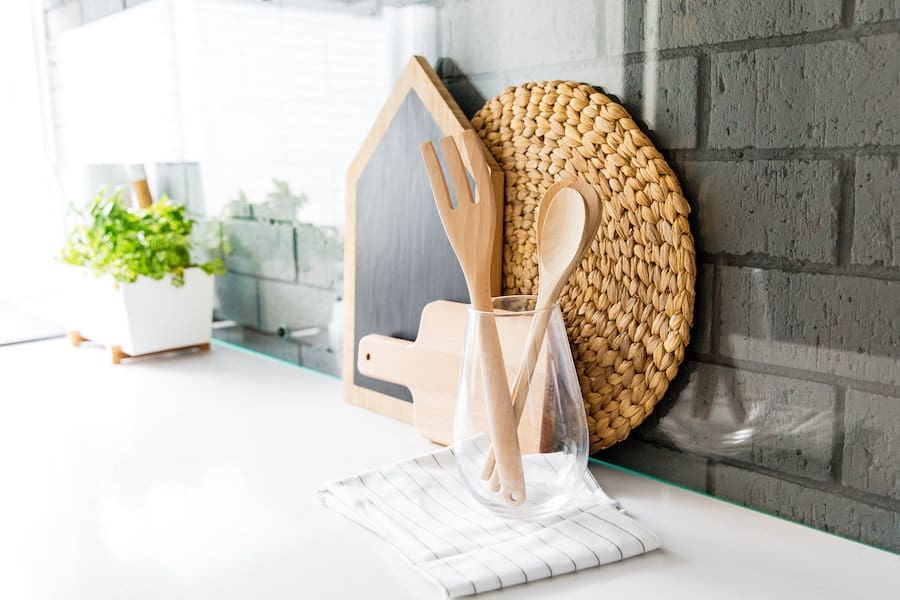
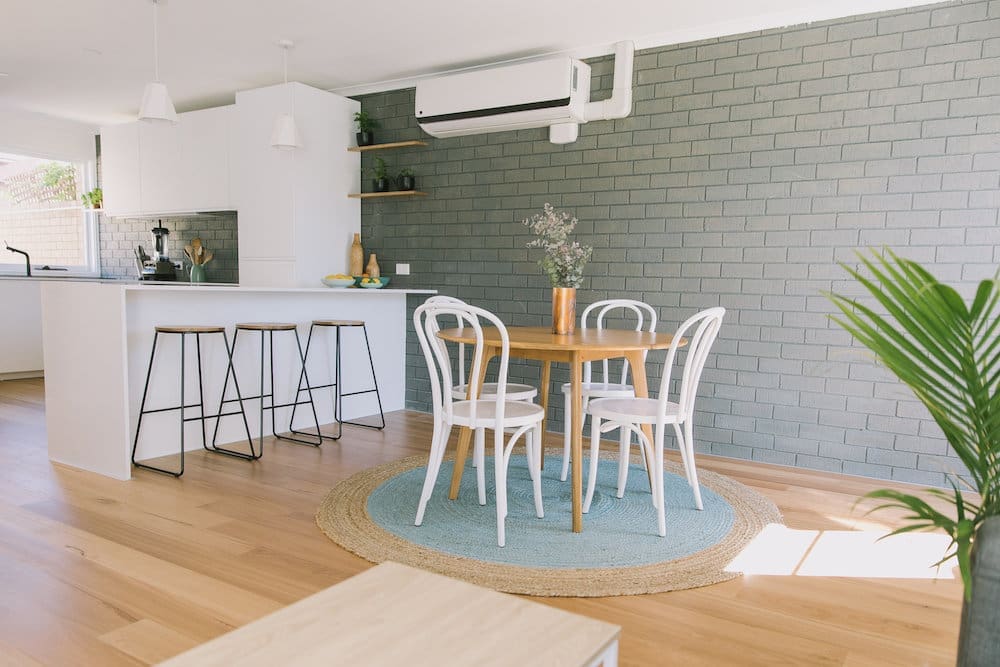
Kitchen
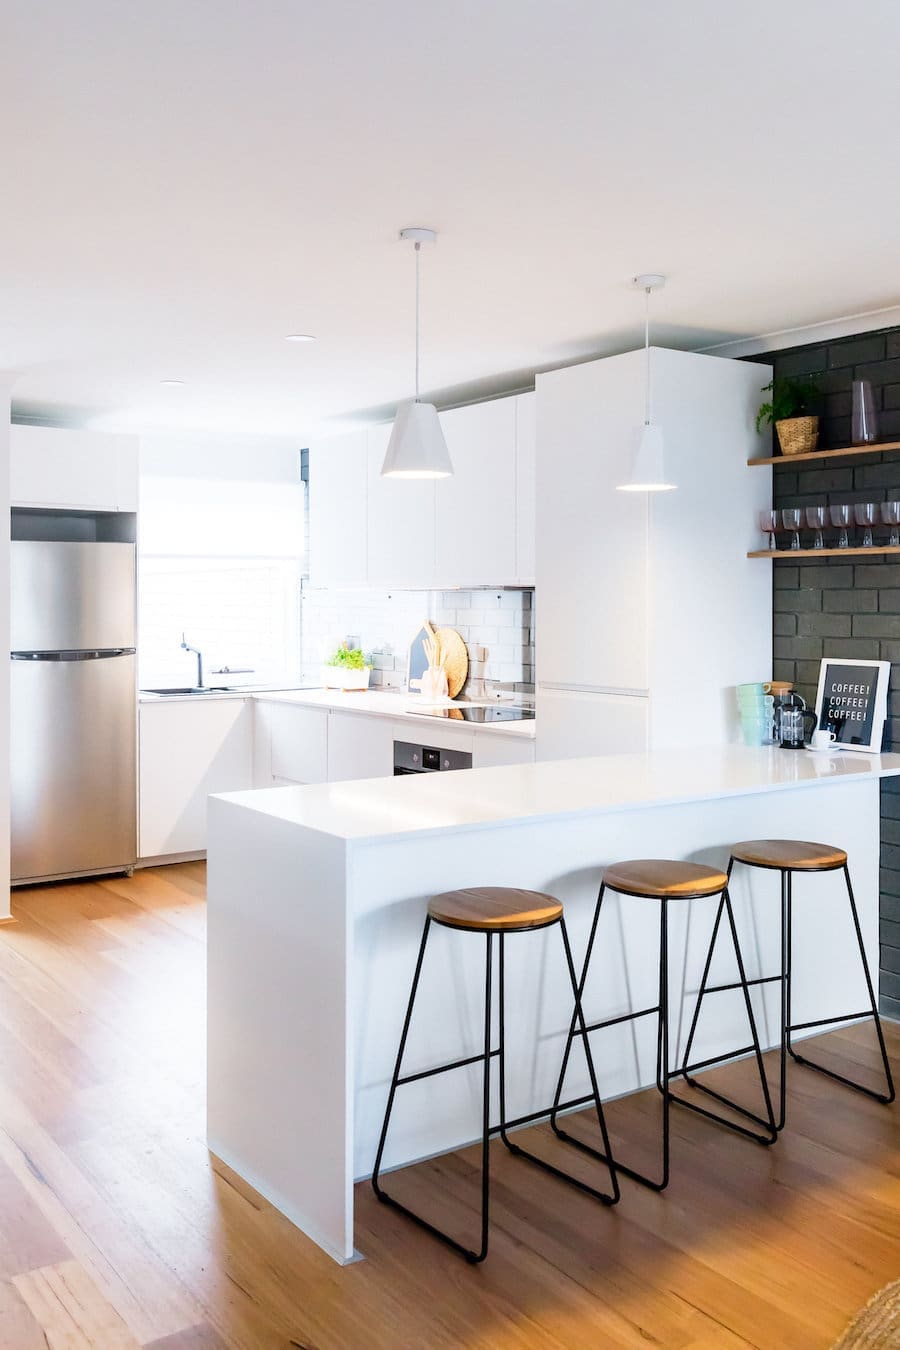
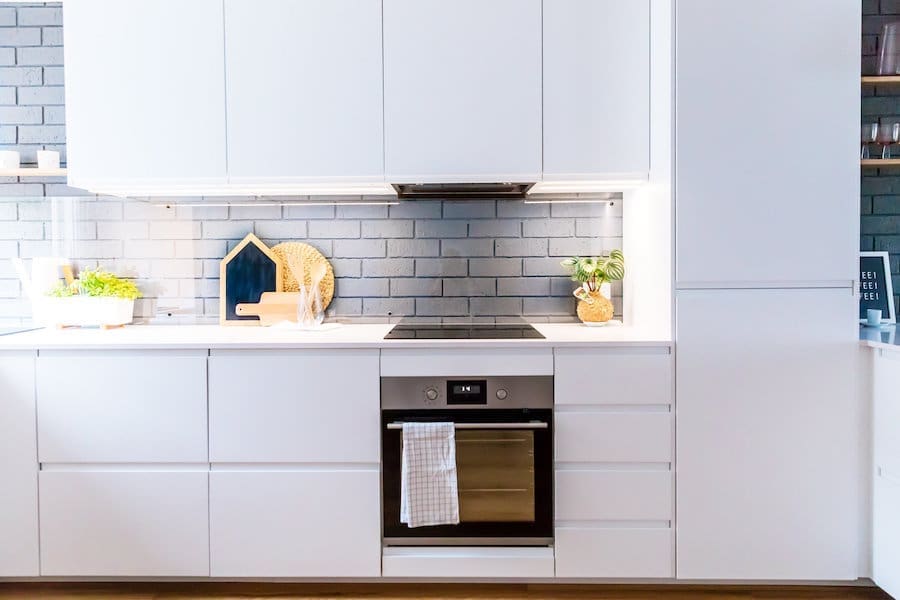
We shared the before and after kitchen renovation in this blog post but to recap the original kitchen was teeny tiny, all brown and had zero storage (including no pantry). We ripped it out and designed a large new kitchen with IKEA that opens the space and is ideal for entertaining.
The grey Monsta colour wash brick wall adds warmth and interest, while the new timber flooring from Flooring Xtra makes this space flow with the other living spaces.
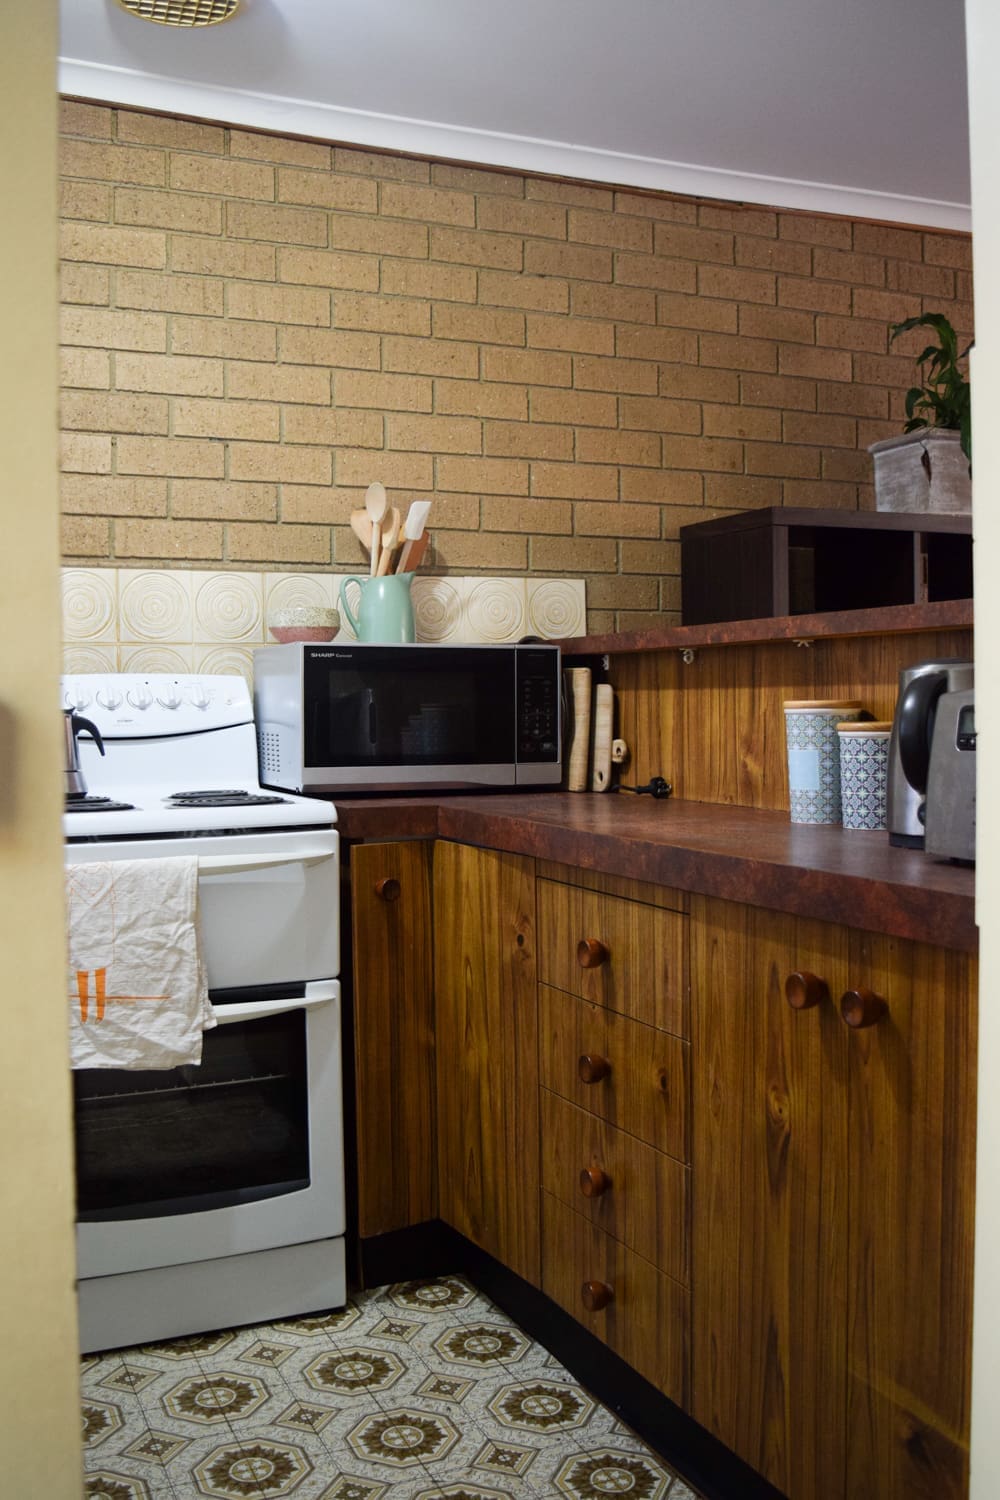
Before
Bonnie’s original brown kitchen in all its glory, ha ha.


After
We extended her kitchen by 2.8m to create a much larger and more functional space.
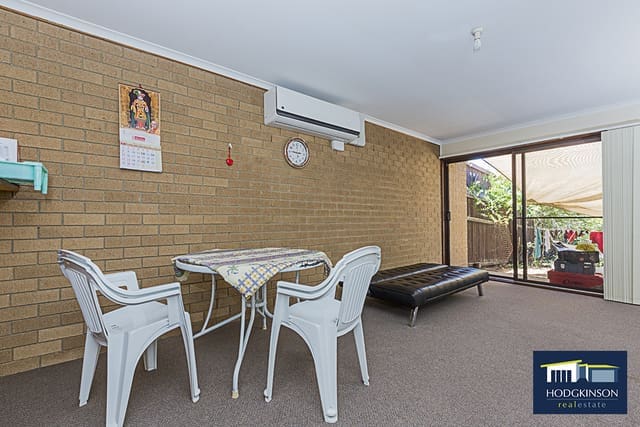
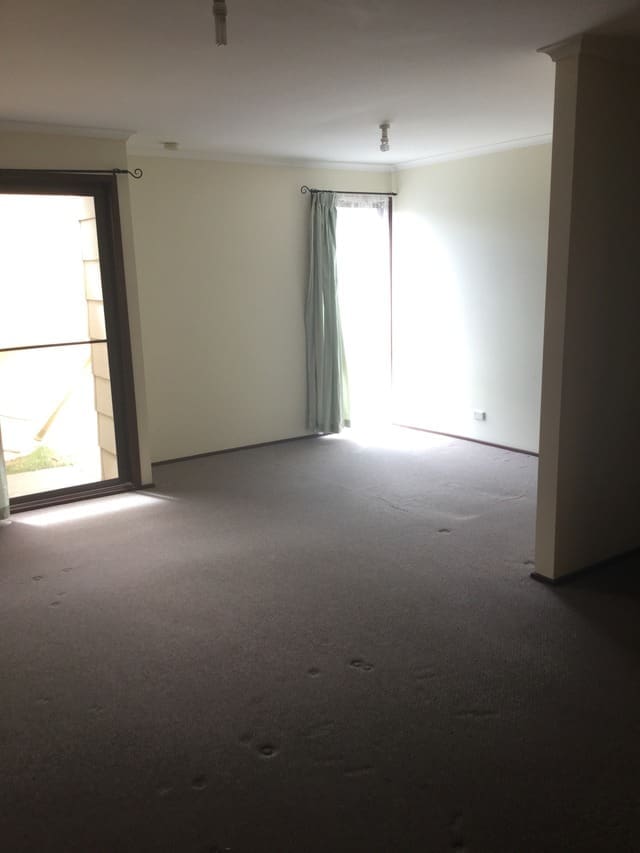
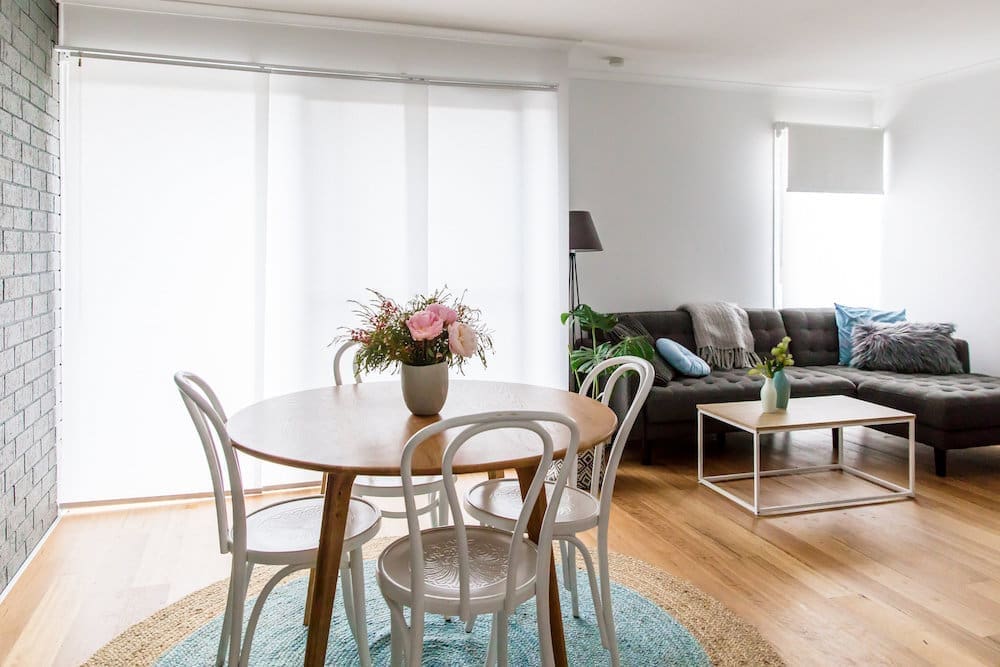
Dining and living space
The original dining and living space felt so dated with nasty old brown carpet and yellow-tinged window treatments. By simply repainting the walls (in ‘Greyology 2’ by Haymes on the main walls and grey Monsta Colour Wash on the brick wall), flooring (engineered Blackbutt timber from Flooring Xtra) and window treatments (sliding panels over door and double roller blind over window from DIY Online Blinds) this space feels completely transformed – into one that’s larger, more airy and contemporary.
Before
The brown and yellow colour scheme really didn’t create an atmosphere you wanted to relax in.
After
Now the space feels cohesive and larger – despite actually being smaller as we stole some dining space for the kitchen!
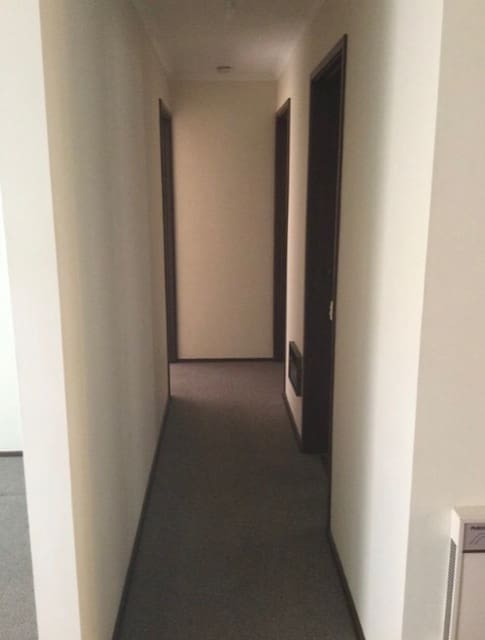
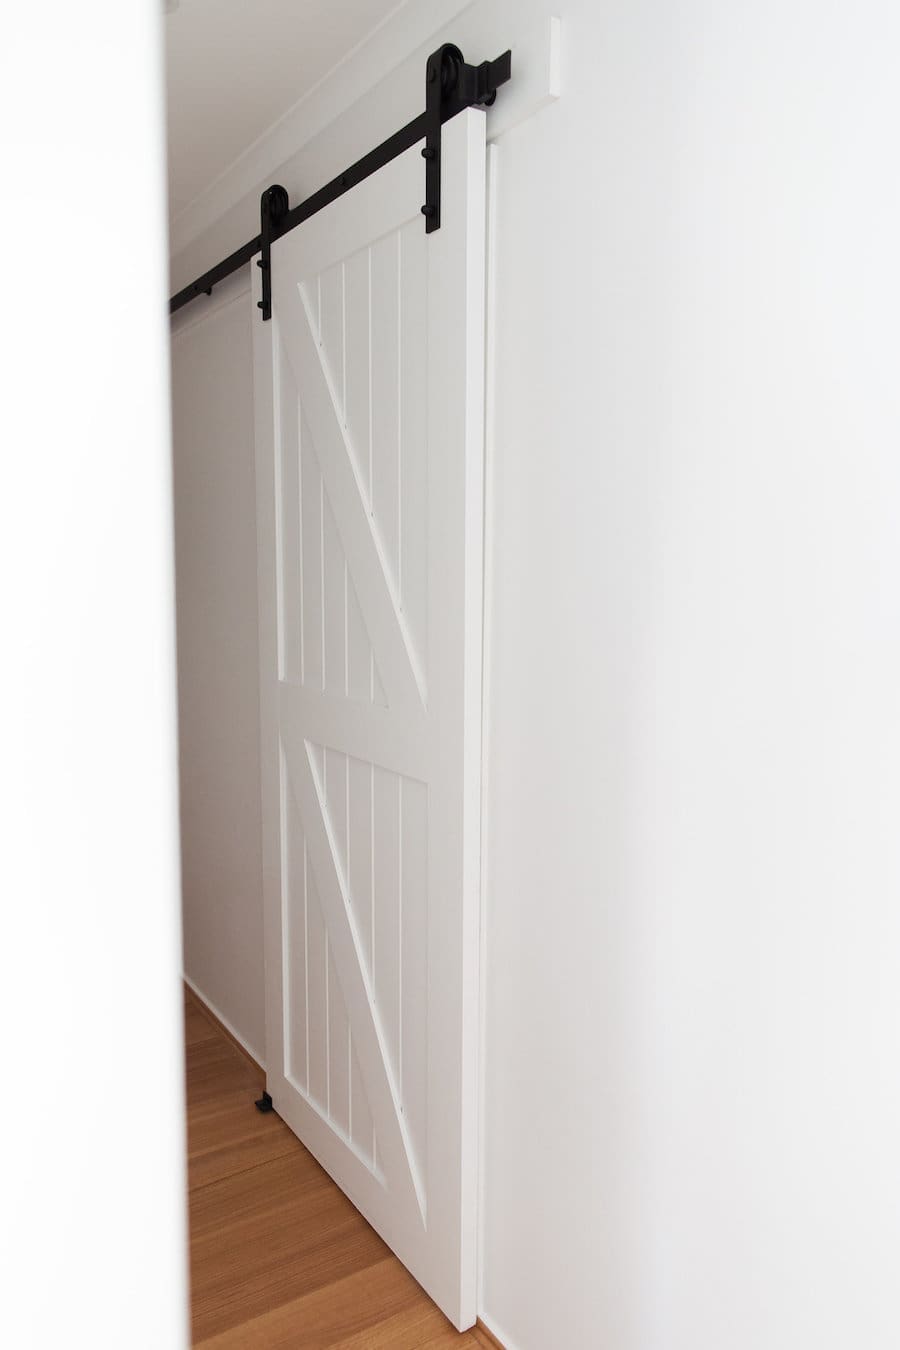
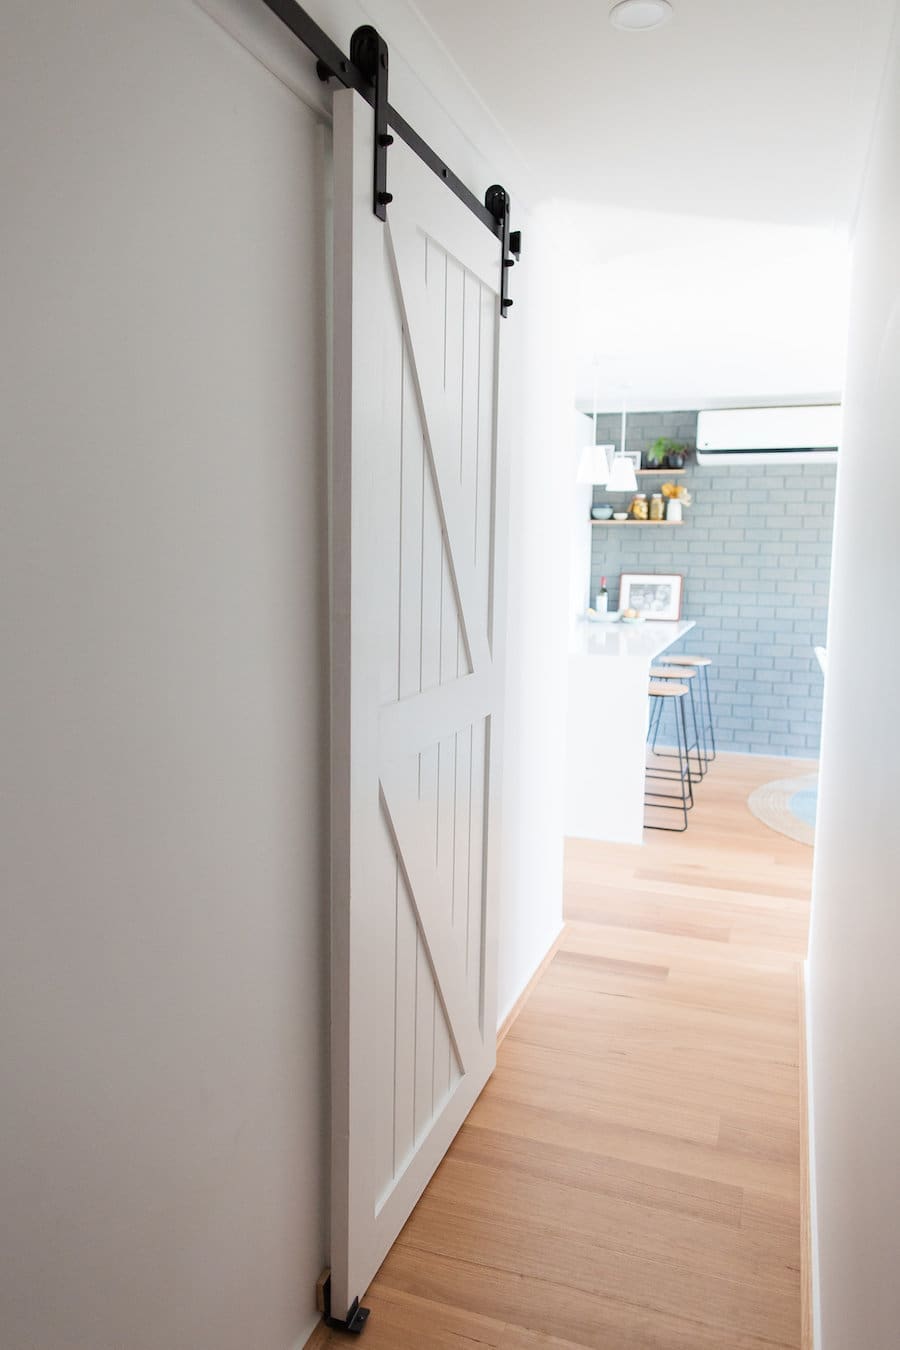
Hallway
We extended the timber flooring and wall paint colours down the hallway but the biggest change was installing a barn door from Doors Plus.
Before
After
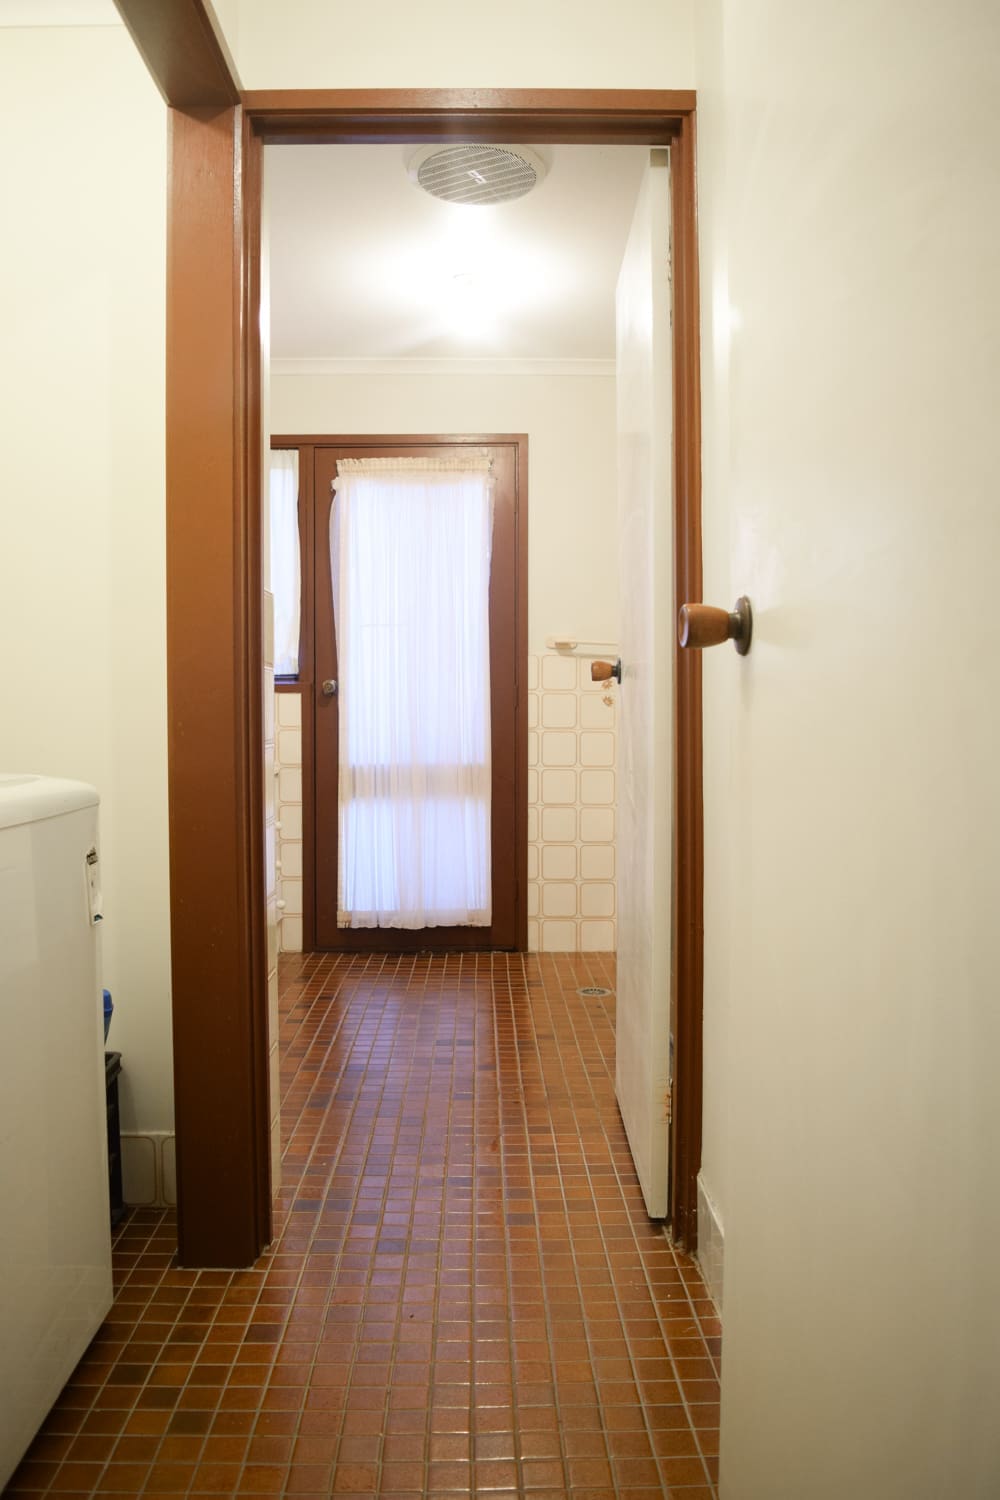
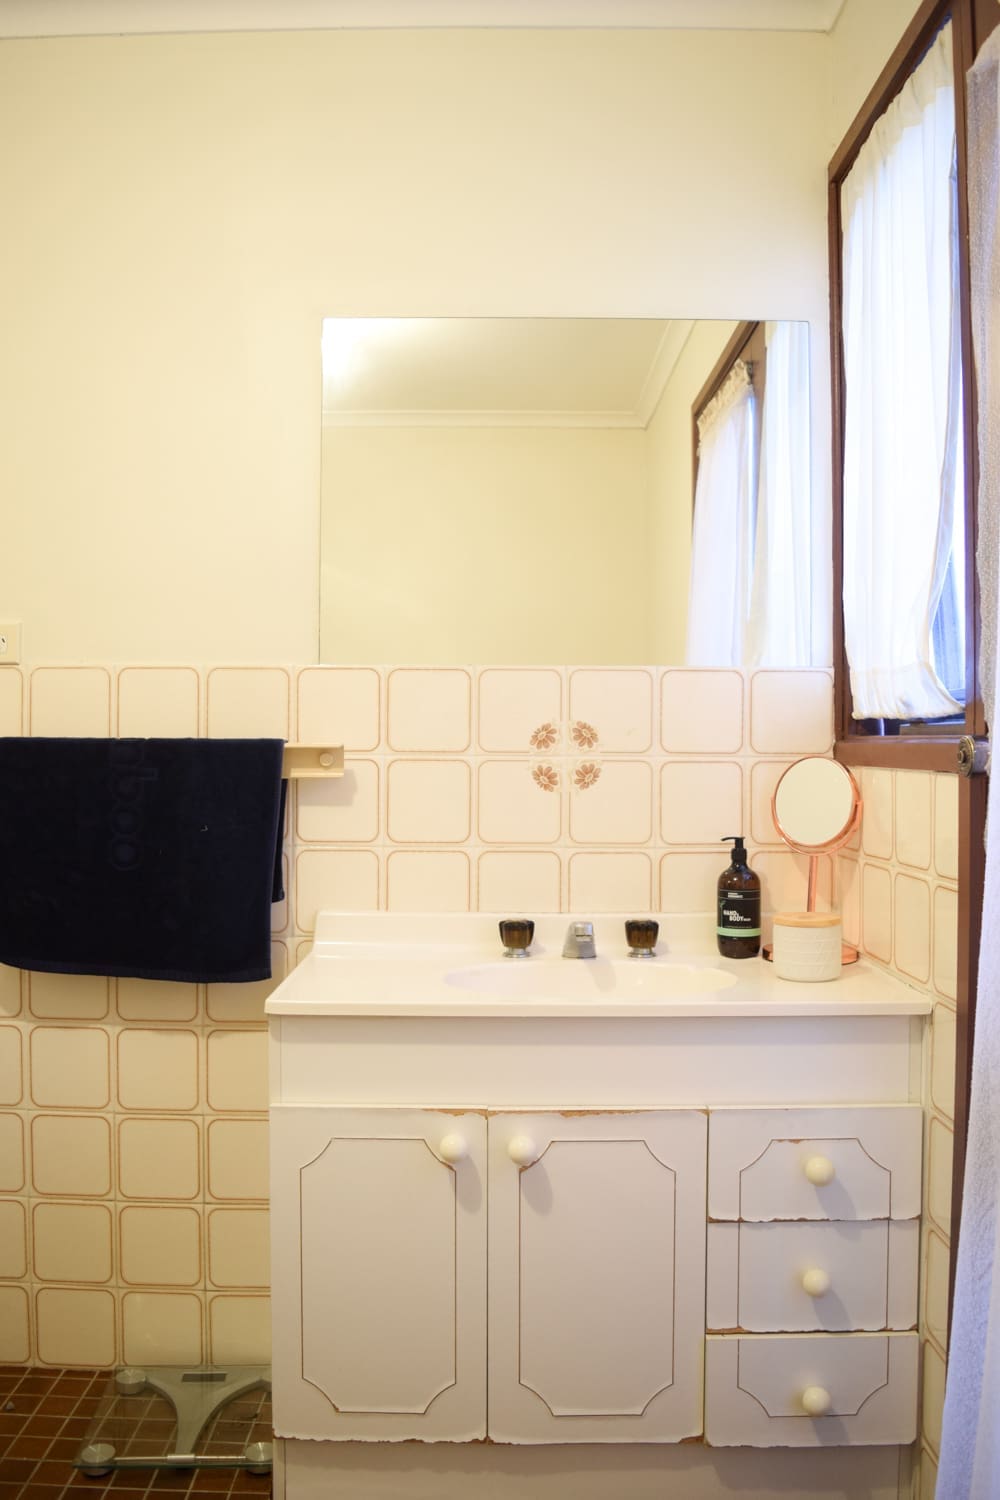
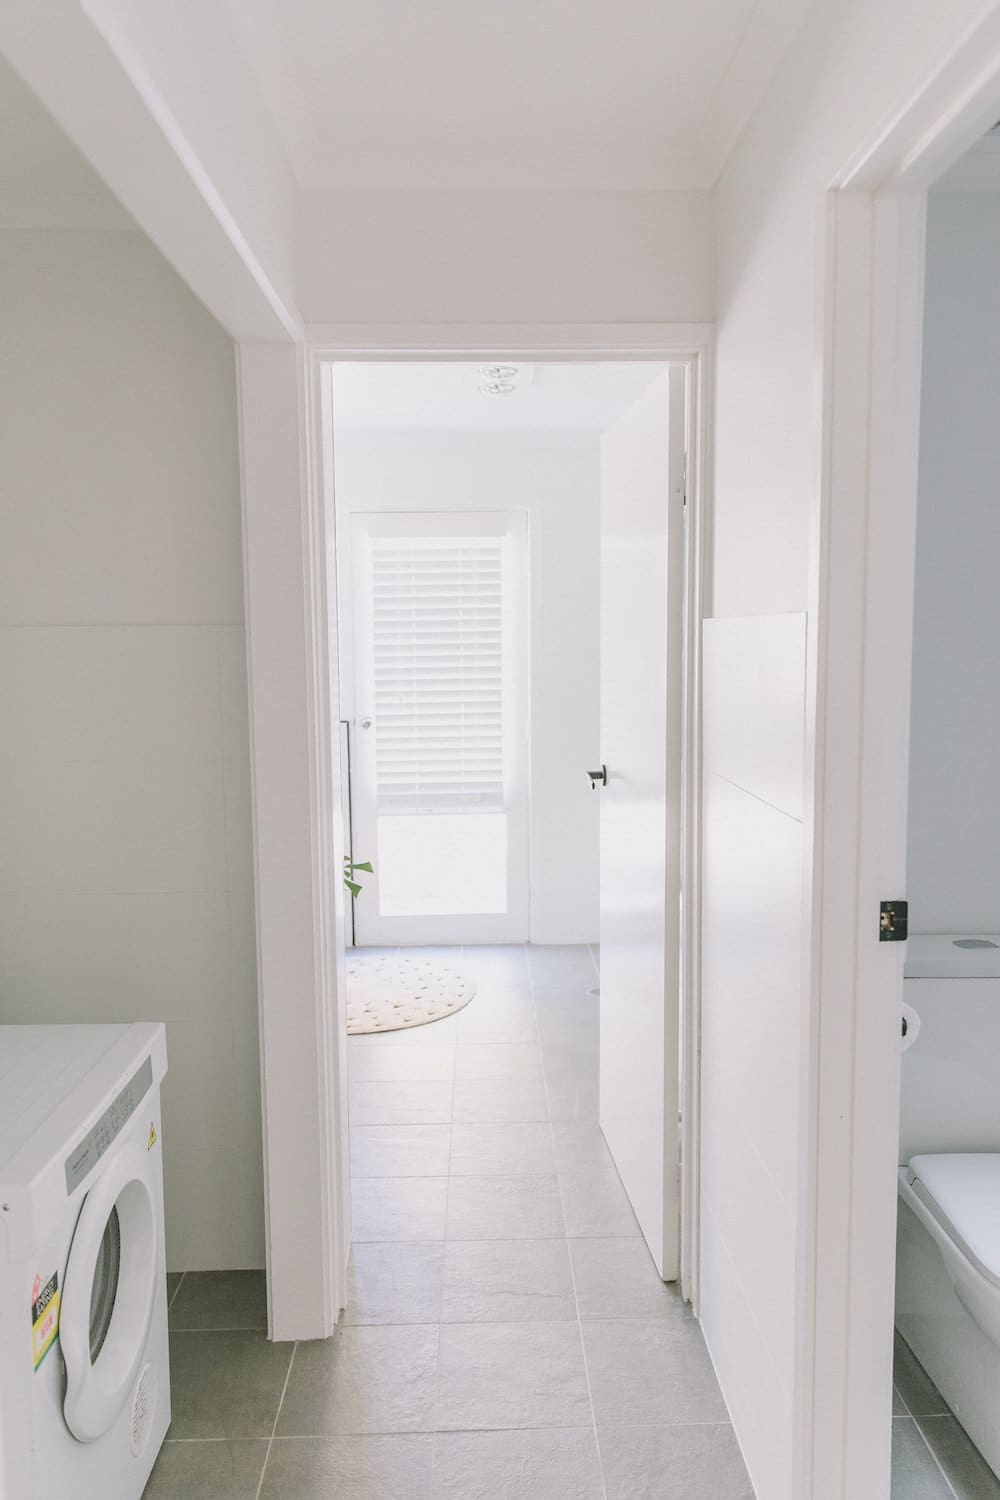
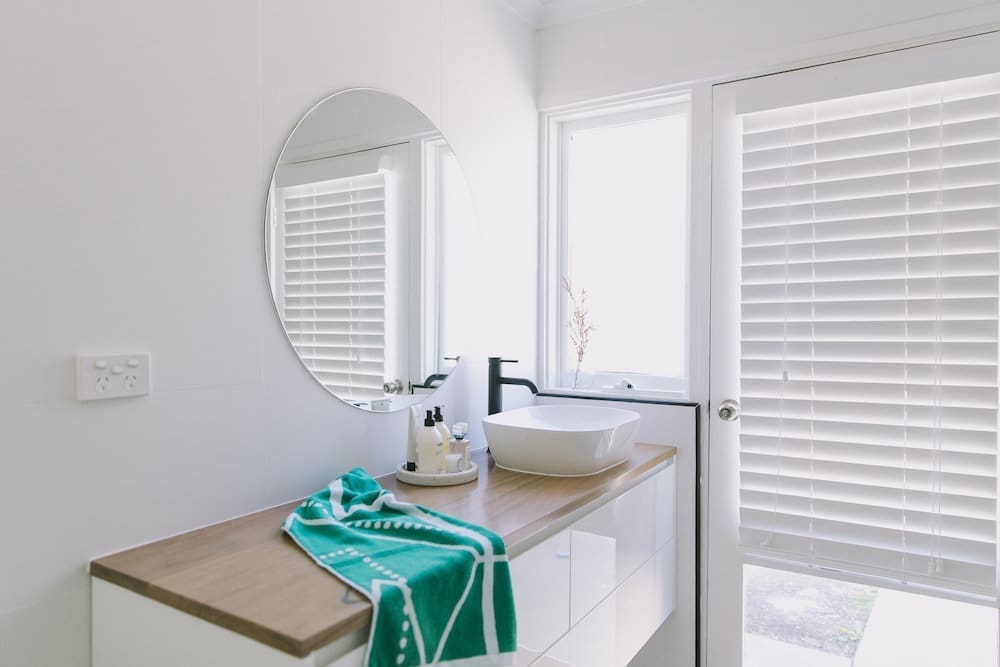
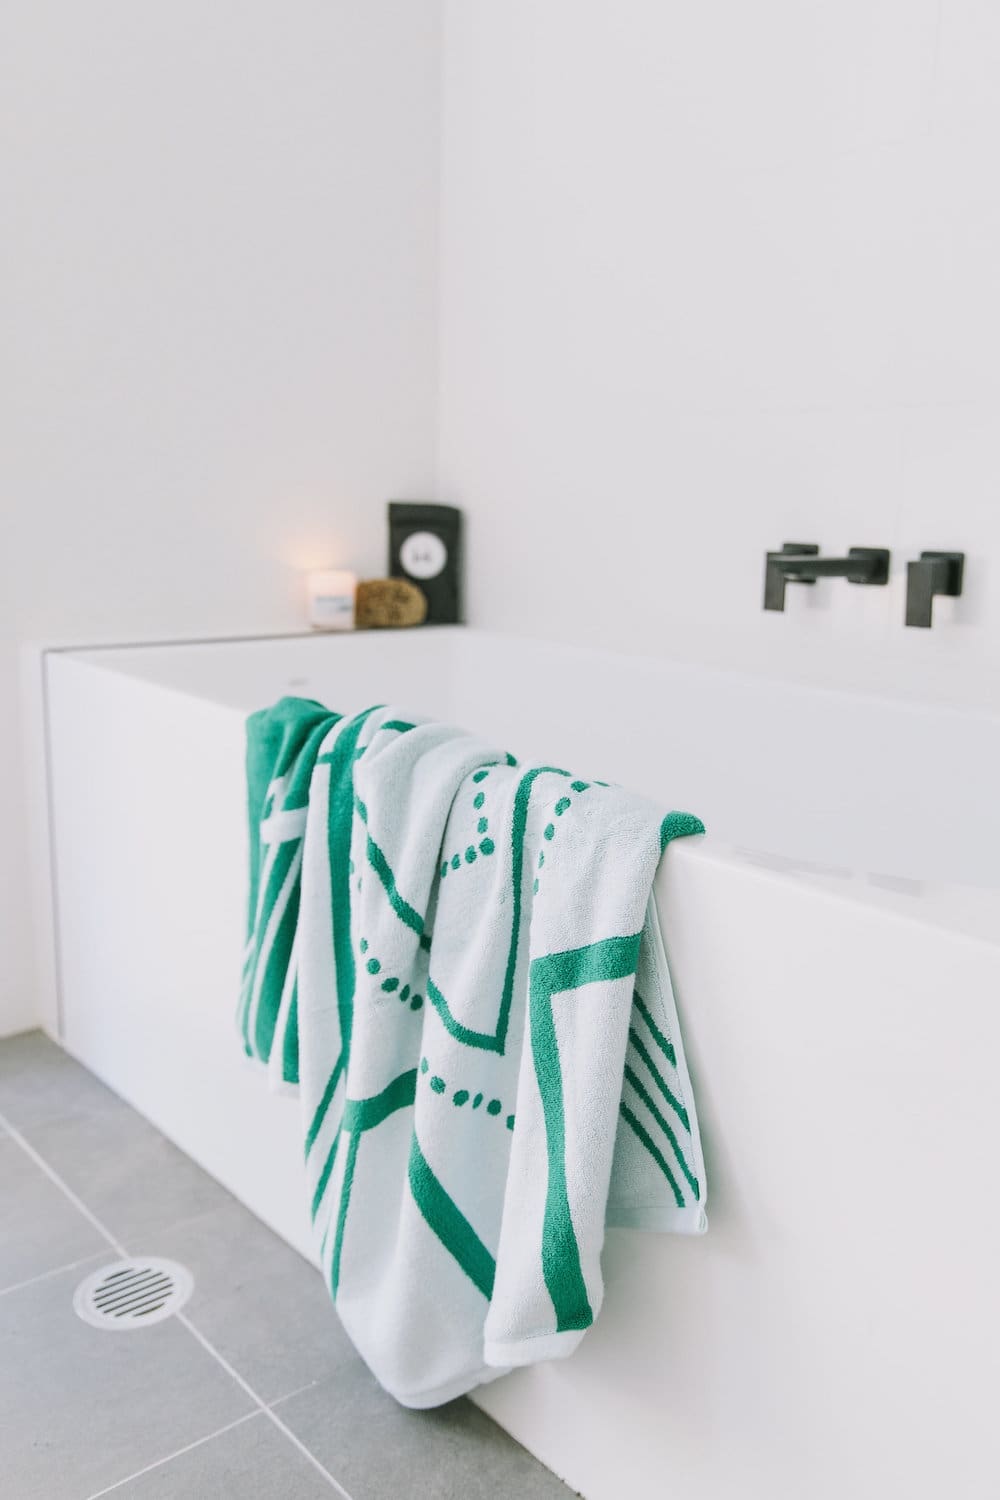
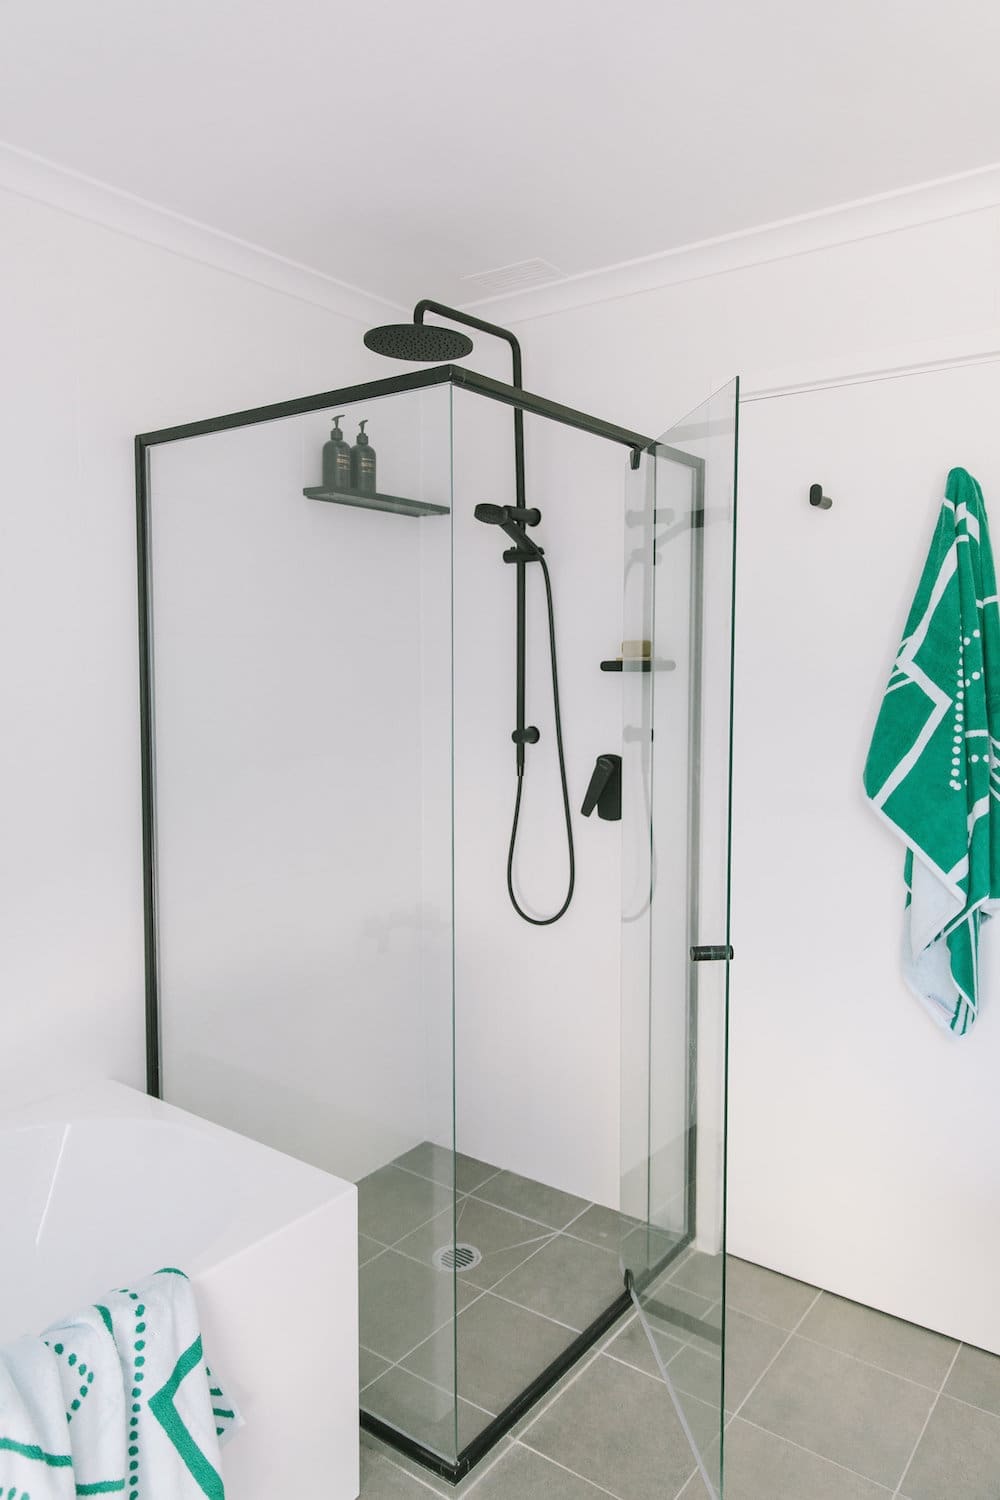
Bathroom
Renovating Bonnie’s bathroom was one of the biggest undertakings of this whole reno!
At first Bonnie was hoping to get away with minor cosmetic improvements, such as resurfacing tiles and changing tapware, however a lingering funky smell had us concerned there were bigger problems in here. Sure enough, inside some walls was rot from water damage and this opened a Pandora’s box of other issues.
We decided to gut the space and start again but keep the same layout to save on plumbing costs. Another way they saved was by doing a lot of the demolition work themselves and helping trades, many of whom were friends. Removing tiles can either be simple (where they just pop off) or a tedious task requiring a jack hammer to break and lift tiles. Unfortunately for them, they had the latter experience when removing the floor tiles and their biggest tip is to wear the right safety gear! Tile shards are sharp like glass so wear closed in shoes, long pants and shirts, and wear protective eyewear like polarised safety glasses Australia to shield your eyes from debris.
Before
Of course, the original bathroom was brown! It also lacked sufficient storage and felt dated with old-fashioned bathware and accessories.

After
The space was re-tiled and these were carried to the ceiling to create a more open and luxe look. Black tapware and hardware adds a modern edge and the timber top vanity brings in warmth.
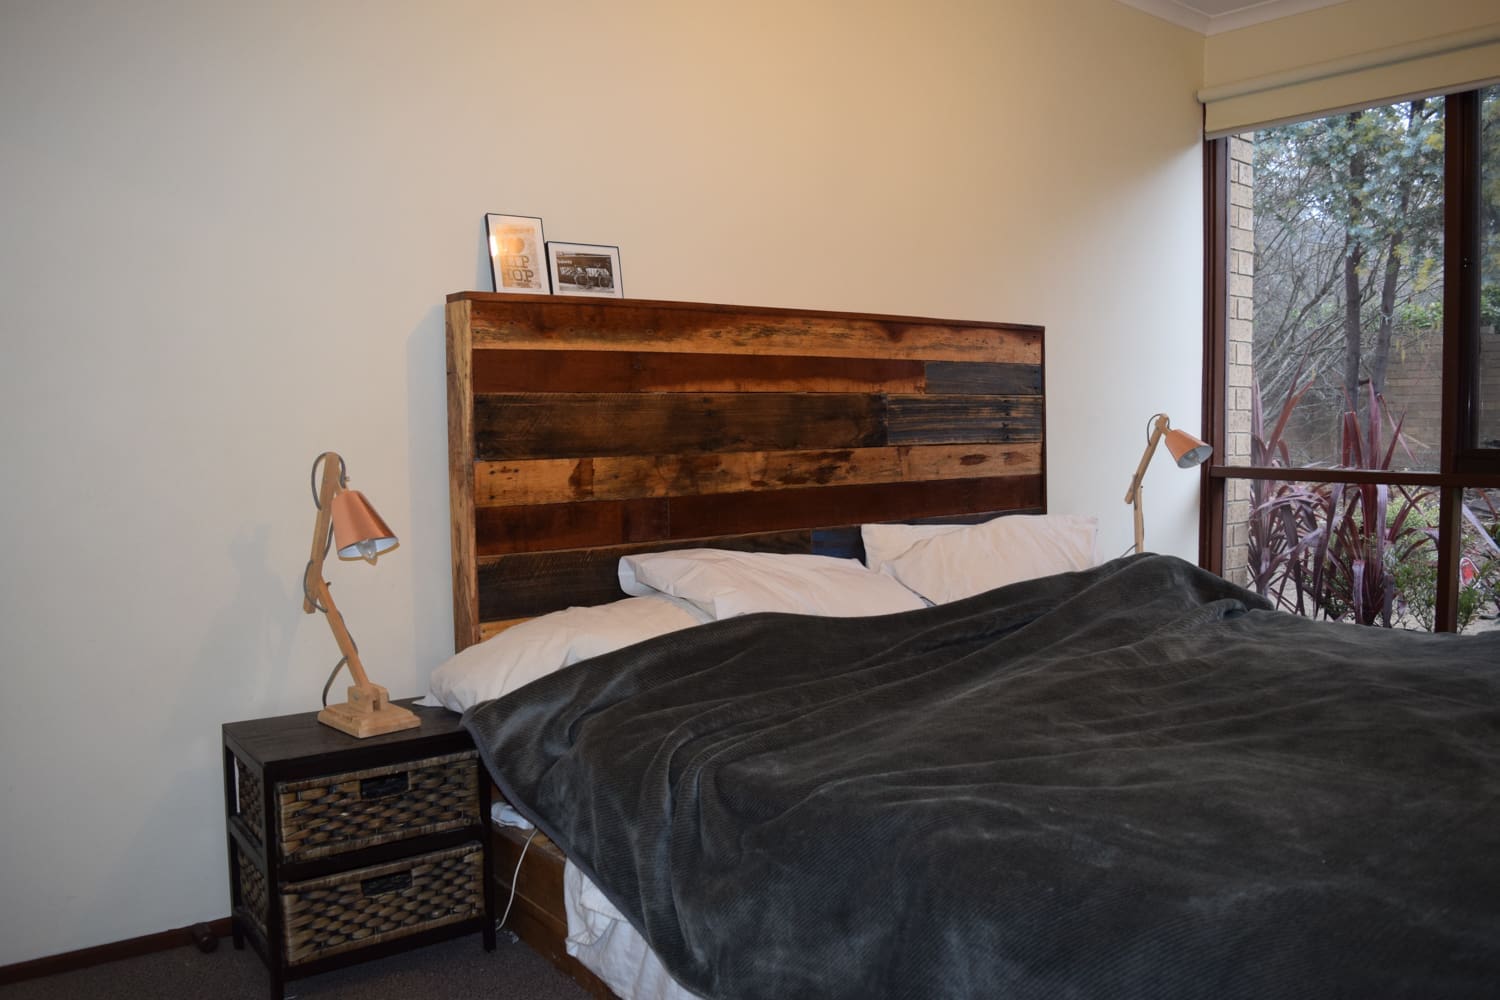
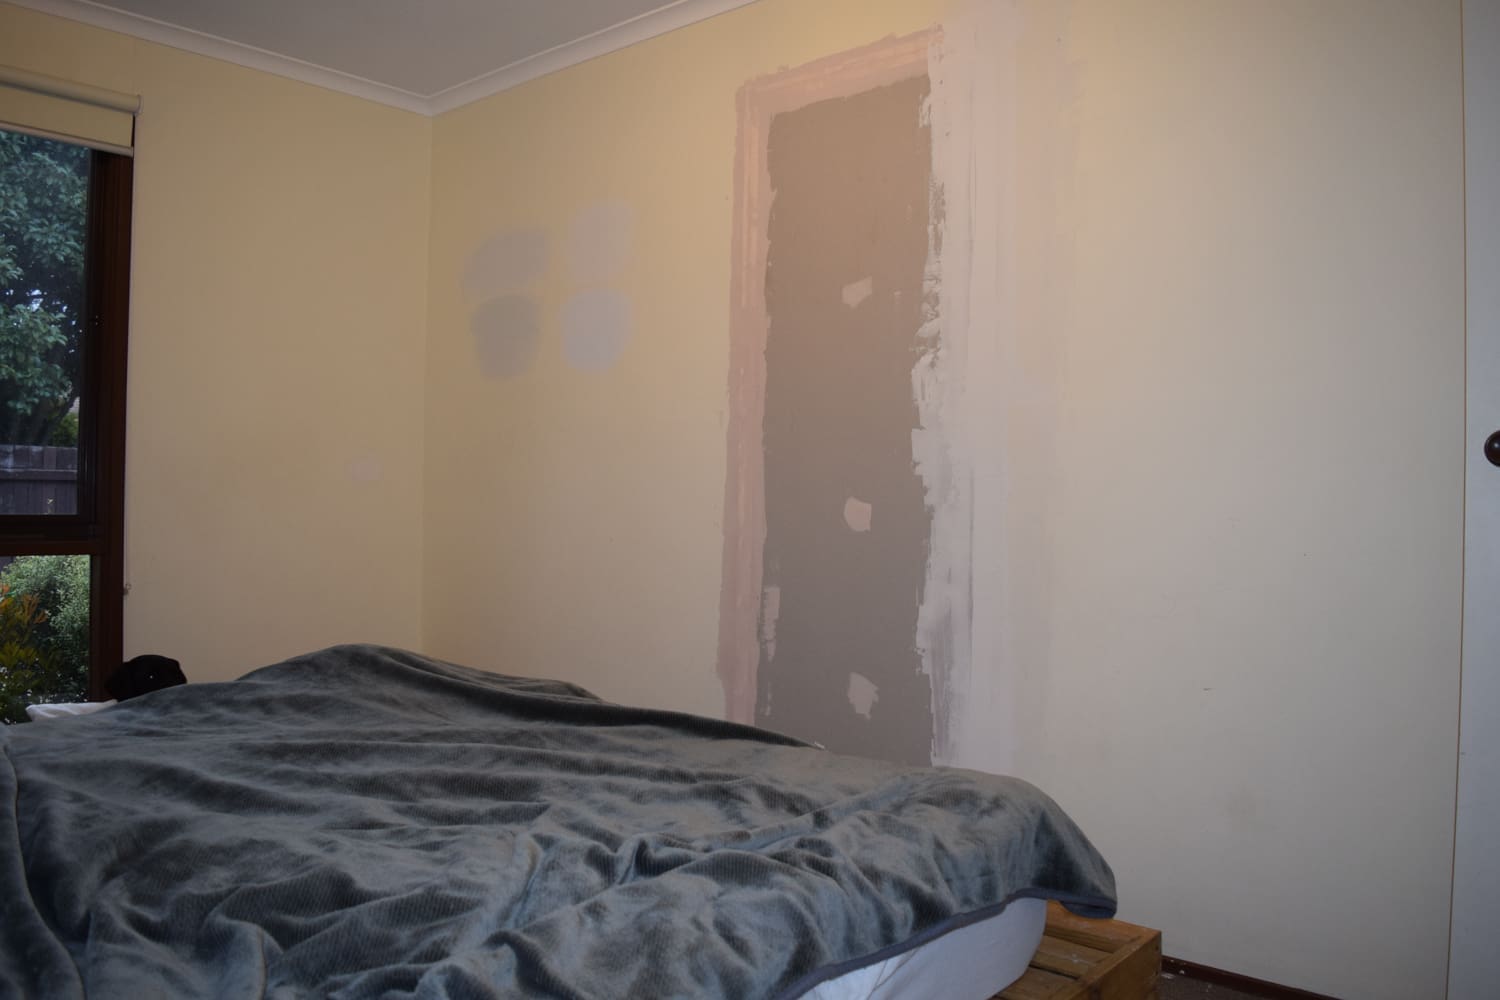
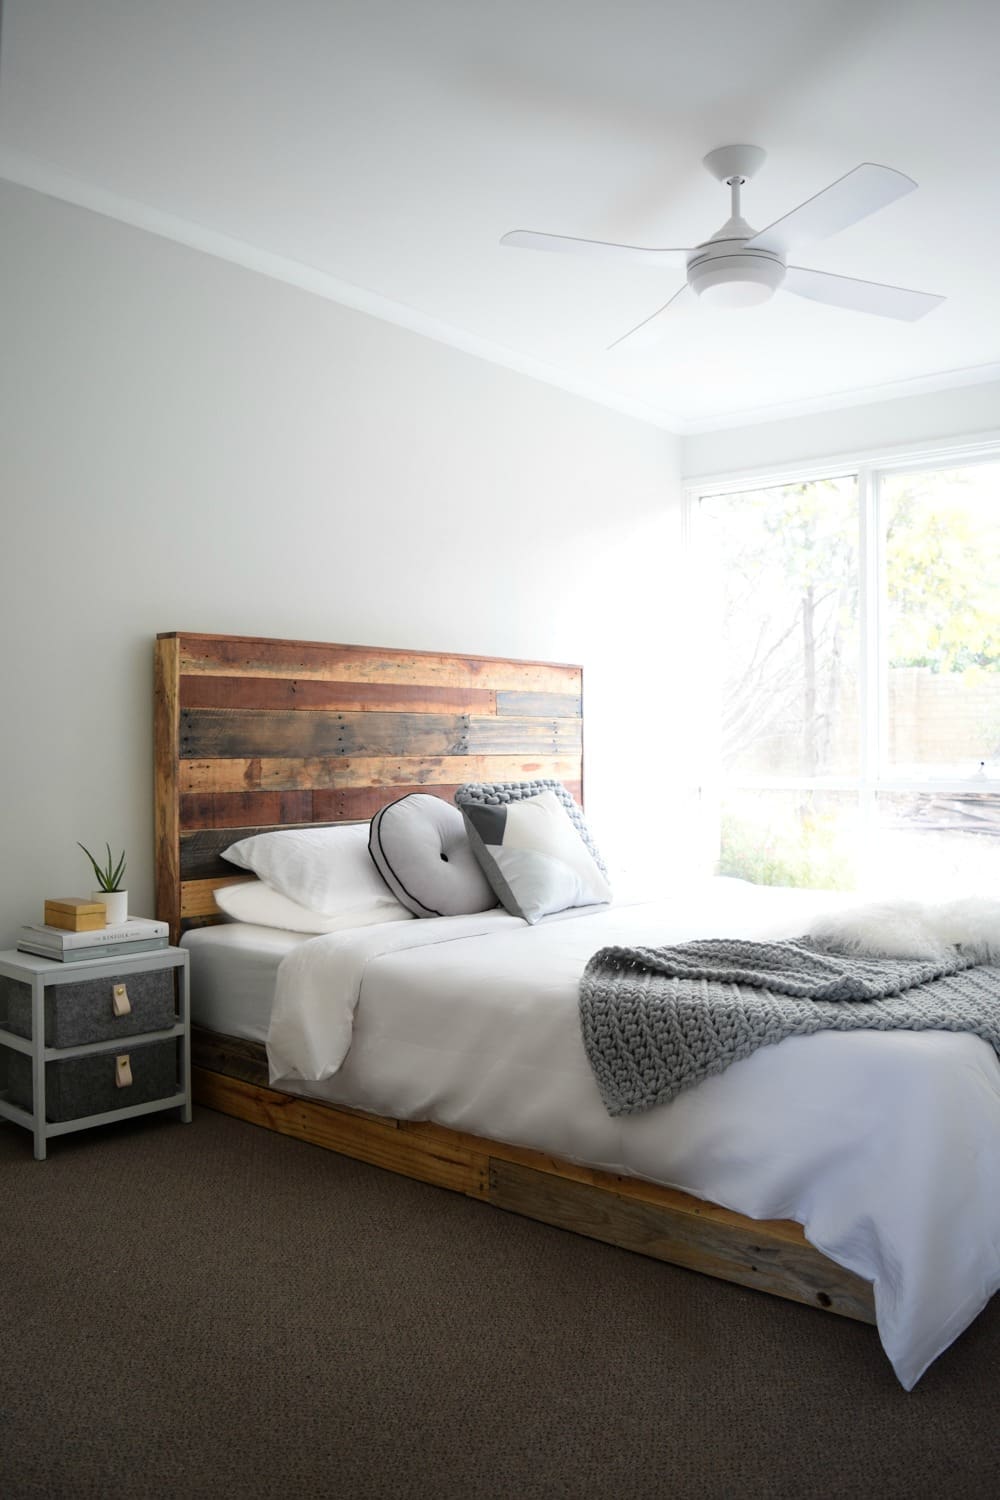
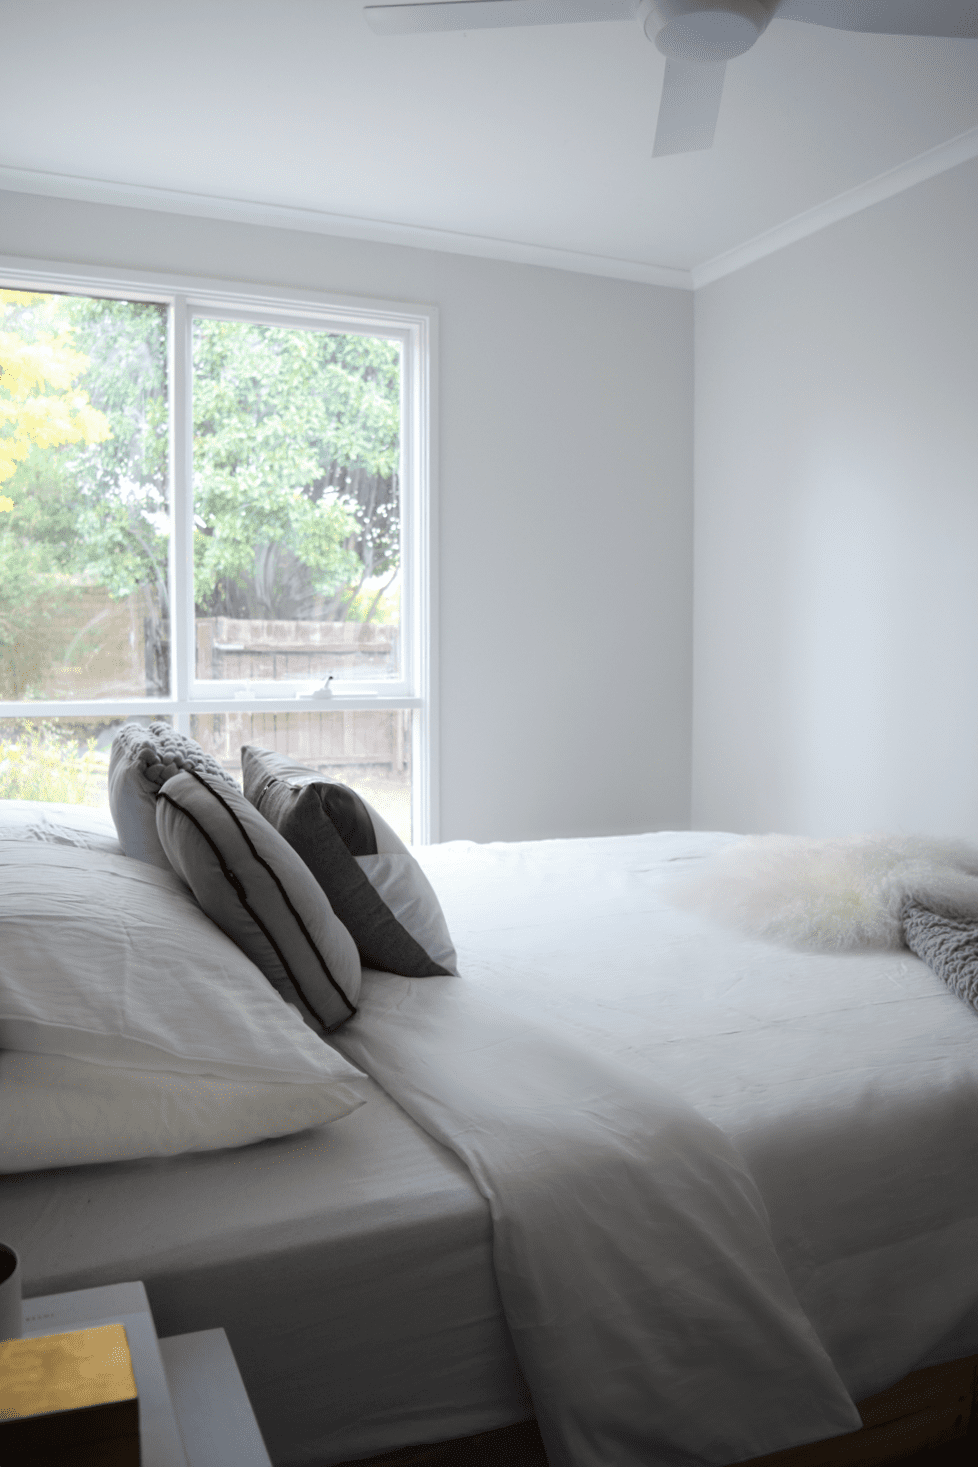
Bedrooms
Updates in the bedrooms have been minor — repainting, adding fans and changing window treatments — but banishing the brown and adding more contemporary window treatments has made a world of difference.
Down the track when budget allows, we’ll look at replacing the carpet and possibly improving the built-in wardrobes.
Before
After
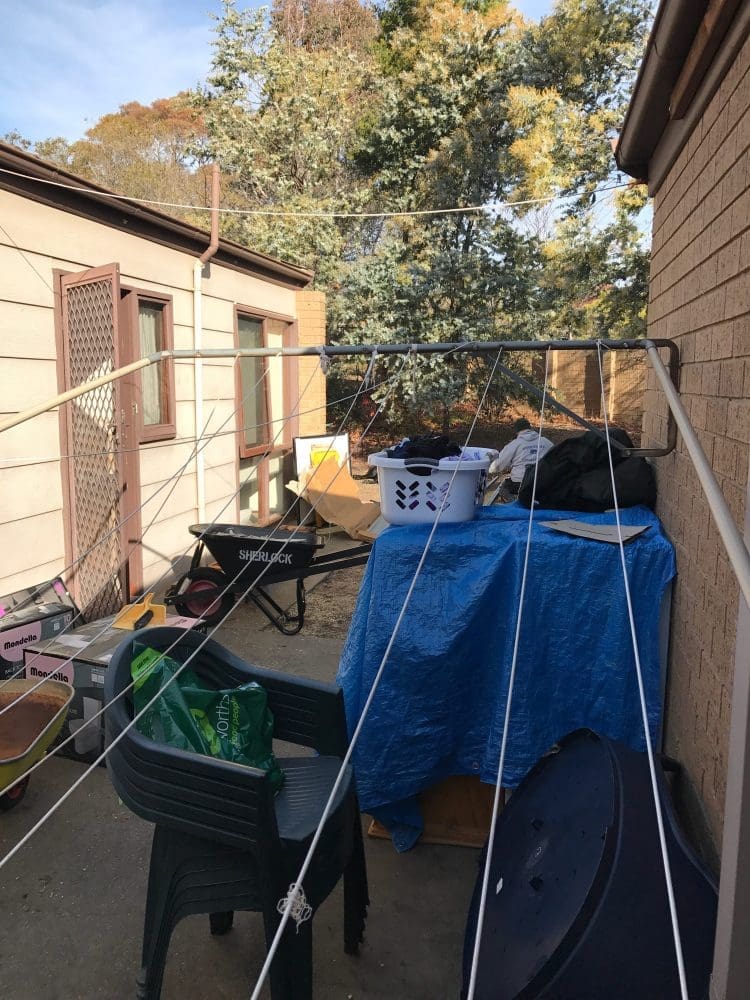
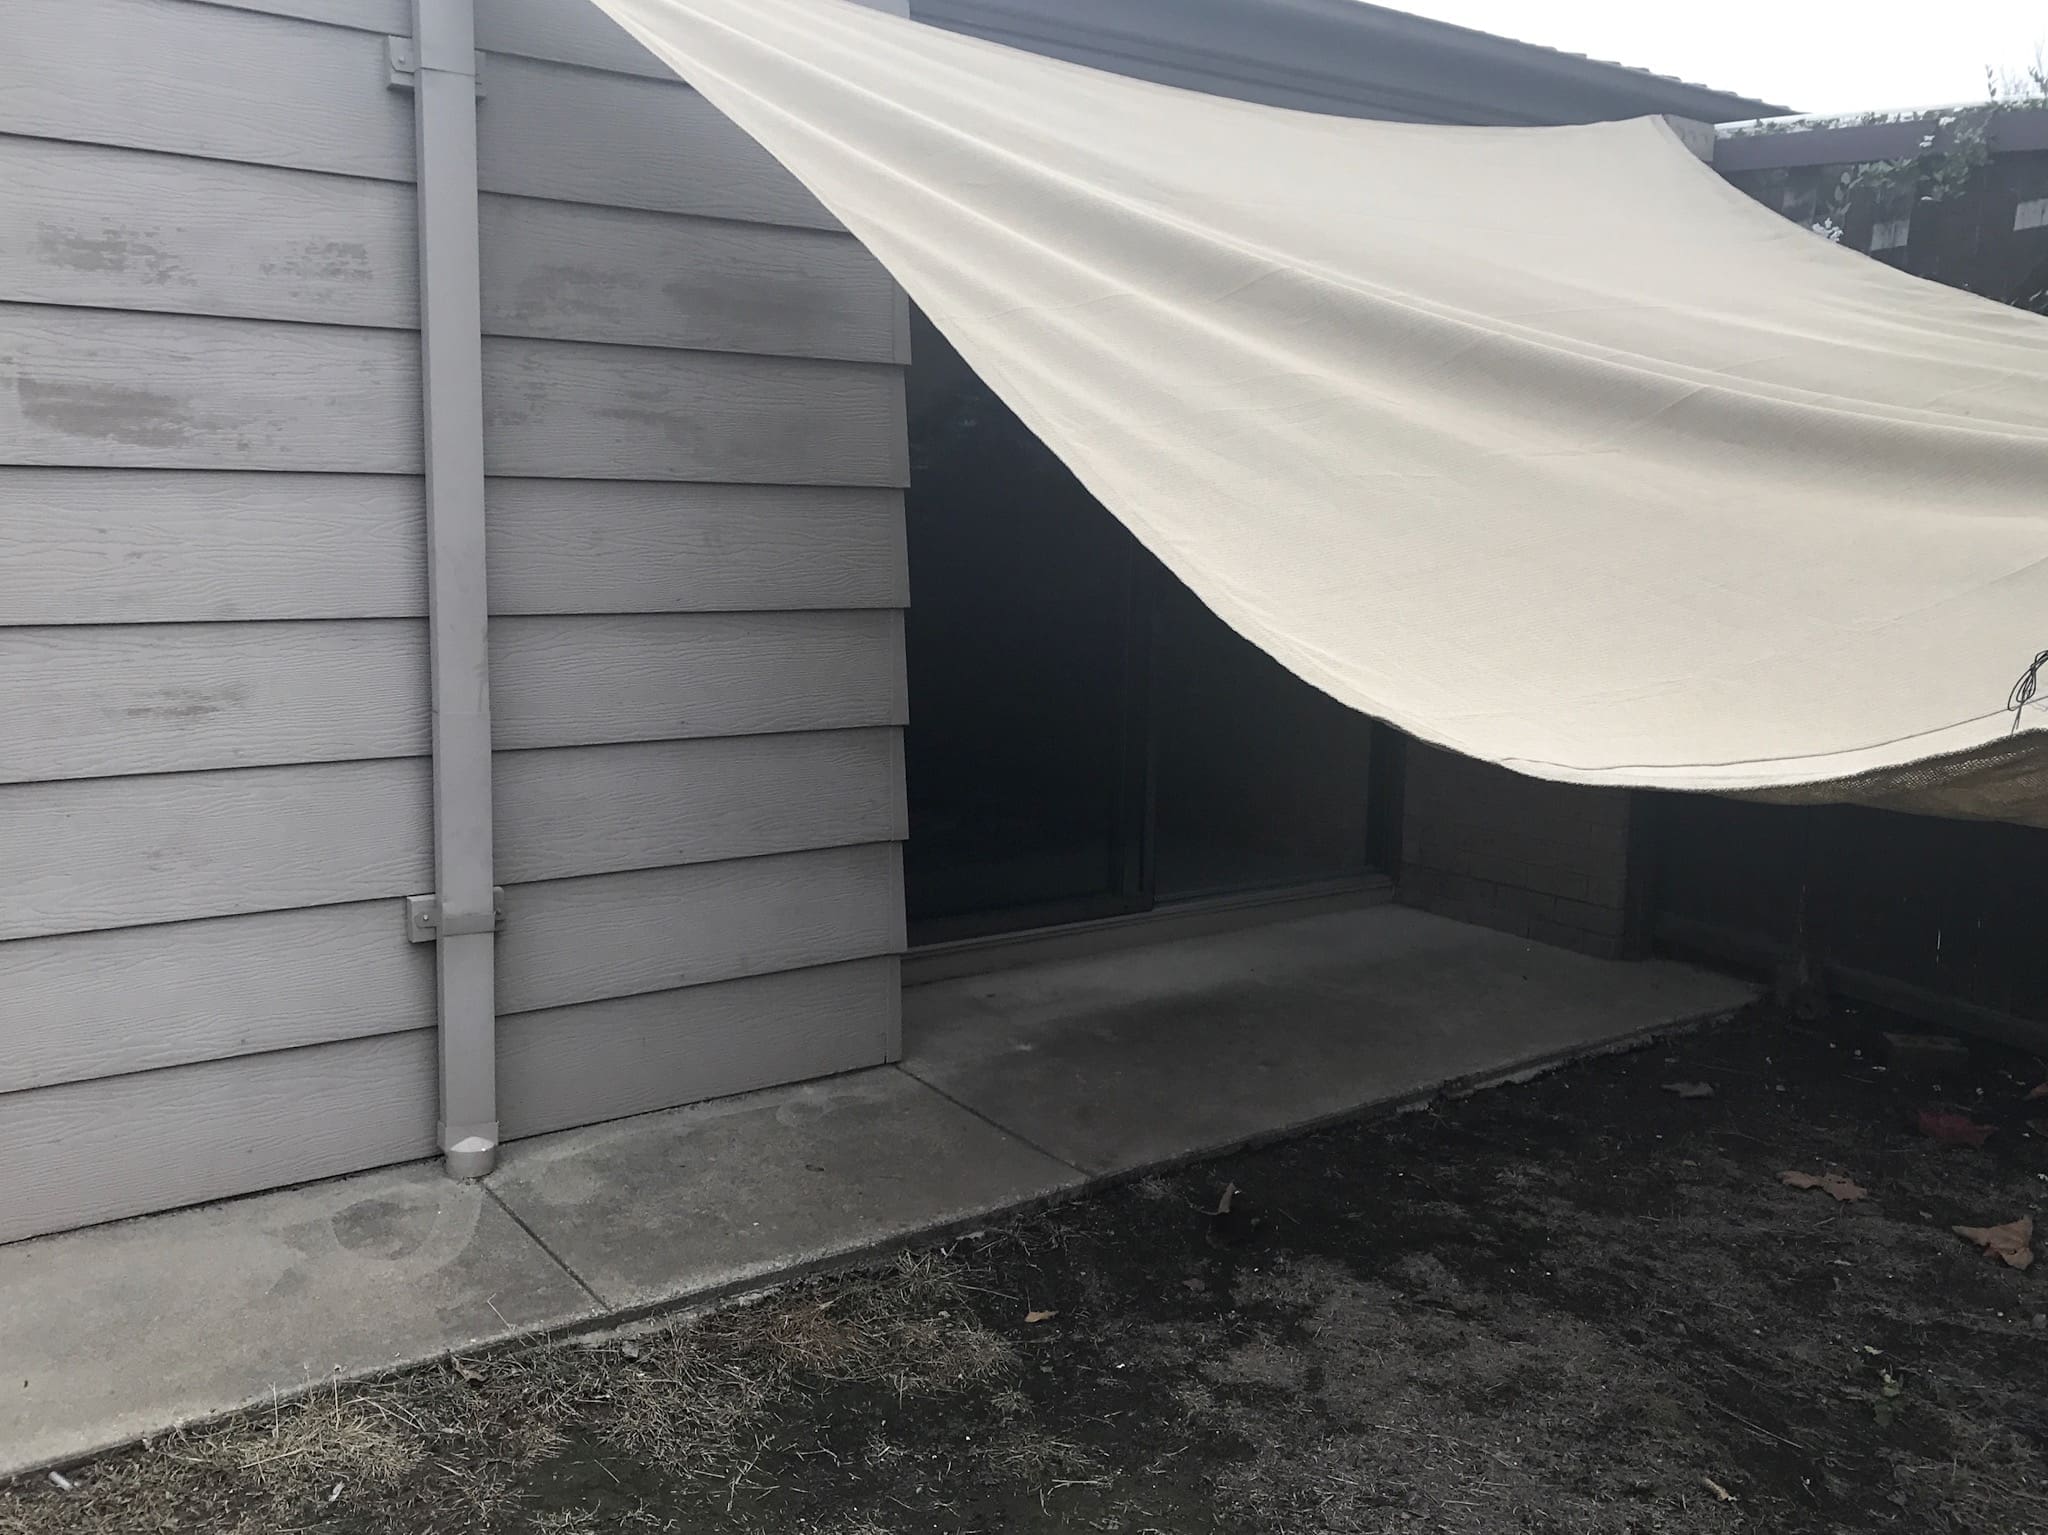
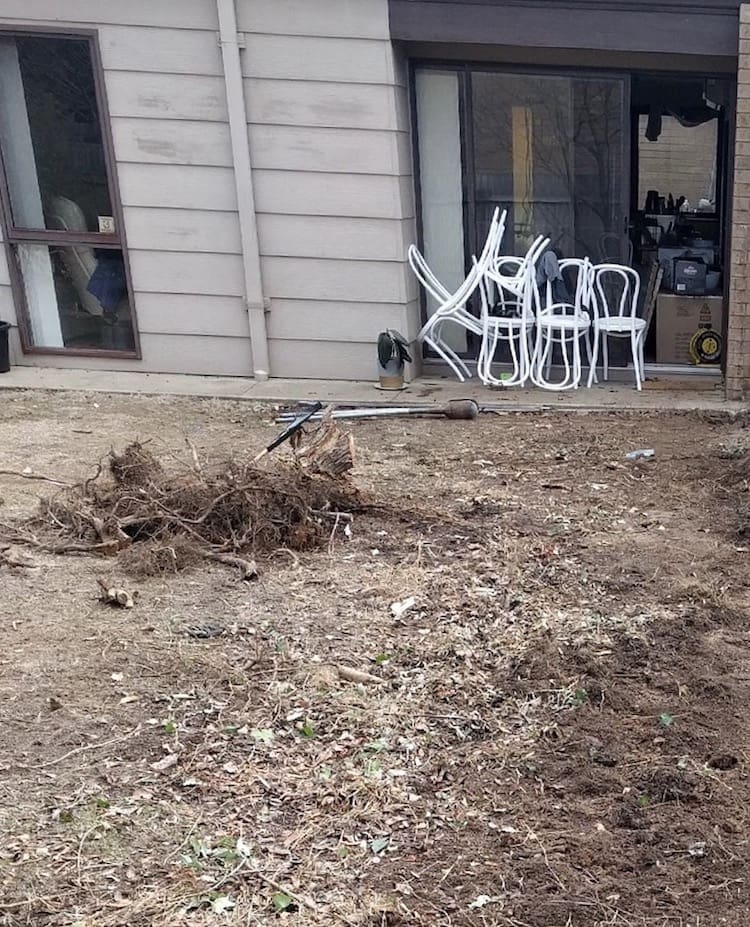
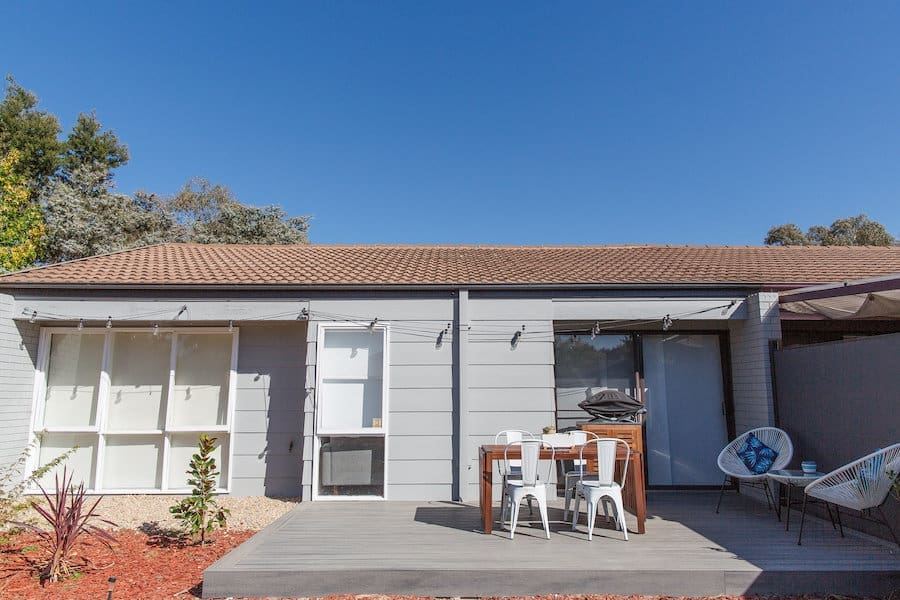
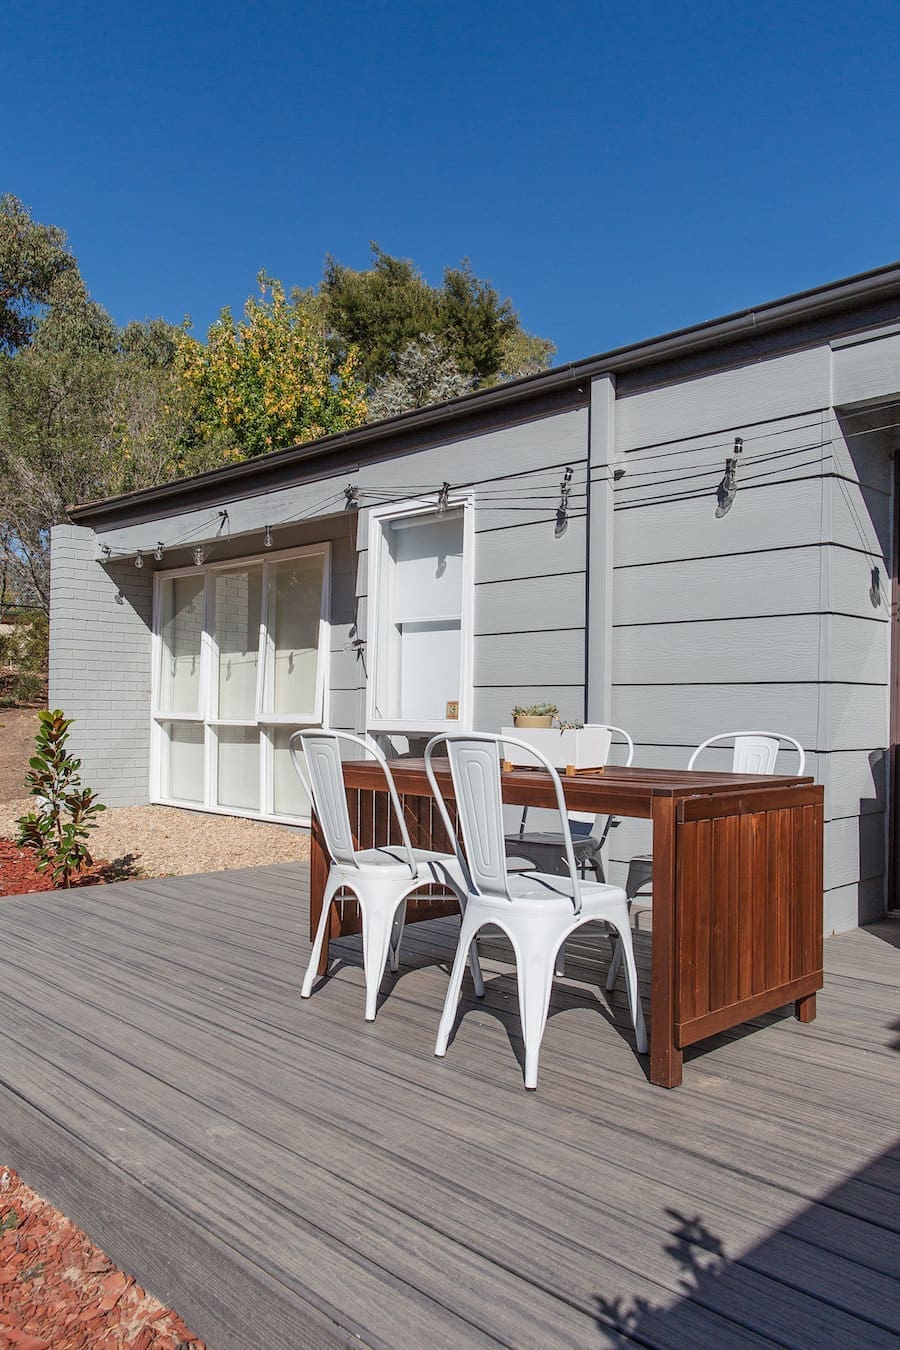
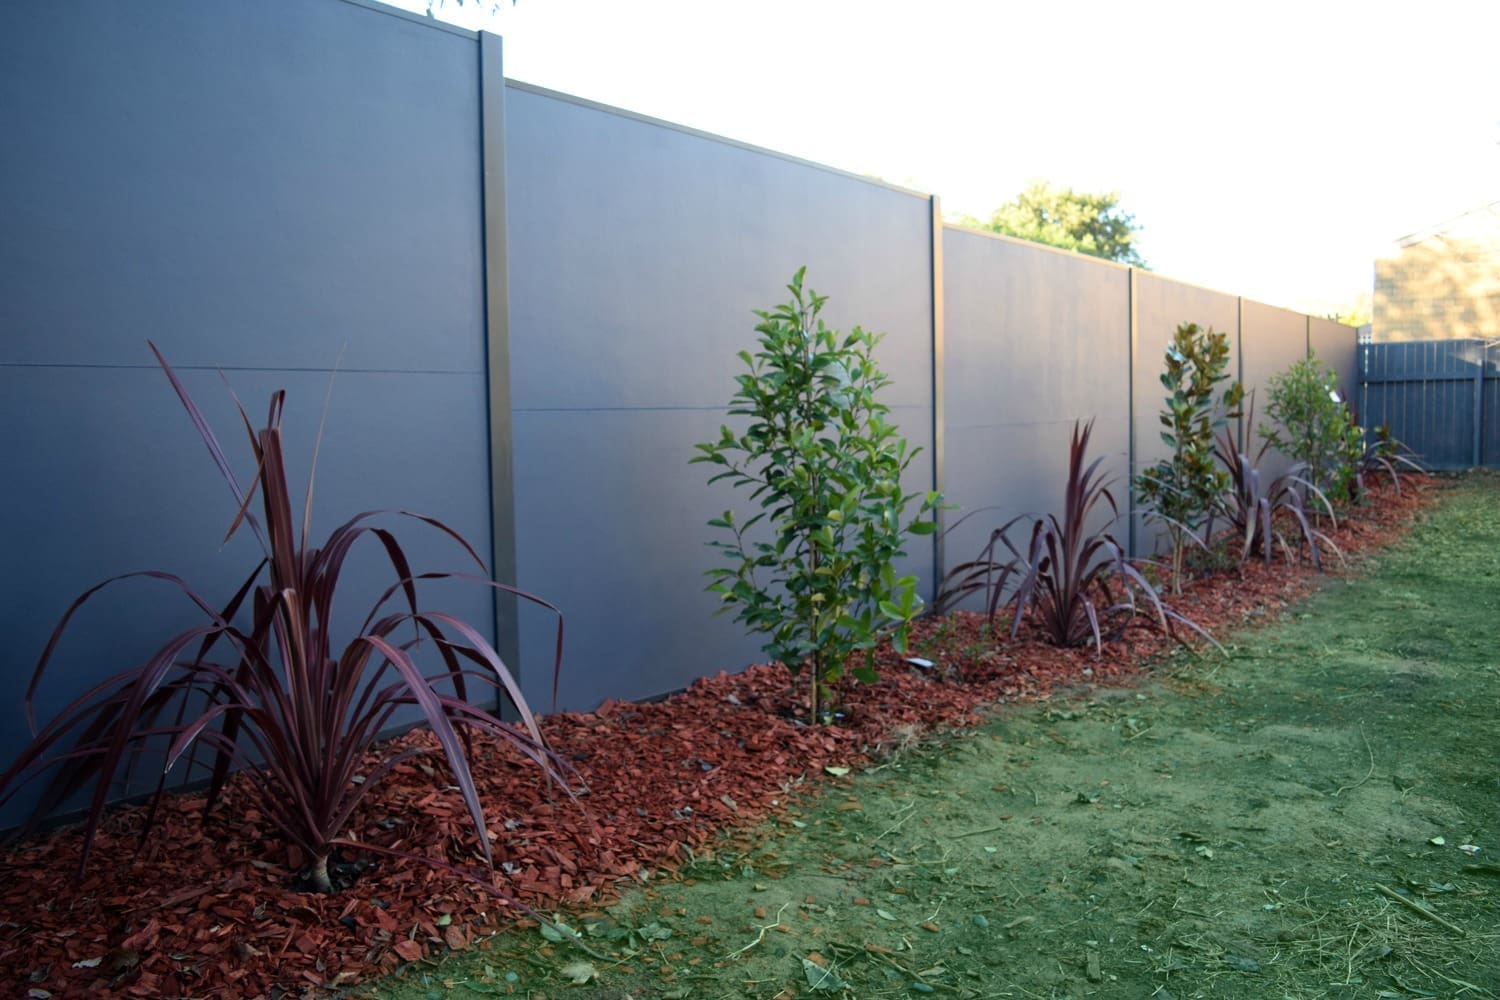
Back yard
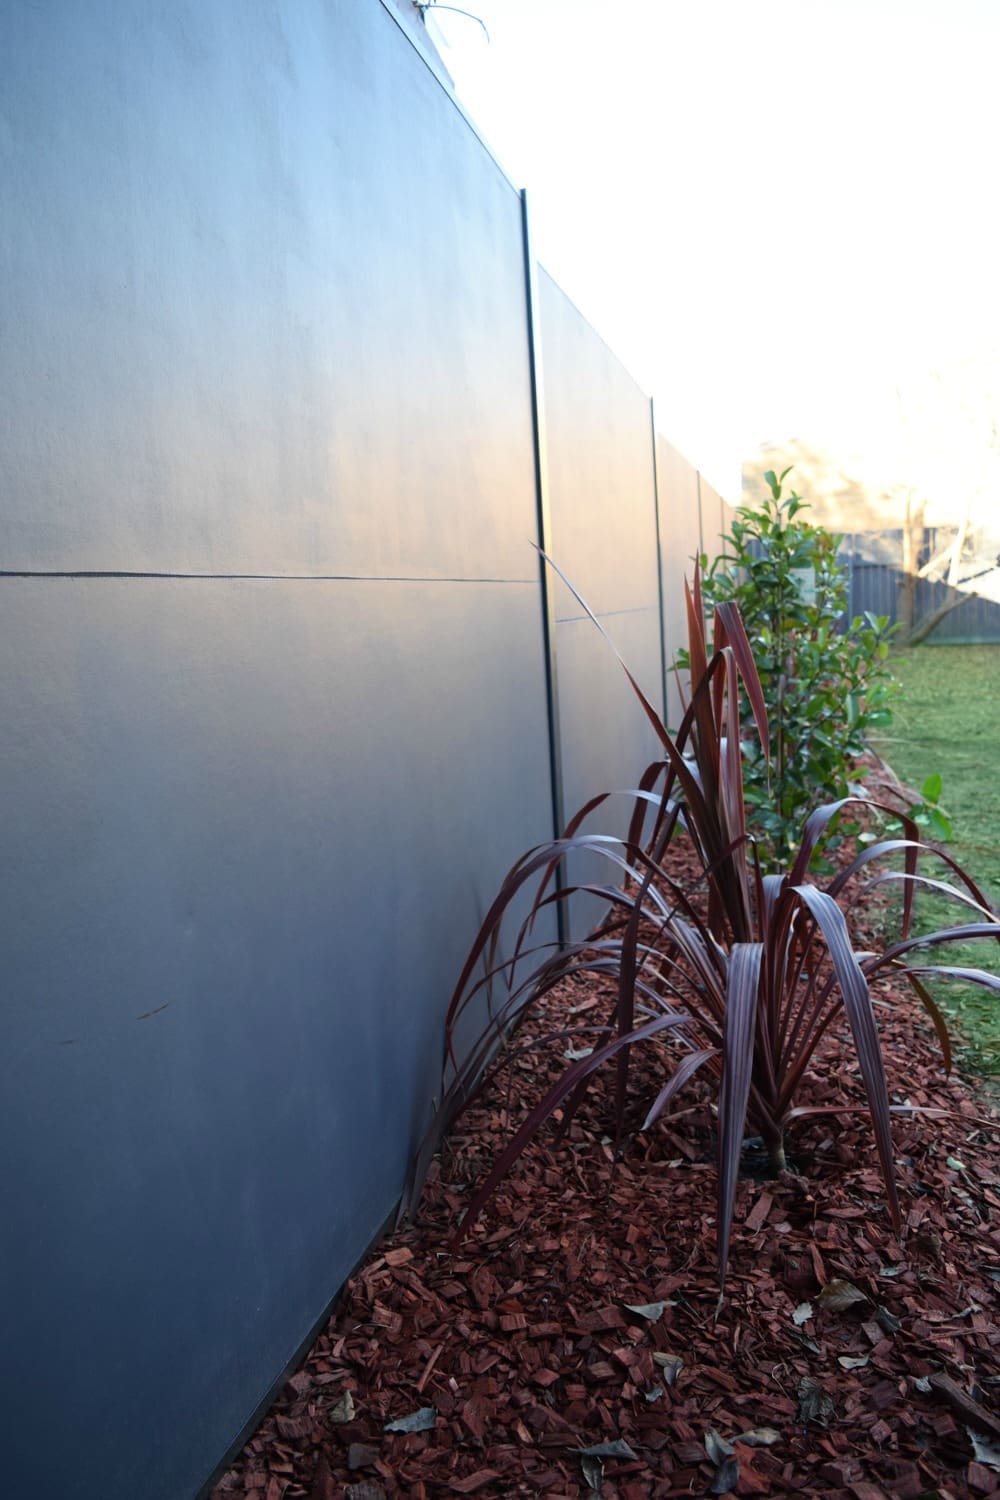
The final zone we tackled was Bonnie’s back yard. When she bought the property, there was no landscaping to speak of (other than some overgrown shrubs), no usable entertaining space and a falling down old fence.
We’ve done a few projects out here to improve that, including installing a sleek new fence from Modular Walls, adding a Trex deck, and planting several garden beds (as well as clearing away all the old overgrown vegetation).
There are still plans to add a shed out here and possible a large enclosed deck too. We’ll keep you posted on those projects!
Before
It’s hard to see anything under these manky old sails… but maybe that’s for the best as the ‘before’ isn’t great, ha ha.
After
Repainting the exterior, adding a large and low-maintenance deck, new fence and landscaping have turned the space from unsightly to one you want to enjoy all year round!
If you have any questions about this reno, please pop them in the comments below and we’ll answer them right away. We hope you enjoyed following Bonnie’s renovation journey and if you’d like to see more reno projects like this, please let us know! What was your favourite transformation in her home?
More before and after reveals
Disclaimer: some of these renovation projects were in collaboration with brands. Thank you for supporting brands that support our blog and make what we do possible.
After photography by Thorson Photography


Comments are closed.